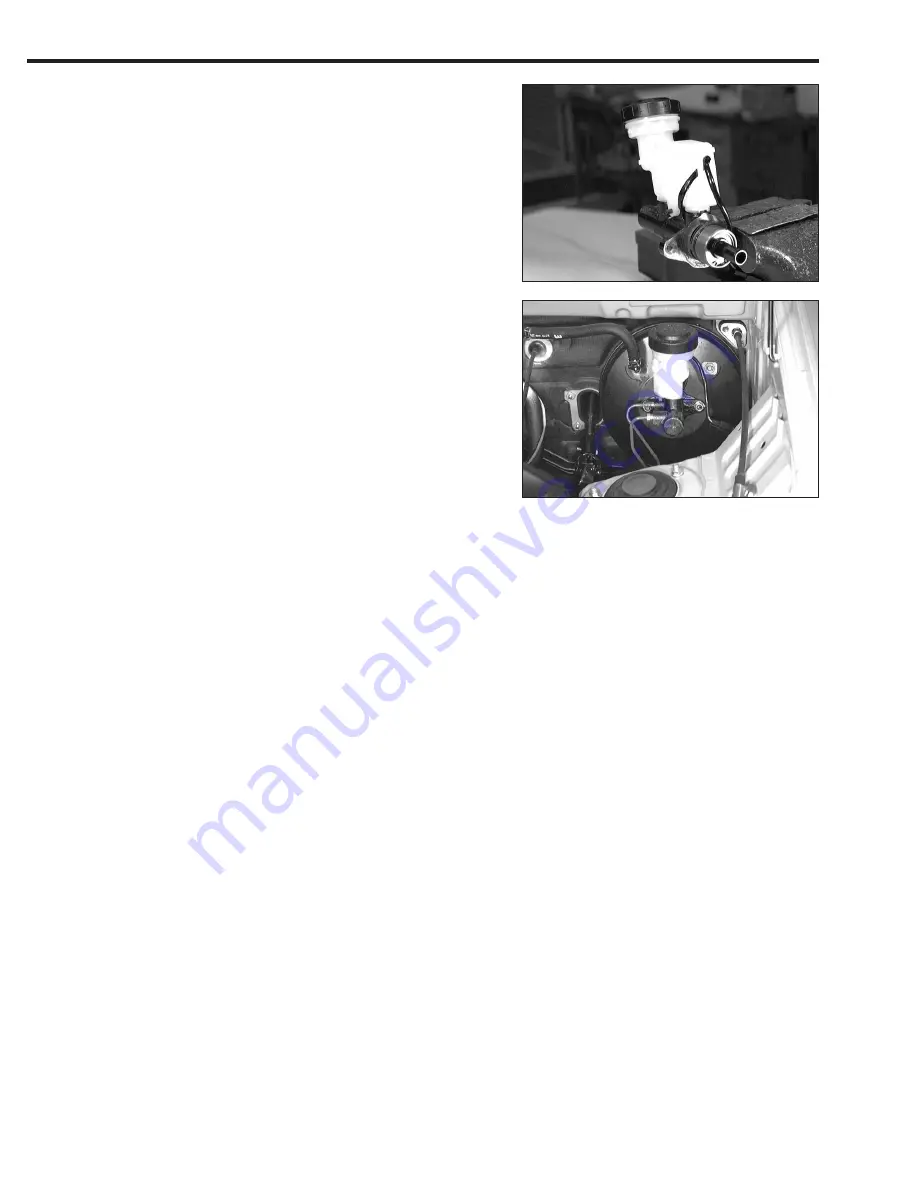
7. Secure the master cylinder in a vise.
8. Ensure that no brake fluid leakage exists around the pis-
ton guide section of the brake master cylinder.
If any brake fluid leakage exists, replace the brake master
cylinder pistons with piston cups(repair kit) with new ones.
(Refer to the BR section.)
9. Clean the master cylinder attaching surface of the brake
booster.
10. Replace the O-ring of the brake master cylinder with a
new one.
CAUTION:
·
Never make scratches on the O-ring during the installa-
tion.
MA–36
11. Thinly apply brake rubber grease to the O-ring on the
brake master cylinder.
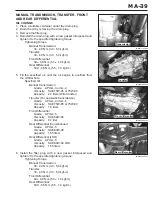
12. Install the master cylinder to the brake booster with the at-
taching nuts. Then, tighten the attaching nuts evenly to the
specified tightening torque.
Tightening Torque:
12.7
±
2.5 N·m (1.3
±
0.26 kgf-m)
WARNING:
·
Be sure to perform the adjustment of the brake booster
push rod height if any inner part of the master cylinder
has been replaced. (Refer to the BR section.)
Failure to observe this warning may lead to damage or
malfunction of the brake system.
13. Connect the brake pipes to the master cylinder and tight-
en the flare nuts to the specified tightening torque.
Tightening Torque:
13 - 18 N·m (1.3 - 1.8 kgf-m)
14. Connect the brake fluid level switch connector.
15. Perform the air bleeding of the brake system.
(Refer to the “Brake fluid change” section.)
16. Perform the brake performance test with a brake tester.
JMA00102-00081
JMA00103-00082


