Local Basic Operations 198
Parameter
Description
Delay
At the end of the alarm, the recording extends for a period of time. The time
range is from 10 seconds to 300 seconds.
Tour
Select the check box and select the channel for tour. When an alarm occurs, the
local interface of the NVR device displays the selected channel screen.
You need to set the time interval and mode for tour first, see "4.16.2 Tour."
After the tour is over, the preview interface is restored to the screen split
mode before the tour.
Snapshot
Select the
Snapshot
check box to take a snapshot of the selected channel.
To use this function, select
Main Menu > CAMERA > ENCODE > Snapshot
, in
the
Mode
list, select
Event
(
Trigger)
.
Voice
Prompts
Check the box and then select the corresponding audio file from the dropdown
list. System plays the audio file when the alarm occurs.
Refer to
to add audio file first.
Buzzer
Select the check box to activate the buzzer when an alarm occurs.
Step 3 Click
Apply
to save the settings.
Click
Default
to restore the default setting.
Click
Copy
, in the
Copy
dialog box, select the additional channel(s) that you want
to copy the motion detection settings to, and then click
Apply
.
Click
Test
to test the settings.
Setting the Motion Detection Region
Step 1 Next to
Region
, click
Setting
.
The region setting screen is displayed.
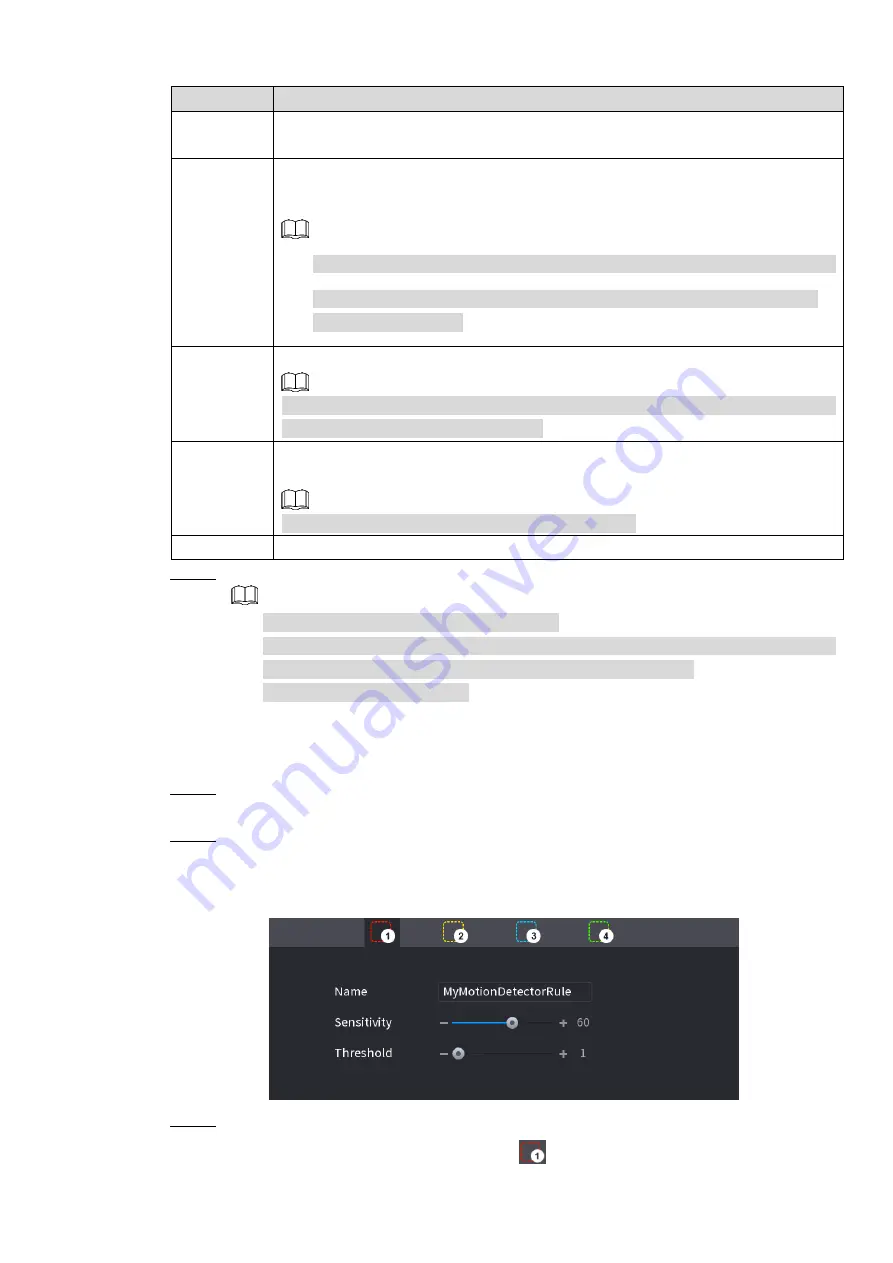
Step 2 Point to the middle top of the interface.
The setting interface is displayed. See Figure 4-174.
Figure 4-174
Step 3 Configure the regions settings. You can configure totally four regions.
1) Select one region, for example, click
.


