User's Manual
22
Step 8
Select the options according to your needs, and then click
OK
.
Step 9
The
Initialization
page is displayed after initialization is completed. Click the success icon
( ) or the failure icon ( ) for the details.
Step 10 Click
Finish
.
Step 11 The device status on the
Modify IP
page turns to
Initialized
.
5.1.3 Modifying IP Addresses in Batches with ConfigTool
You can modify IP address of one or multiple cameras at one time. This section is based on
modifying IP addresses in batches. Modifying IP addresses in batches is available only when the
corresponding devices have the same login password.
Step 1
Do "Step 1" to "Step 3" in "5.1.2 Initializing Cameras in Batches with ConfigTool" to search
for cameras in your network segment.
After clicking
Search setting
, enter the username and password, and make sure that they
are the same as what you set during initialization; otherwise there will be
Wrong
Password
notice.
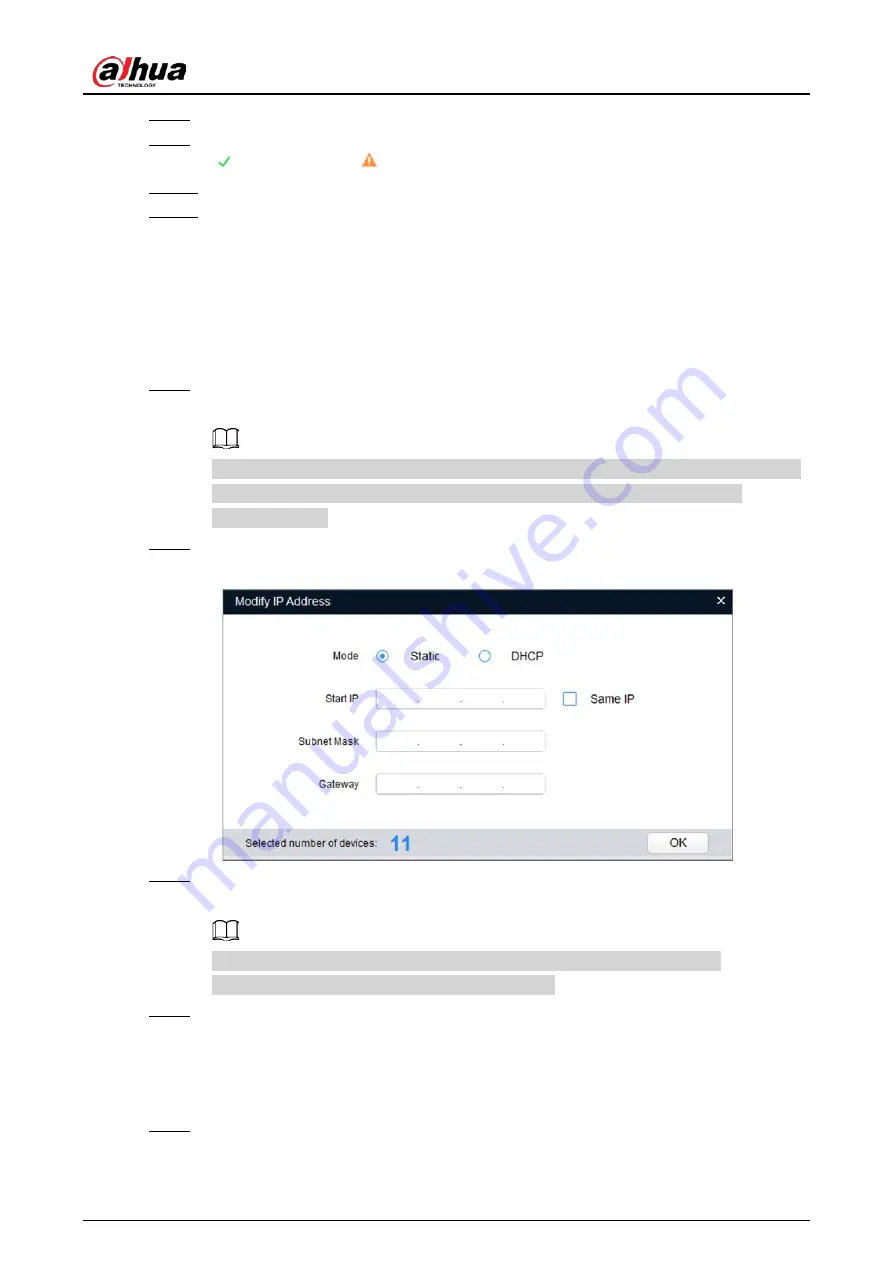
Step 2
Select the cameras which IP addresses need to be modified, and then click
Modify IP
.
Figure 5-9 Modify IP Address
Step 3
On the
Modify IP Address
page, select
Static
mode, and then enter start IP, subnet mask,
and gateway. All the IP addresses will be modified sequentially from the start IP.
If DHCP server is available in the network, when you select
DHCP
, devices will
automatically obtain IP addresses from DHCP server.
Step 4
Click
OK
.
5.2 Login
Step 1
You can log in to the web by using web browser. For first-time login, see "5.1 Initialization."
Summary of Contents for ITC952-AU3F-L
Page 1: ...All in one Enforcement Camera User s Manual ZHEJIANG DAHUA VISION TECHNOLOGY CO LTD V1 0 3...
Page 7: ...User s Manual VI Appendix 1 Cybersecurity Recommendations 27...
Page 19: ...User s Manual 12 Figure 2 12 Dimensions mm inch DHI ITC952 RU2F BD No illuminators...
Page 37: ...User s Manual...


