Device Installation 56
Please check the items in accordance with the list. Finally you can remove the protective film of the NVR.
3.3 About Front Panel and Rear Panel
The model number in the stick on the bottom of NVR is very important; please check according to your
purchase order.
The label in the rear panel is very important too. Usually we need you to represent the serial number
when we provide the service after sales.
3.4 HDD Installation
For the first time installation, make sure whether the HDD has been installed or not. We recommend to
use HDD of enterprise level or surveillance level. It is not recommended to use PC HDD.
Shut off the power before you replace the HDD.
Use the dedicated SATA HDD for monitoring recommended by the HDD manufacturer.
You can refer to the Appendix for HDD space information and recommended HDD brand.
3.4.1
NVR41/41-P/41-8P/41-W/21-S2/21-P-S2/21-8P-S2/41-4KS2/41-P-4KS2/41-8P-4KS
2/21-4KS2/21-P-4KS2/21-8P-4KS2/21-W-4KS2 Series
①
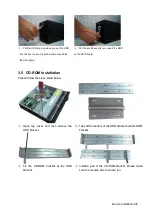
Loosen the screws of the bottom
of the chassis.
②
Place
the
HDD
in
accordance with the four
holes in the bottom.
③
Turn the device upside
down and then secure the
screws firmly.
④
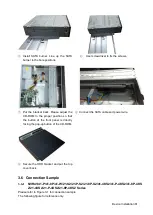
Connect the HDD cable and power
cable to the HDD and the
mainboard respectively.
⑤
Put the cover back and
then fix the screws of the
rear panel. The installation

