User’s Manual
135
No.
Function
Description
8
View Layout and
Channel Selection
In the Camera Name list, select the channel(s) that you want to play
back.
The window split is decided by how you select the channel(s). For
example, if you select one channel, the playback is displayed in
the single-channel view; if you select two to four channels, the
playback is displayed in the four-channel view. The maximum is
eight channels.
Click
to switch the streams.
indicates main stream,
and
indicates sub stream.
9
Video Splice
Splice a section of recorded video and save it. For details about splicing
a recorded video, see "5.9.3.3 Clipping Recorded Video".
10
Backup
Back up the recorded video files. For details, see "5.9.3.4 Backing up
Recorded Video."
11
List Display
This area includes Tag List and File List.
: Click the Tag List button, the marked recorded video list is
displayed. Double-click the file to start playing.
: Click the File List button, the searched recorded video list is
displayed. You can lock the files. For details, see "5.9.9 Using the
File List".
12
Full Screen
Click
to display in full screen. In the full screen mode, point to the
bottom of the screen, the time bar is displayed. Right-click on the
screen to exit full screen mode.
13
Time Bar Unit
You can select 24 hr, 2 hr, 1 hr, or 30 min as the unit of time bar. The
time bar display changes with the setting.
5.9.3.1
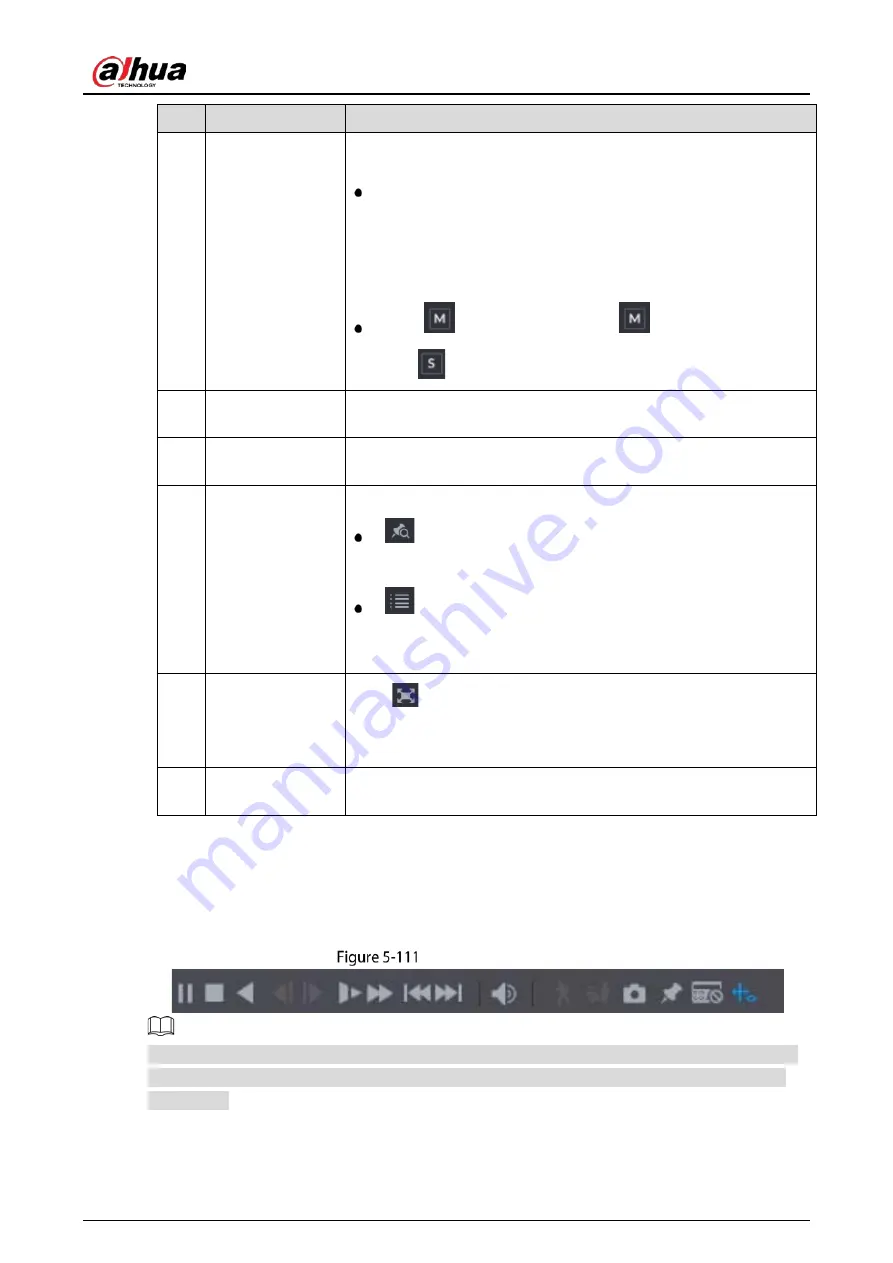
Introducing Playback Controls Bar
You can perform the operations such as control the speed of playback, add mark, and take snapshots
through the playback controls bar.
Playback control bar
The play backward function and playback speed are dependent on the product version. The actual
product shall govern. You can also contact the technical support to consult the hardware version
information.
Summary of Contents for DH-XVR1B -I Series
Page 1: ...AI Digital Video Recorder User s Manual V2 2 0 ZHEJIANG DAHUA VISION TECHNOLOGY CO LTD...
Page 187: ...User s Manual 177 Details Click Register ID Register ID Click to add a face picture...
Page 238: ...User s Manual 228 Details Click Register ID Register ID Click to add a face picture...
Page 314: ...User s Manual 304 Main stream Sub stream...
Page 317: ...User s Manual 307 Version 1 Version 2...
Page 362: ...User s Manual 352 Legal information...
Page 388: ...User s Manual 378 Appendix Figure 7 7 Check neutral cable connection...
Page 394: ...User s Manual...


