


9.Software Tool
© 2023 China Daheng Group, Inc. Beijing Image Vision Technology Branch 187
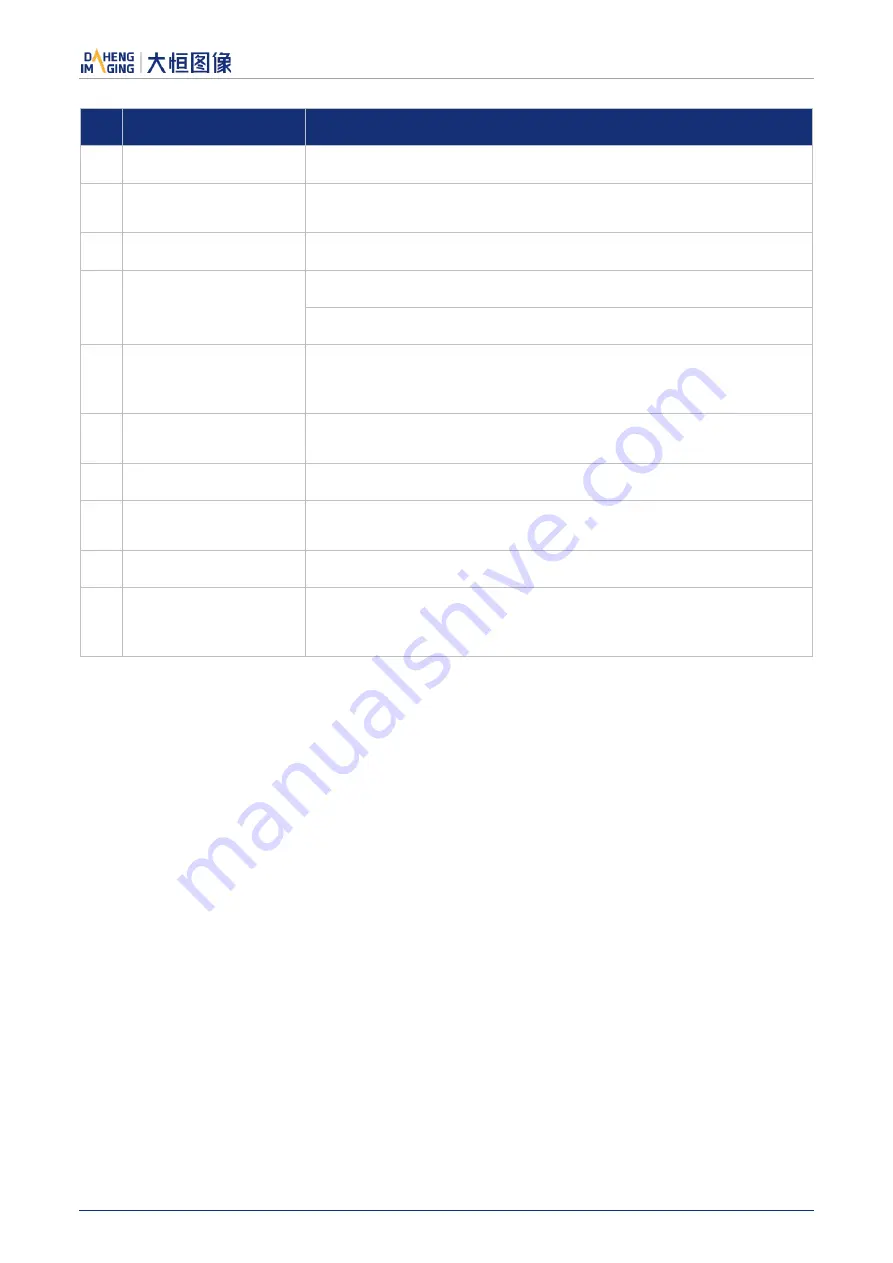
No.
Widget
Function
1
Acquisition Frame Count The number of images acquired for the acquisition of bright field images
2
Acquisition of Bright
Field Images
Acquire a certain number of bright field images. Necessary operation
3
Execute FFC
Calculate the FFC factor and make it Immediate effect
4
Preview
Check the effects before and after the FFC
Enable or disable FFC preview
5
Read from Device
If the device had executed FFC and the correction factor have been
written to the device, the next time the camera is powered on, the FFC
factor can be read directly from the device and take effect in real time
6
Write to Device
Write the calculated FFC factor to the device to prevent factors loss
when the device is powered off
7
Load File
Load the FFC factor from the file and make it immediate effect
8
Save File
Save the calculated FFC factor to a file. When the factor is subsequent
used, it can be loaded directly from the file
9
Prompt Information
Prompt the execution status and error message when executing FFC
10
Default prompt message
It is demanded to acquire bright field images again for executing FFC
after changing ROI, Binning, Decimation, Mirror of the camera. The
prompt message will always be displayed on the GUI
Table 9-1 Function description of the FFC widgets
9.2.2.
User Guide
9.2.2.1.
FFC Execution Steps
Step1: Set the acquisition frame count. Not necessary operation. You can skip to step 2 directly. For details,
please see section 8.4.7.1.
Step2: Before acquiring bright field images, you need align the lens at white paper or the flat fluorescent
lamp.
Step3: Start acquiring bright field images. For details on acquiring bright field images, please see section
8.4.7.1.
Step4: Click "Execute FFC" to complete the correction.
Step5: You can view the effect before and after FFC through the preview function.
Step6: You can choose to write the correction factor (including the Acquisition Frame Count) to the device
or save it to a file for subsequent use.


