Creating your own charactors
:
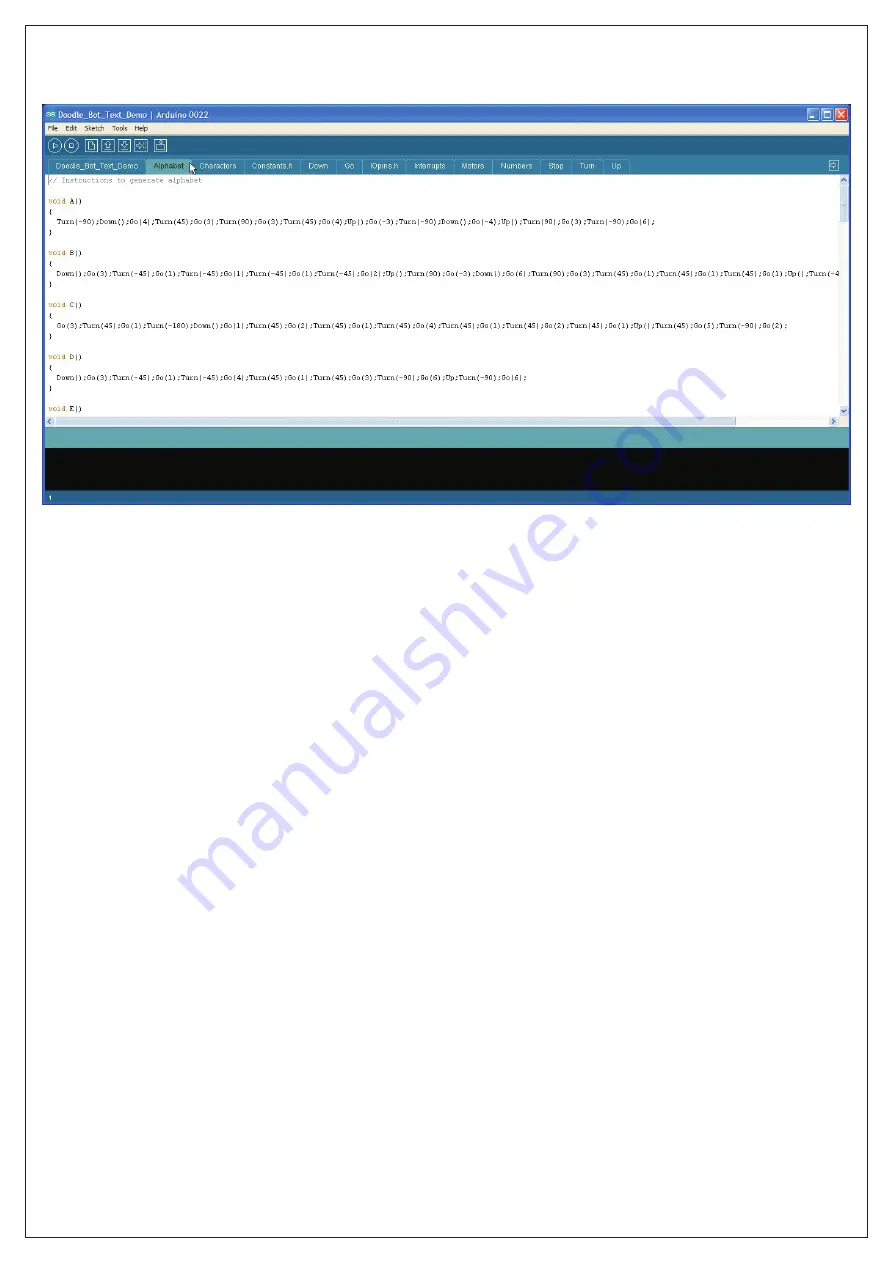
If you look in the tabs "Alphabet" and "Numbers" you will see that all the numbers and letters are created using
combinations of only 4 commands.
If you look in the tabs "Alphabet" and "Numbers" you will see that all the numbers and letters are created using
combinations of only these 4 functions.
Go(distance)
Tells the robot to travel in a straight line. The distance can be a positive or negative whole
number with negative numbers making the robot from reverse.
Turn(angle)
Tells the robot to turn left or right. A positive value turns clockwise, negative turns counter
clockwise. Angle can be in 45° steps or values of ±1 to 32 which specifies the number of 22.5°
steps.
Down()
Lowers the pen. The robot begins drawing.
Up()
Raises the pen. The robot stops drawing.
Using just these four functions you can write messages and draw pictures. There is a tab called "Charactors"
where you can add your own custom charactors and icons. Advanced users may choose to write additional
functions to suit their needs.
Please note:
The motors may be a little stiff when new causing the robot to draw wiggly lines. This problem
should improve after about an hour of use as the motors wear in. The wiggle is a result of one motor being slower
than the other and the demonstration software attempting to correct this by a very simple method. It is not a
fault.
Problem:
When you power the robot by USB it works ok but when you disconnect the USB and turn the robot ON
then nothing happens.
Solution:
Check that the power wires from the battery are connected the correct way around. Make sure your
batteries have been inserted into the holder correctly. Make sure the batteries are not flat.
Problem:
When you turn the robot on it just sits there with the D13 LED flashing quickly.
Solution:
The robot has determined that your batteries are flat. Change the batteries.
Problem:
Instead of drawing straight lines the robot draws curved lines.
Solution:
Watch carefully when the demonstration program first runs. If a motor goes backward instead of
forward then swap it's wires around.
Problem:
When the program runs, the robot turns clockwise when it should turn anticlockwise.
Solution:
Swap the left and right motors.
Troubleshooting
: