9
DAEWOO Video Cassette Recorder User’s Guide
8
DAEWOO Video Cassette Recorder User’s Guide
Playing a Tape
1.Tune the TV to your VCR viewing channel (03,04,or the video line
input).
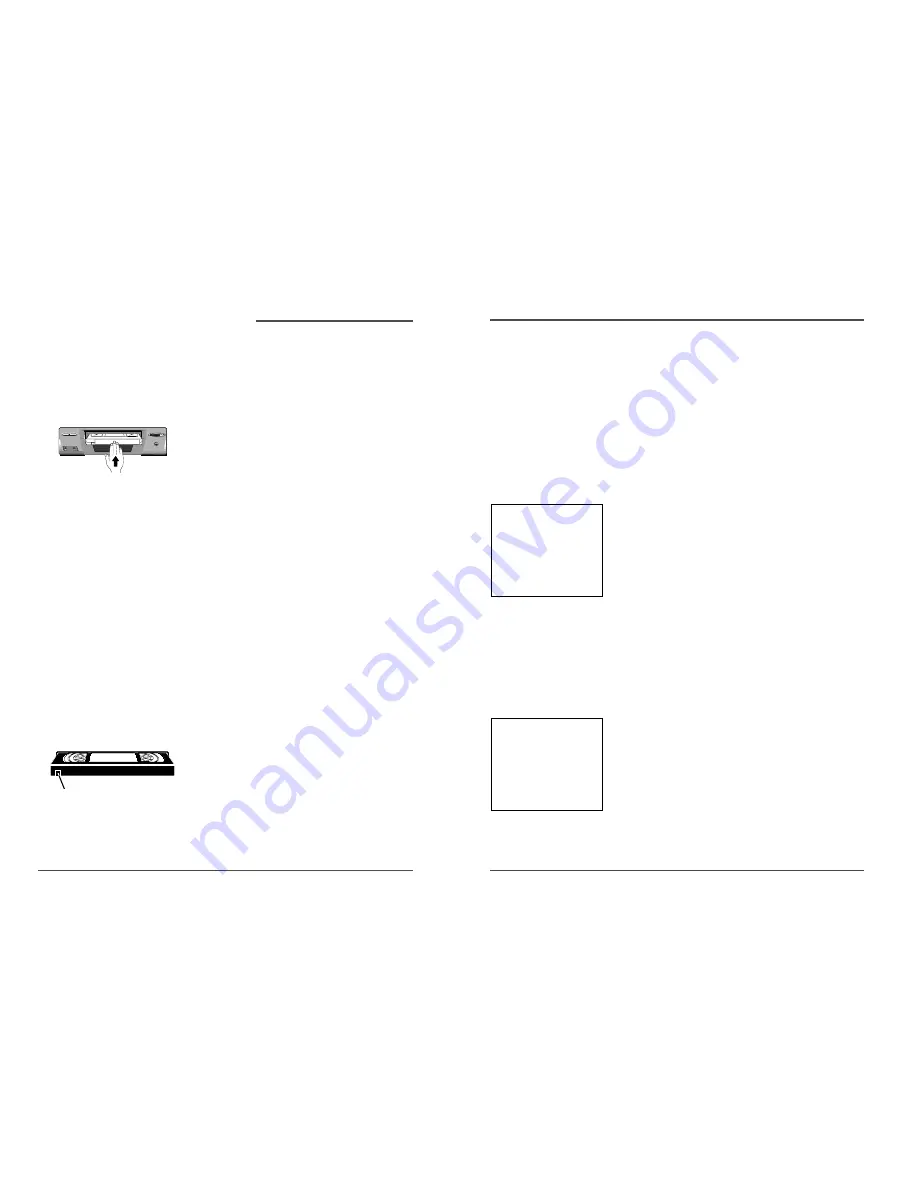
2.Insert a tape in the VCR.
If the Auto Play feature is set to ON,the tape automatically begins
playback (if the safety tab on the tape is removed).
• Press FWD or REV (FORWARD or REVERSE on the remote
control)to cue the tape at the desired starting position.
• Press PLAY (if necessary)to begin tape play.
• Press PAUSE for stop action.
• Press TRACKING up or down (TRor – on the remote
control)to remove any streaks from the picture,if necessary.
• Press STOP to stop playback.
Automatic Rewind
The VCR automatically rewinds the tape if it reaches the end of the
tape during playback.While rewinding,you can press the ON •OFF
button and the VCR will turn off after finishing.If the tape has no
safety tab,it will be ejected.
Tape Eject
Press the EJECT button on the VCR when stopped to eject the
tape.You can also press and hold the remote control ’s STOP button
for three seconds.
Recording
To Capture Programming with Basic Recording Methods:
1.Set the tape speed by pressing the SPEED button on the remote
control
2.Press the RECORD button to begin recording.
3.Press the STOP button to halt recording.
If you just want to pause the recording for a short time (like during
a commercial),press PAUSE instead of STOP.
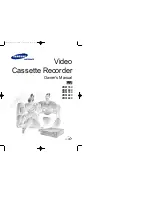
Check the Safety Tab
No matter which recording option you use,make sure there is a
tape in the VCR with its safety tab in place.You cannot record on a
tape with its safety tab removed.If the safety tab is removed and you
want to record,simply cover the hole with adhesive tape.
VCR Basics
Once your initial settings are complete,you can begin using your VCR.In order to begin,you must first
understand some basic concepts.
Automatic Tracking
The VCR has automatic tracking which
adjusts the picture when playing back a
tape recorded on another VCR.To adjust
tracking manually,use the TRACKING -/+
buttons on the remote control.
Your VCR may not look exactly like the
model used in the illustration.
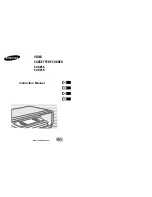
Language
Selecting your preferred language determines how the
on-screen displays will appear.To change the
language:
1. Press MENU to display the VCR MAIN MENU .
2. Press the 7 button to select LANGUAGE .
3. Select English,Spanish (Español),or French
(Français).
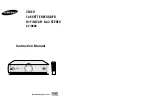
Cable Box Setup
This set up applies only when all channels are
received through a cable box. In this case,the VCR will
automatically enter the channel used to view cable
box programming.Your VCR will use this channel for
all future timer recordings.
1.Press MENU to display the VCR MAIN MENU .
2.Press 3 to display the CHANNELS menu.
3.Press 4 to display the CABLE BOX SETUP menu.
Using On-Screen Menus
Is Something Missing?
These instructions will not show all of the
step-by-step on-screen menus. Make sure
to follow the instructions completely to get
to the menus being discussed.
Using On-Screen Menus to Set Up Features
You set up many of the VCR ’s features by using the menu system as discussed in the previous
section.Each feature that appears in the QuickSet Guide is explained in this section as well as a
few other features you should set up to get the most out of your VCR.
✔
Note:
• Not all the VCR screens are
shown in this manual when
explaining the features.
STOP EJECT
POWER
VIDEO
AUDIO
REW
PLAY PAUSE
FWD
RECORD TV-VCR
CHANNEL/TRK
Leng eta de seguridad
LANGUAGE
Select a language.
1>English
2 Español
3 Français
Press MENU to continue
CHANNELS
1 Auto Channel Search
2 Add/Remove Channels
3 Signal Type: CABLE
4 Cable Box Setup
0 Exit
Connections & Setup
,
c
ontinued
Safety Tab
Summary of Contents for DV-T6F4N-PQ
Page 1: ...Video cassette recorder User s Guide DV T6F4N PQ ...
Page 22: ......


