23
Menu Operation
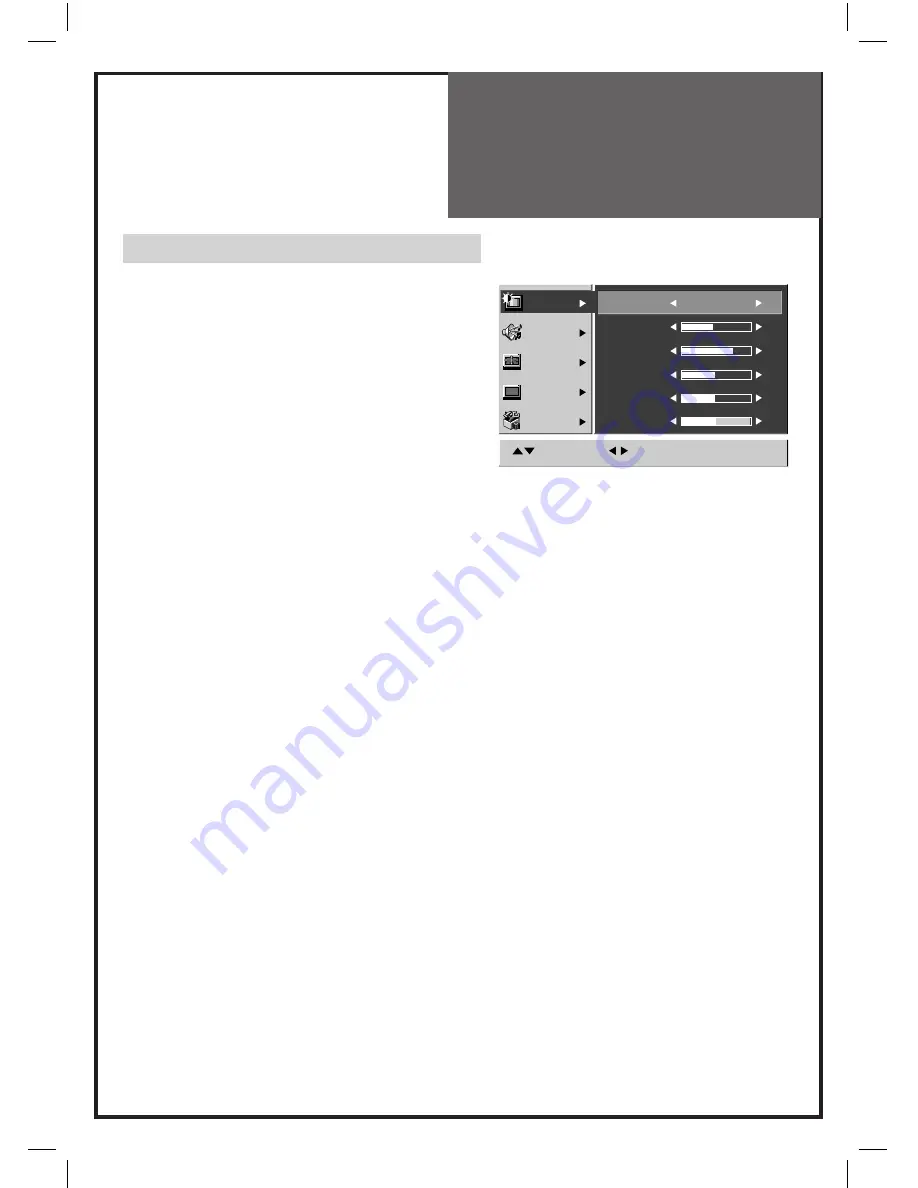
Picture Control
1. Press the
MENU
button to call up the menu.
2. Move the selection bar to the Picture menu
with the
▼
PR
▲
buttons.
3. Press the
VOL
►
button.
4. Select the item to adjust with the
▼
PR
▲
buttons.
5. Press the
◄
VOL
►
buttons.
The level adjust mode of each function appears :
“Brightness”, “Contrast”, “Colour”, “Sharpness”, “Tint”.
You can adjust the level of each item by using the
◄
VOL
►
buttons.
NOTE:
Tint is displayed only when receiving a NTSC
signal. The adjusted levels are stored
automatically in Favourite mode.
NOTE:
You cannot adjust the colour saturation in PC and
DVI mode.
This is PRE-SET to the correct level by the system.
Smart Picture mode Selection
1. Select Mode from the Picture menu.
2. Using
◄
VOL
►
buttons, Select the desired
mode.
Four pictures settings;
Standard > Dynamic > Cinema > Favourite
Note :
When you press the Picture button on the remote
controller repeatedly, you can call up four
pictures settings.
Standard:
For a highly de
fi
ned image in a
normally bright room
Dynamic:
For a clear-cut image emphasizing
high contrast for sports viewing
Cinema:
Ideal for movies
Favourite:
Allows the user to customize settings
as desired.
CH
Picture
Sound
Screen
Install
Features
Move
Select
Menu:Save
Mode
Standard
Brightness
48
Contrast
63
Colour
50
Sharpness
50
Tint
0


