


Setting-up equipment and welding gun
Before starting to weld do as follows:
•
Connect earthcables to the work piece
•
Set-up welding gun
•
Switch on equipment
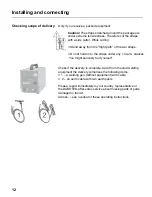
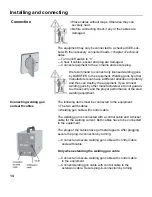
Connecting earth cables to
work piece
To achieve the best welding results it is very important to
connect the earth cables correctly.
Rule of thumb:
The two earth cables should be equally far from the welding
spot.
Unfortunately there are exceptions to this rule.
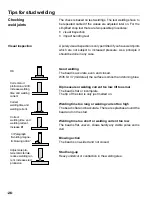
Should faulty weld joints occur, please, read
chapter »Tips for stud welding« for more de-
tails.
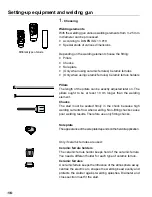
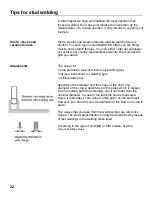
Thickness of the work piece
The work piece must have a minimum thickness
of 1/4 of the stud’s diameter. The “burning
through” of the melting mass can cause dange-
rous explosive sparks.
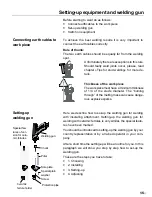
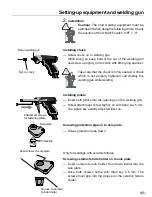
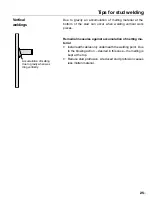
Setting-up
welding gun
Here we describe how to set-up the welding gun for welding
with insulating attachment. Setting-up the welding gun for
welding with ceramic ferrules is very similar, the special featu-
res have been marked.
You should be introduced to setting-up the welding gun by your
country representative or by a trained operator in your com-
pany.
After a short time the setting-up will be a routine for you. In this
paragraph we will show you step by step how to set-up the
welding gun.
These are the steps you have to take:
•
1. Choosing
•
2. Installing
•
3. Setting-up
•
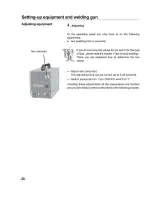
4. Adjusting
Welding gun
Chuck
Pillar
Sole plate
Ceramic
ferrule holder
Special plain
washer
Screw
Protection pipe
Special fea-
tures of ver-
sion for cera-
mic ferrules
Setting-up equipment and welding gun
15


