29
D-Link DNR-322L User Manual
Section 3 - Installation
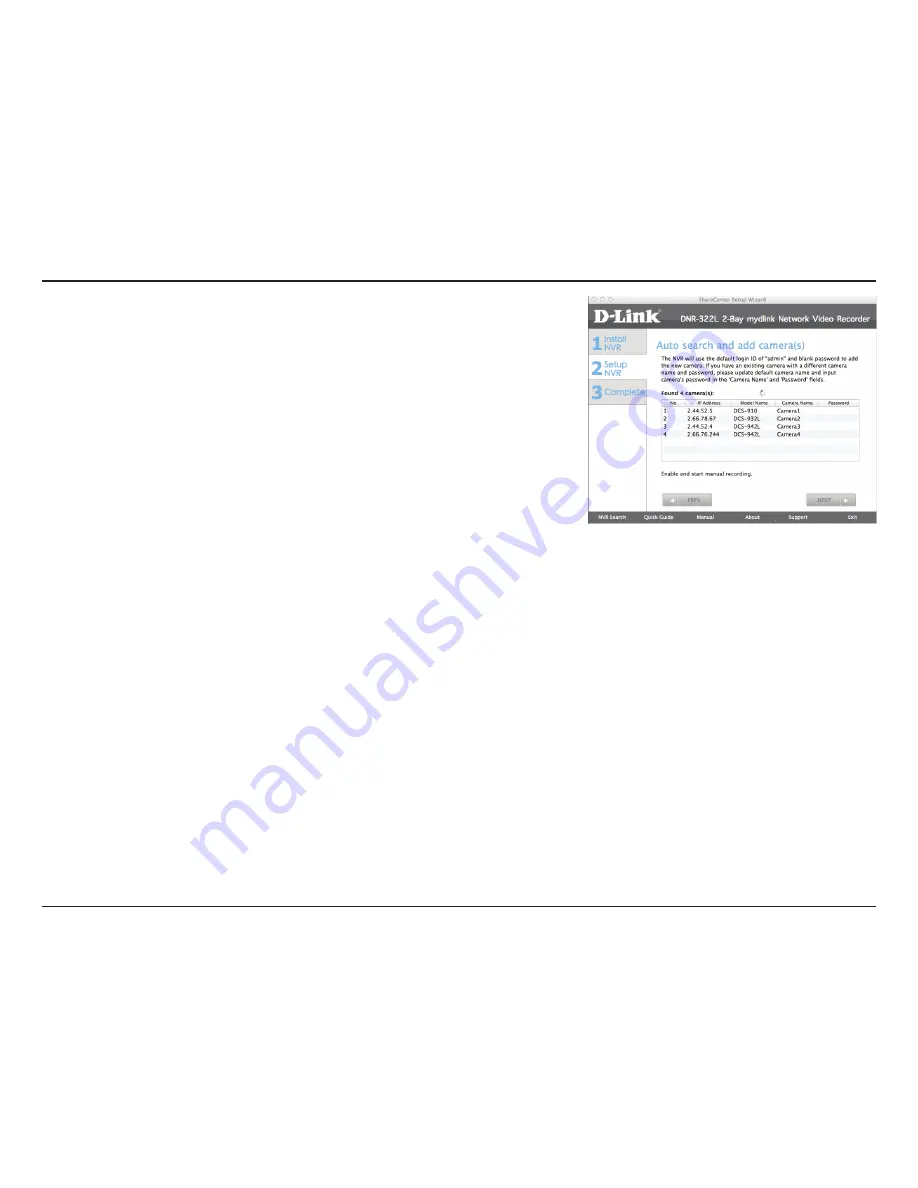
The NVR will use the default login ID of
admin
and a blank password to
add new cameras. If you have an existing camera with a different camera
name and password, please update the default camera name and input
the camera’s password in the Camera Name and Password fields.