D-Link DGS-1100 Series Switch User Manual
Parameter
Description
VLAN Mode
Select the VLAN mode option here. Options to choose from
are
Access
,
Hybrid
, and
Trunk
.
Acceptable Frame
Select the acceptable frame behavior option here. Options to
choose from are
Tagged Only
,
Untagged Only
, and
Admit
All
.
Ingress Checking
After selecting
Trunk
as the
VLAN
Mode
the following
parameter will be available. Select to enable or disable the
ingress checking function.
Action
Select the action that will be taken here. Options to choose
from are
Remove
,
Tagged
, and
Untagged
.
Allowed VLAN Range
Enter the allowed VLAN range information here.
Click the
Apply
button to accept the changes made.
Click the
Back
button to return to the previous window.
Auto Surveillance VLAN
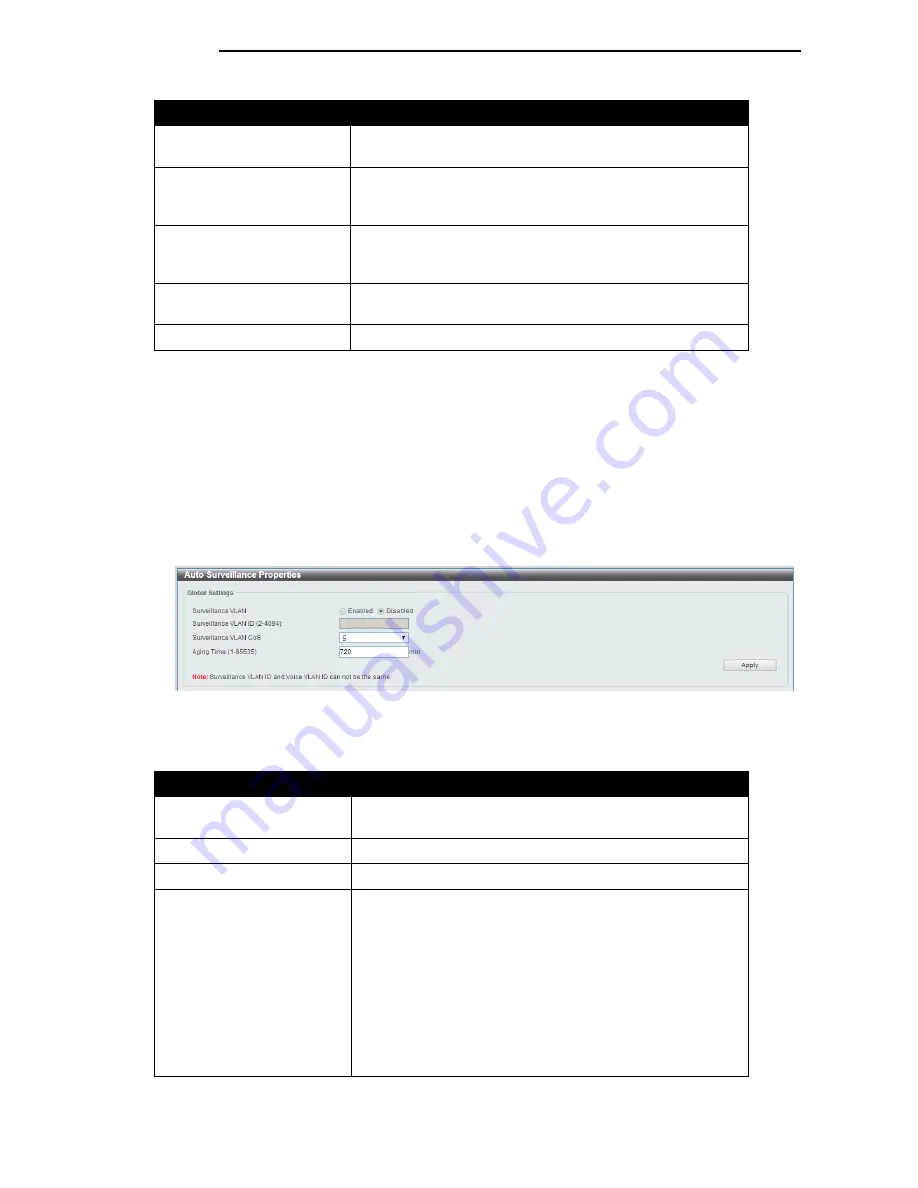
Auto Surveillance Properties
This window is used to configure the auto surveillance VLAN global settings and display the ports
surveillance VLAN information.
To view the following window, click
L2 Features > VLAN > Auto Surveillance VLAN > Auto
Surveillance Properties
, as shown below:
Figure 7-15 Auto Surveillance Properties window
The fields that can be configured for
Global Settings
are described below:
Parameter
Description
Surveillance VLAN
Select this option to enable or disable the surveillance VLAN
state
Surveillance VLAN ID
Enter the surveillance VLAN ID. The range is from 2 to 4094.
Surveillance VLAN CoS
Select the priority of the surveillance VLAN from 0 to 7.
Aging Time
Enter the aging time of surveillance VLAN. The range is from
1 to 65535 minutes. The default value is 720 minutes. The
aging time is used to remove a port from surveillance VLAN
if the port is an automatic surveillance VLAN member. When
the last surveillance device stops sending traffic and the
MAC address of this surveillance device is aged out, the
surveillance VLAN aging timer will be started. The port will
be removed from the surveillance VLAN after expiration of
surveillance VLAN aging timer. If the surveillance traffic
resumes during the aging time, the aging timer will be reset
and stop.
Click the
Apply
button to accept the changes made.
4
4
3
3
Summary of Contents for EasySmart DGS-1100-16
Page 1: ...1...


