DVG-2101SP User Manual
Copyright © 2008 D-Link Australia Pty. Ltd.
Hardware Installation
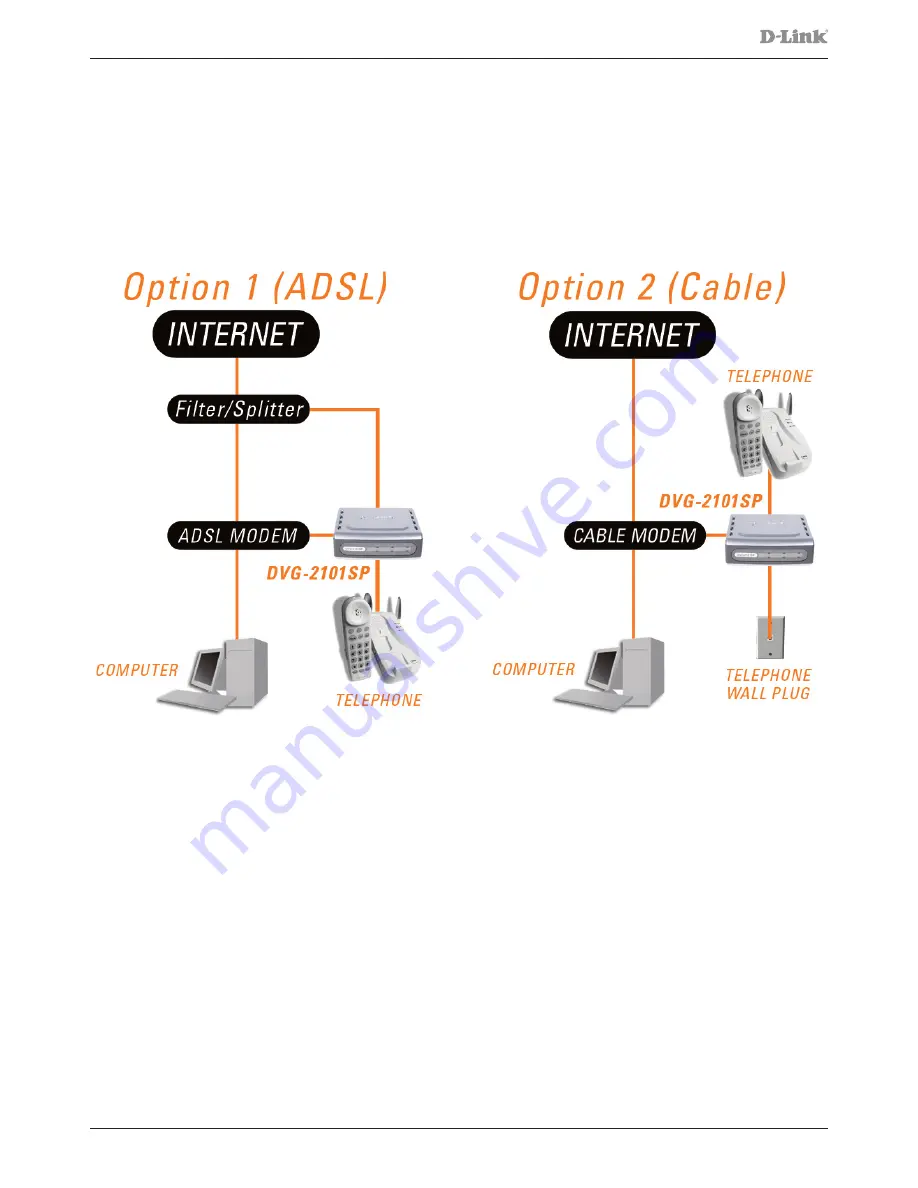
Connecting the DVG-2101SP Directly to a Modem in Bridge Mode
If your computer connects directly to a DSL or Cable modem and does not connect to a router, follow the
steps below to install your DVG-2101SP.
Note: If your modem only has the one Ethernet port and it is being used by your computer then you will
require a Router/Gateway, please see the next page for details on connecting using a Router/Gateway..
1. Turn off your computer.
2. Disconnect the power to your Cable/DSL modem (unplug or turn off the power switch).
3. Unpack the Ethernet cable (blue) that comes with DVG-2101SP. Attach one end of the Ethernet cable
(blue) provided in this package to a LAN or Ethernet port on your Cable/DSL modem. If there are no
Ethernet ports available on your modem, you should include a Router/Gateway in your network setup
(see diagram on the next page).
4. Attach the other end of the provided Ethernet cable to the WAN port of the DVG-2101SP.
5. Attach one end of the provided phone cable (grey) to a standard analog telephone.
6. Attach the other end of the phone cable to the PHONE port on the rear panel of the DVG-2101SP.
7. Attach one end of the provided phone cable (grey) to a PSTN wall socket.
8. Attach the other end of the phone cable to the LINE port on the rear panel of the DVG-2101SP.
9. Reconnect the power to the Cable/DSL modem (plug in or turn on the power switch).
10. Unpack the 12V DC power adapter that comes with the DVG-2101SP. Connect the power adapter to the
power connecter on the DVG-2101SP.
11. Connect the other end of the power adapter to an available electrical outlet (wall socket or surge
protector).
12. Restart your PC.


