


6
Step 4
Access the Web-based Manager
The Manager PC can now use a web browser to communicate with the Router.
Note:
Be sure that the Manager PC is not configured to use a proxy server in the Internet settings.
In Windows Internet Explorer, you can check if a proxy server is enabled using the following
procedure:
1.
In Windows, click on the START button, go to Settings and choose Control Panel.
2.
In the Control Panel window, double-click on the Internet Options icon.
3.
Click the Connections tab and click on the LAN Settings button.
4.
Verify that the “Use proxy server” option is NOT checked. If it is checked, click in the checked
box to deselect the option and click OK.
To use the web-based management software, launch a suitable web browser and direct it to the IP
address of the Router. Type in
http://
followed by the default IP address,
192.168.0.1
in the address
bar
of the browser. The URL in the address bar should read:
http://192.168.0.1
.
In the page that opens, click on the
Login to web-based management module
button in the center.
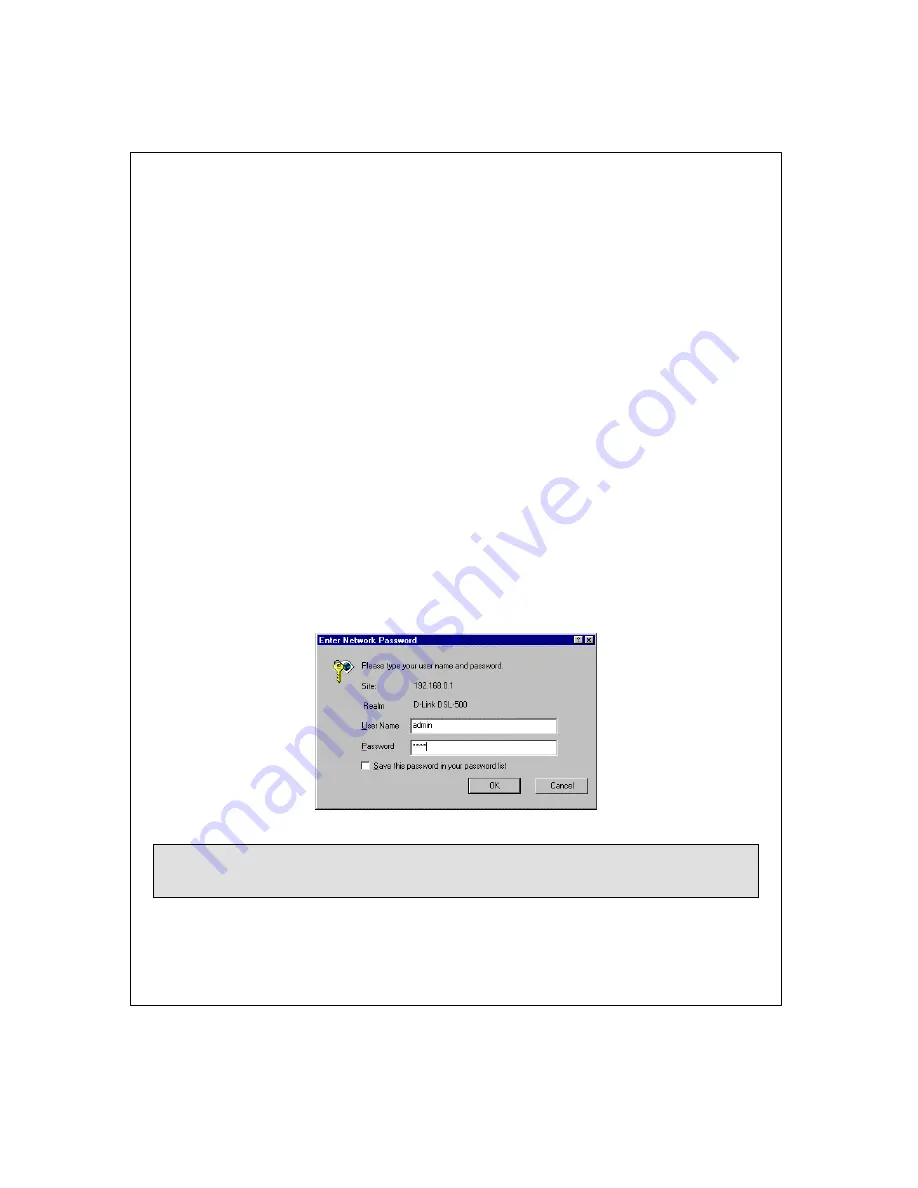
A new window will appear and you will be prompted for a user name and password to access the web-
based manager. Use the default user name
admin
and password
admin
for first time set up. You
should change the web-based manager access user name and password once you have verified that a
connection can be established. The user name and password allows any PC within the same subnet as
the Router to access the web-based manger.
NOTE:
Do not confuse the user name and password used to access the web-based manager
with the ADSL account user name and password needed for PPP connections to access the
ADSL or network service provider’s network.
Logging in will bring up the Router/Bridge Configuration window of the web-based management
module. In this window, you will see the D-Link DSL-500 folder is open revealing its contents of three
subfolders. These subfolders contain menu buttons you can click on to see various menu screens used to
configure the device for connection to the WAN and other functions.
Summary of Contents for DSL-500
Page 2: ......


