background image


Page 6 of 15 

  PAL: select this option to connect the camera to the PAL (50HZ) TV system. 
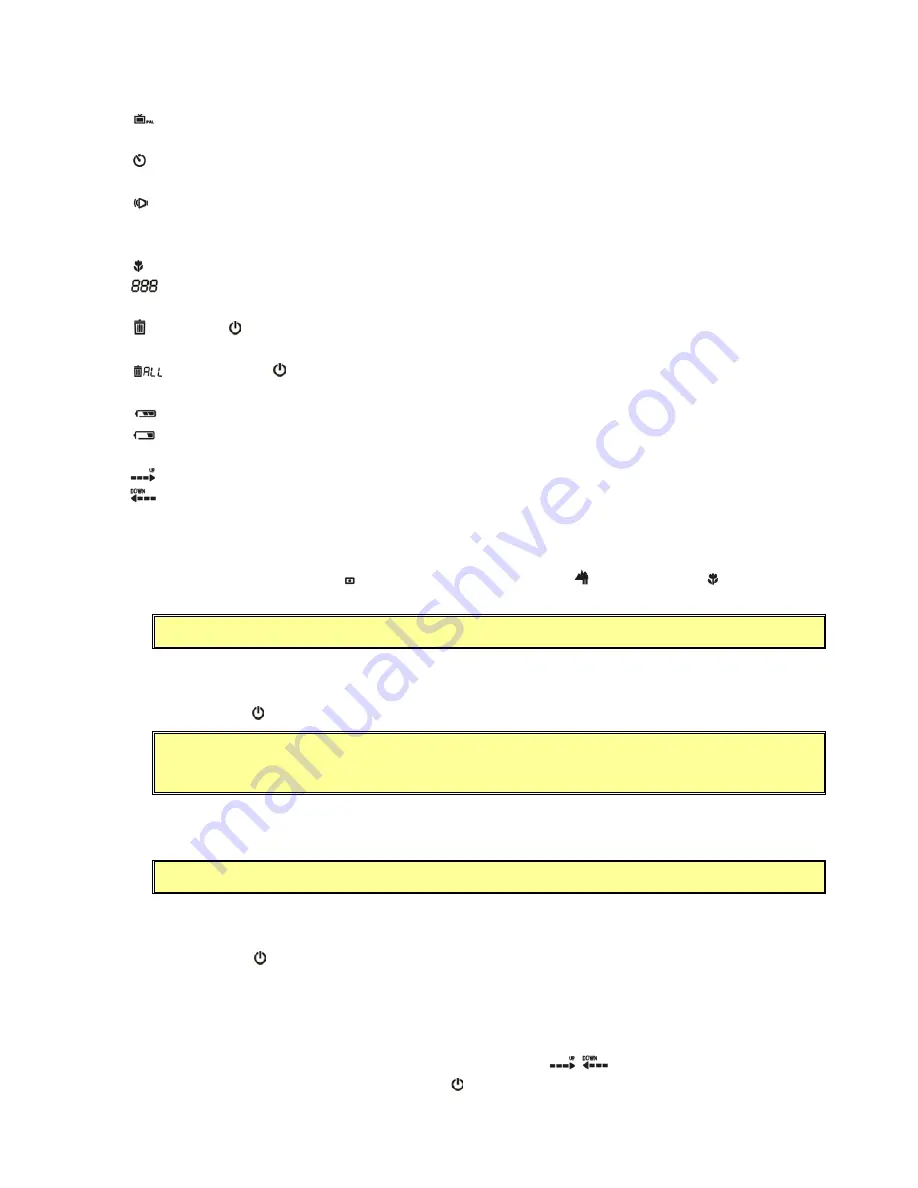
5. Self-timer 

:  the icon blinks quickly when Self-timer is active; the icon blinks slowly when Self-timer is disabled. 

6. Sound 

:  Turn camera sound on/off. The icon blinks quickly when Sound is active; the icon blinks slowly when 

Sound is disabled. 

7. Macro 

Mode 

:  The camera is in a close-up region. 

8. 

: Number of pictures or seconds of video. 

9. Delete 

Last 

: Press the  /Select button to delete the last picture you took. 

10. Delete 

ALL 

: Press and hold  /Select button for a half second to delete all pictures. 

11. Battery 

Status 

Battery low: you’ll need to replace the batteries soon. 

Battery exhausted: turn camera off and replace battery.  

12. Counter-Up/Down 


 Up arrow: showing the number of pictures taken. 


 Down arrow: showing the number of pictures remaining.


3

3

.

.

4

4


C

C

a

a

p

p

t

t

u

u

r

r

i

i

n

n

g

g


A

A


S

S

t

t

i

i

l

l

l

l


P

P

i

i

c

c

t

t

u

u

r

r

e

e


3.4.1  Setting the Focus 

Enter the Still Picture mode ( ). Set the focus switch to infinite ( ) mode or macro ( ) mode by 
switching toward the marks on the front panel. 

Note: 

To avoid overexposure, the flash is disabled in the MACRO Mode.


3.4.2  Setting the Flash 

(1) Press the 

Mode

 button until the Flash icon is blinking. 

(2) Press the 

/Select

 button to switch between Auto Flash and No Flash. 

Note:

  After the flash is released when you take a picture, the 

Flash 

icon blinks until the 

flash is fully charged.


3.4.3  Taking a Still Picture 

Press the 

Shutter

 button to take a picture. 

Note: 

Do not move your camera until it gives a beep.


3.4.4  Using the Self-Timer  

(1) Press 

the 

Mode

 button until the 

Self-Timer

 icon comes up and blinks. 

(2) Press 

the 

/Select

 button to enable or disable the Self-Timer. 

(3)  Once you have enabled the Self-Timer, press the Shutter button and the picture is taken after 10 

seconds.  

3.4.5  Checking the Image Count 

The LCD display on the back of the camera shows the number of pictures taken or pictures remaining. To 
change the image count, press the 

Mode

 button until the icon (

) blinks. Switch between the two 

modes and confirm your choice by pressing the 

/Select

 button. 

Summary of Contents for DSC-2000

Page 1: ...D Link VisualStreamTM 2 Mega Dual mode Digital Camera Manual Rev 101702 ...

Page 2: ...g the Flash 6 3 4 3 Taking a Still Picture 6 3 4 4 Using the Self Timer 6 3 4 5 Checking the Image Count 6 3 4 6 Deleting the Pictures 7 3 5 Capturing Video 7 3 6 Multisnap 7 3 7 TV Playback 7 3 8 TV Video 7 3 9 Getting Your Pictures and Videos into the Computer 7 4 Using the DSC 2000 with Photolmpression 3 9 4 1 Getting Started 9 4 2 Using PhotoImpression 3 9 5 Using the DSC 2000 with Videolmpres...

Page 3: ...TV output port 7 USB port 8 Hand strap eyelet B Ba ac ck k 1 Viewfinder 2 Status LCD display 3 Power Select button Press the Select button to switch between the option and confirm your choice 4 Mode button Press the Mode button to cycle through the options 5 Battery chamber cover 1 1 2 2 3 3 4 4 5 5 1 1 3 3 2 2 4 4 6 6 7 7 5 5 8 8 ...

Page 4: ... ft tw wa ar re e 1 Select the programs you wish to install from the main menu 2 Click the Application Software button to start installing 3 Follow the instructions to processed installation 4 When installation completes the Application Software group will appear as a folder under the directory of Program Files 5 To start the application software click Start point to Programs and then click the na...

Page 5: ...de resolution flash etc keep pressing the Mode button to cycle through the options on the status display The icon of the active option will flash Change it by pressing the Select button 1 Operation Mode Photo for taking still pictures Video Clip for recording video clips Multisnap for taking five consecutive still pictures TV Playback for viewing images stored in the camera on a TV monitor TV Vide...

Page 6: ...the Still Picture mode Set the focus switch to infinite mode or macro mode by switching toward the marks on the front panel Note To avoid overexposure the flash is disabled in the MACRO Mode 3 4 2 Setting the Flash 1 Press the Mode button until the Flash icon is blinking 2 Press the Select button to switch between Auto Flash and No Flash Note After the flash is released when you take a picture the...

Page 7: ...button The camera takes five consecutive pictures 3 3 7 7 T TV V P Pl la ay yb ba ac ck k In the TV Playback mode you can view images stored in the camera on a TV monitor 1 Press the Mode button once press the Select button until the TV Playback icon appears 2 Plug the camera into a television monitor with the TV cable 3 Press the Shutter button to view the images Note In the TV Playback mode powe...

Page 8: ...mage files can be found under the directory DCIM on the drive named Removable Disk You can read delete move or copy any image files you want PC Camera Mode A The status LCD will show Pcc when you press the Shutter button The camera will function as a PC camera B With your Digital Camera and camera software you can do video calling video e mail or live video broadcasting on the Internet right from ...

Page 9: ...e camera to your PC you can load pictures from the camera into PhotoImpression 3 for preview and editing 1 Select Get photo from the main menu 2 Select from folder to browse the directory and folders to get images you want 3 Select removable disk from the disk drives in the pop up window 4 Enter the folder named DCIM under the directory of removable disk and then go to 100Album The images saved on...

Page 10: ... a mobile data storage device that stores images and video frames you took After connecting the camera to your PC you can load video frames from the camera into VideoImpression 1 6 for preview and editing 1 Select New from the VideoImpression main screen 2 Select Get from the menu on the left of the edit screen 3 A window pops up Select removable disk from the disk drives in the pop up window 4 No...

Page 11: ...ion of the image See VideoImpression Help Document for details about the options on the Storyboard Editing A Video You can also edit a video or movie in the Edit mode Options on the Edit Screen for Video Files include Play Pause Previous Frame Next Frame Playback Slider Starting Mark and Ending Mark Note 1 If you are a PC user you can adjust the starting ending frame by right clicking the video an...

Page 12: ...list my name in this directory check box 6 1 4 Click Next and then select the appropriate location for the shortcuts 6 1 5 Click Next follow the instructions in the Audio Tuning Wizard and then click Finish After you run NetMeeting for the first time you can modify the information you entered about yourself or the directory server name that you want to connect to To do so click Options on the Tool...

Page 13: ...rms to D Link s functional specifications for the Software Except as otherwise agreed by D Link in writing the replacement Software is provided only to the original licensee and is subject to the terms and conditions of the license granted by D Link for the Software The Warranty Period shall extend for an additional ninety 90 days after any replacement Software is delivered If a material non confo...

Page 14: ...QUENTIAL INCLUDING BUT NOT LIMITED TO DAMAGES FOR LOSS OF GOODWILL WORK STOPPAGE COMPUTER FAILURE OR MALFUNCTION LOSS OF INFORMATION OR DATA CONTAINED IN STORED ON OR INTEGRATED WITH ANY PRODUCT RETURNED TO D LINK FOR WARRANTY SERVICE RESULTING FROM THE USE OF THE PRODUCT RELATING TO WARRANTY SERVICE OR ARISING OUT OF ANY BREACH OF THIS LIMITED WARRANTY EVEN IF D LINK HAS BEEN ADVISED OF THE POSSI...

Page 15: ...to comply with the limits for a Class B digital device pursuant to part 15 of the FCC Rules These limits are designed to provide reasonable protection against harmful interference in a residential installation This equipment generates uses and can radiate radio frequency energy and if not installed and used in accordance with the instructions may cause harmful interference to radio communications ...

Reviews: