4 Configuration
D-Link Web Smart Switch User Manual
60
Enter the
IP Address
,
MAC Address
,
Ports
and then click
Add
to create a checking/filtering rule. Click
Delete
to remove an existing rule and
Delete All
to clear all the entries.
Security > DHCP Server Screening
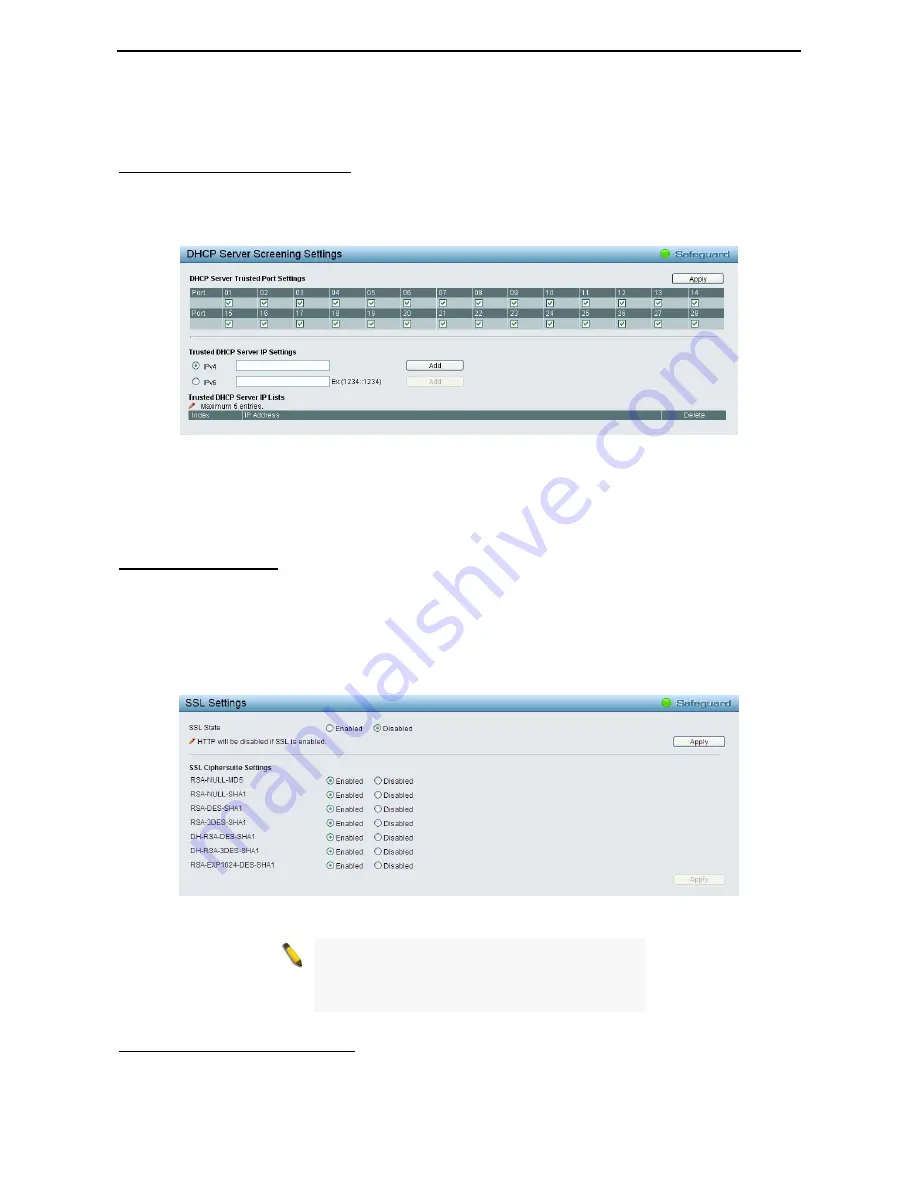
DHCP Server Screening function allows user to restrict the illegal DHCP server by discarding the DHCP
service from distrusted ports. This page allows you to configure the DHCP Server Screening state for each
port and designed trusted DHCP server IP address. Select
Ports
and then click
Apply
to enable or disable
the function.
Figure 4.83 – Security > DHCP Server Screening
Trusted DHCP Server IP Settings:
Select IPv4 or IPv6 and specify the IP address then click Apply to create
Trusted DHCP Server.
Click
Add
to add a DHCP trusted DHCP server.
Security > SSL Settings
Secure Sockets Layer (SSL) is a security feature that provides a secure communication path between a Web
Management host and the Switch Web UI by using authentication, digital signatures and encryption. These
security functions are implemented by Ciphersuite, a security string that determines the cryptographic
parameters, encryption algorithms and key sizes.
This page allows you to configure the SSL global state and the Ciphersuite settings. Select
Enable
or
Disable
and then click
Apply
to change the SSL state or the Ciphersuite settings of the Switch. By default,
SSL is
Disabled
and all Ciphersuites are
Enabled
.
Figure 4.84 – Security > SSL Settings
NOTE:
When SSL is enabled, it will take longer
time to open a web page due to encryption. After
saving configuration, please wait around 10
seconds for the system summery page.
Security > DoS Prevention Settings
The user can enable or disable the prevention of each DoS attacks. As long as user enable DoS Prevention,
switch can dtop the packet matching DoS Attack Prevention type listed on below table. The packet matching
will be done by hardware.


