3 Getting Started
DES-1210 Series Switch Web UI Reference Guide
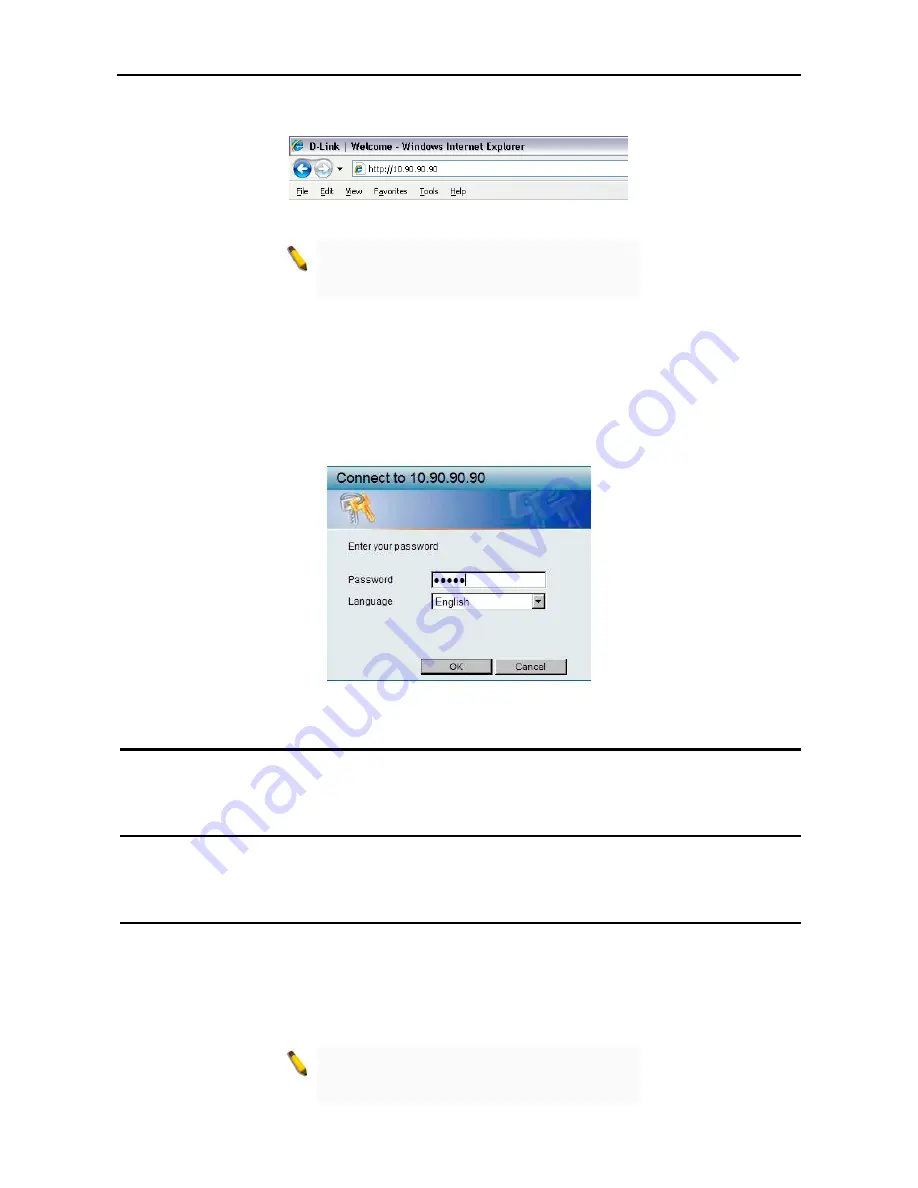
the Web Access button at the top of the SmartConsole Utility or open the web browser and enter
10.90.90.90
(the factory-default IP address) in the address bar. Then press <Enter>.
Figure 3.2 –Enter the IP address 10.90.90.90 in the web browser
NOTE:
The switch's factory default IP address is
10.90.90.90 with a subnet mask of 255.0.0.0 and
a default gateway of 0.0.0.0.
The web configuration can also be accessed through the SmartConsole Utility. Open the SmartConsole
Utility and double-click the switch as it appears in the Monitor List. This will automatically load the web
configuration in your web browser.
When the following logon dialog box appears, enter the password and choose the language of the Web-
based Management interface then click
OK
.
The switch supports 10 languages including English, Traditional Chinese, Simplified Chinese, German,
Spanish, French, Italian, Portuguese, Japanese and Russian. By default, the password is
admin
and the
language is
English
.
Figure 3.3 – Logon Dialog Box
Smart Wizard
After a successful login, the Smart Wizard will guide you through essential settings of the D-Link Web Smart
Switch. Please refer to Smart Wizard Configuration section for details.
Web-based Management
By clicking the
Exit
button in Smart Wizard, you will enter the Web-based Management interface. Please
refer to Chapter 4 Configuration for detailed instructions.
D-Link Network Assistant (DNA)
The D-Link Network Assistant (DNA), included in the installation CD, is a program that allows administrators
to quickly discover all D-Link smart switches and D-Link Discover Protocol (DDP) supported devices (for a
list of supported models, refer to the
D-Link Network Assistant (DNA) User Guide
), that are in the same
subnet as the PC, collect traps and log messages, and provide quick access to basic configurations of the
switch. This tool is only for computers running Windows 7, Vista, XP, or 2000 on both 32/64bit systems.
There are two options for the installation of the DNA; one is through the Autorun program on the installation
CD and the other is manual installation.
NOTE:
Please be sure to uninstall any existing
DNA from your PC before installing the latest
DNA.
1
1
3
3


