ASSEMBLING
Once you have unboxed all the parts :
Place the lid (1) onto the shaft situated on the upper part
of the grinder (3)
Assemble the upper part (3) and the bottom part of the
grinder (4).
Your grinder is ready to be used.
your grinder before use
USING YOUR GRINGER
- Remove the handle (2) from the top of the grinder and
remove the lid from the shaft (1).
It will be easier to remove the lid (2) or the bottom container
from the grinder body by twisting in either direction.
- Fill the amount of coffee beans you wish to grind in the
upper container (4).
- Put the lid (1) on.
- Ensure the bottom part of the grinder is firmly in place (4).
- Turn the handle clockwise (2) by holding the body tightly
(3+4) until you no longer feel any friction whatsoever
- Carefully remove the lower part containing the ground
coffee (4).
Note:
To better dose your coffee before grinding, use the
lower container (4) to weigh your coffee beans. It will then be
easy to just transfer them to the upper part of the grinder (3).
WARNING
This grinder was made for grinding roasted coffee beans
only. Any other use is at the user’s own risk.
Ensure that the coffee beans are dry and that no other
material enters the hopper (for example, stones that may not
have been removed during the roasting process).
When turning the adjusting wheel, ensure there are no
obstructions between the inner and outer burr (this includes
coffee) as it may damage the blades.
Do not turn the handle further when you feel that something
hard is preventing the burrs from moving or if you hear an
irregular sound when grinding. Should this happen, open the
grinder and remove the foreign body from the burrs.
The burrs of this grinder are made of stainless steel. If the
grinder or burrs have been damaged, stop using the grinder
immediately.
ADJUSTING
your gringer
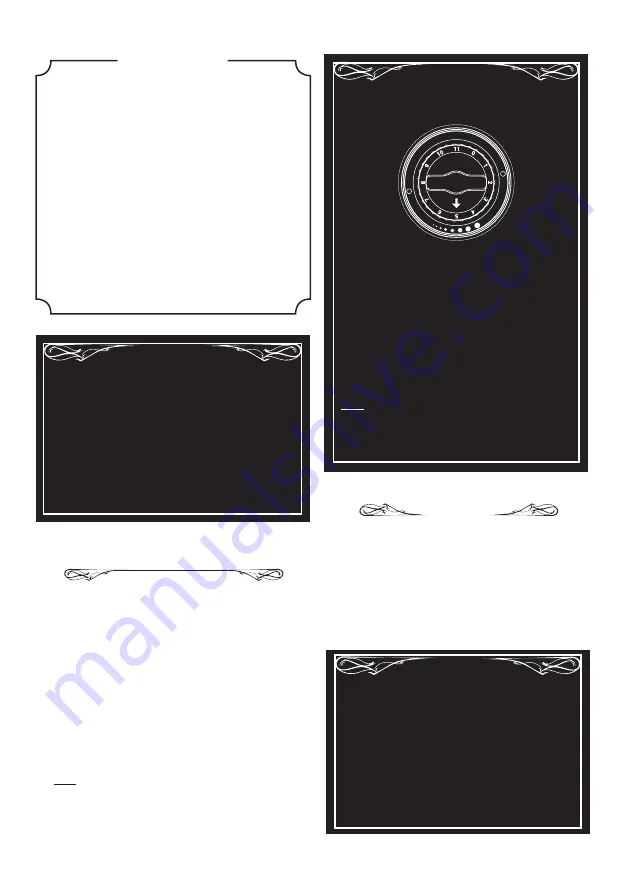
You can adjust the size of your grind, making it finer or
coarser, by turning the wheel located at the bottom of
the upper part, below the burrs (5).
For a finer grind turn the grind selection dial
clockwise, for a coarser grind turn anticlockwise.
When turning the adjusting wheel make sure there
is nothing between the inner and outer burrs (this
includes coffee beans). This is very important when
switching from a coarse to a finer grind setting. Trying
to adjust the grind size with coffee stuck between the
burrs may break the burrs.
Note: when the burrs are too tight (grind size set too
fine), they come into contact with each other. If the
rotation of the crank becomes difficult, we advise you
to loosen the ceramic burrs so as not to break them.
CLEANING
To clean your grinder, you can use a toothbrush or a small
paint brush to remove any loose grounds stuck onto the
burrs. For a deep clean, you can use a specialised grinder
cleaning product to remove any coffee residues and coffee
oils from the mechanism (please make sure you follow the
instructions from the manufacturer).
Burrs can be removed by unscrewing them. It is important
to do this when you do a thorough clean of your grinder.
CONTACT
D-Kanta
25 rue de Galeben, 33380 Mios, FRANCE
1/ For slow coffee brewing methods, we recommend
you use 60g of ground coffee for 1L of water, a good
basic extraction ratio.
2/ To maintain the aroma and freshness of coffee and
get the best out of it, we advise you to grind your coffee
as you go, at the last minute, just before brewing.
3/ Adapt your grind to your chosen extraction method
Have a nice coffee!
TIPS


