22
CY3280-SmartSense CapSense Auto-Tuning Kit Guide, Doc. # 001-64672 Rev. *B
Load CapSense Example Projects
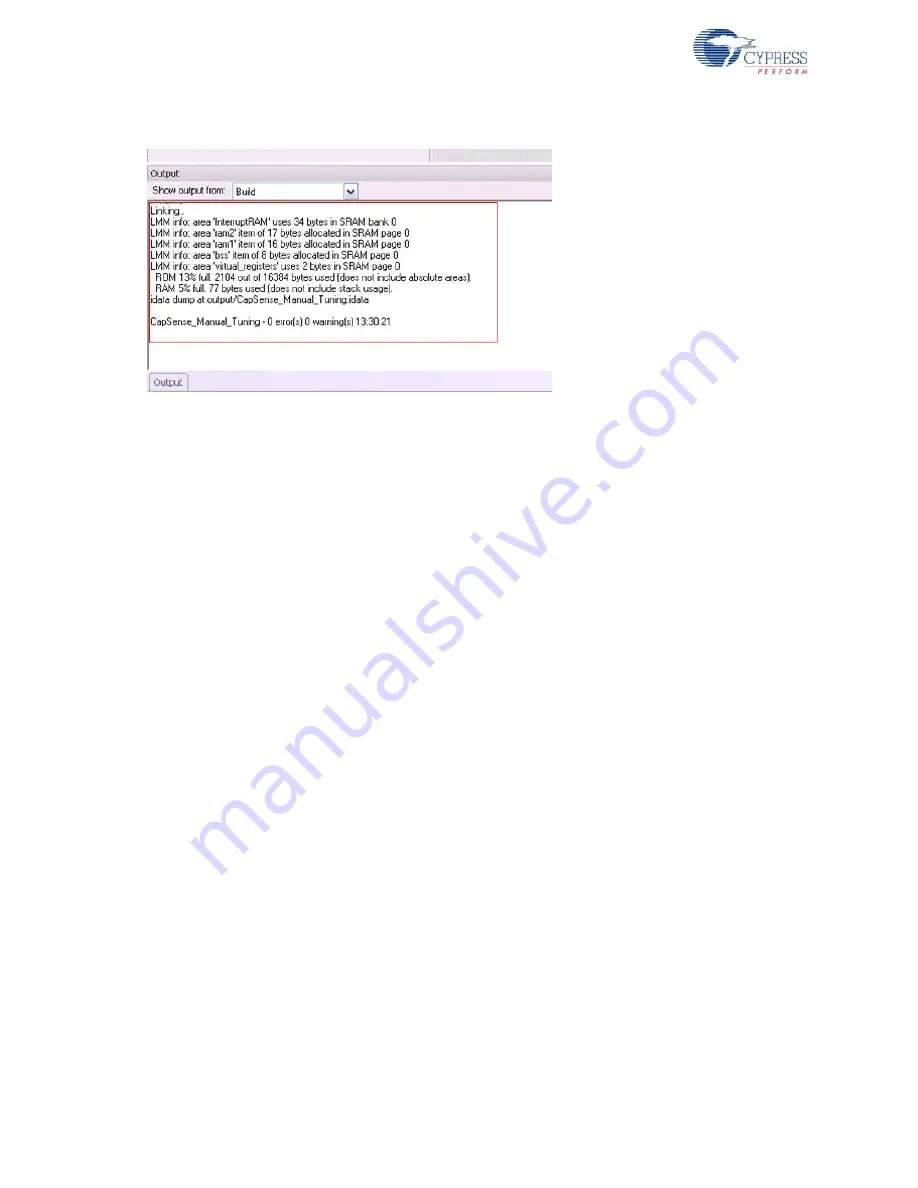
Figure 3-12. Output Window
3.2.3
Program Project
1. Open
Program Part
in PSoC Designer by selecting
Program
>
Program Part
2. In the
Program Part
window
a. Select
MiniProg1
in the
PortSelection
box
b. Set
Acquire Mode
to
Power Cycle
.
If the board is already powered from AAA batteries or
from external supply through J2, set
Acquire Mode
to
Reset
c. Set
Verification
to
ON
. This ensures that downloaded checksum matches actual checksum
d. Set
Power Settings
to
5V
e. Click program arrow to program the device
3. Wait until programming is completed to continue
4. Disconnect MiniProg1 from the kit
3.2.4
Run Project
Power the board using one of the sources listed in
2.1.3 Power Sources on page 11
. Touch a
CapSense button on the board to see the corresponding LEDs toggle. See
.
3.2.5
Self Tuning Demonstration
1. Power the board using one of the sources listed in
2.1.3 Power Sources on page 11
2. Touch
BTN2
; the corresponding LED2 toggles
3. Connect the supplied axial capacitor of value 10 pF between J5.5 and J5.2 (this adds to the par-
asitic capacitance of BTN2); see
4. Toggle the board power
5. Touch
BTN2
; LED2 toggles again, as shown in
6. Repeat step 2, 3, and 4 with 22 pF, 33 pF, and 68 pF axial capacitors
This demonstration shows that irrespective of variation in button parasitic capacitance, system works
the way it is indented to (LED toggles when the corresponding button is touched) due to the self
tuning capability of the SmartSense algorithm.
Note
SmartSense user module works with sensor parasitic capacitance (Cp) as high as 45 pF.
Sensors with Cp greater than 45 pF are not guaranteed to work.


