第
9
頁,共
12
頁
SWH-2109F
V1.1
NOTE:
The default primary is Port F2 and Secondary is Port F1.
2.4 The Rear Panel
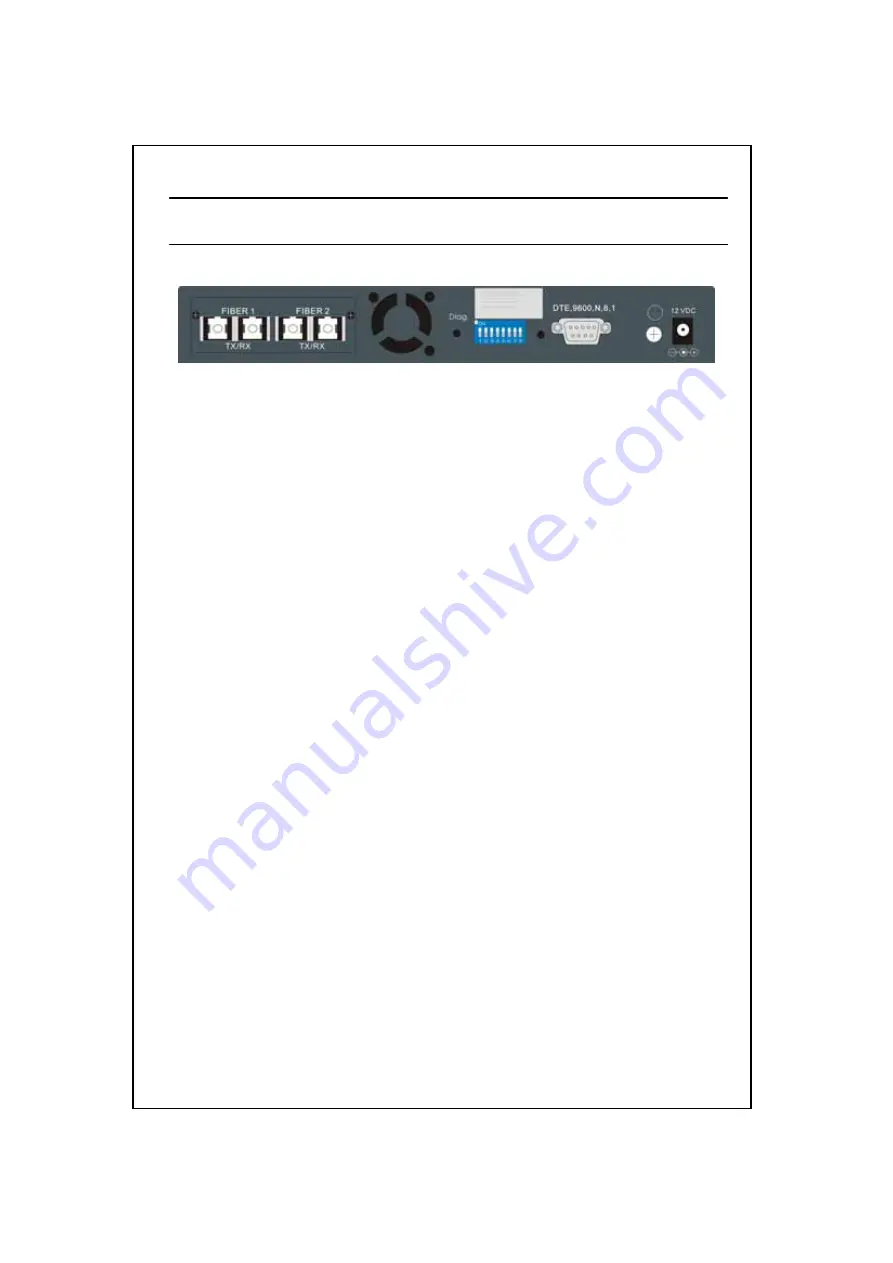
The rear panel of the hub is shown below
2.4.1 Power Connecting
Plug the circle end of the power adapter firmly into the rear panel of the switching
hub, and the other end into an electric service outlet then the system is ready.
2.4.2
DIP Switch
The DIP switch reserved all of functions.
2.4.3
Fiber Port
The F1 and F2 are Fiber Optic link ports.
2.4.4
Diag button
Reserves
3. Installing and Using 9 Port NWay Switching Hub
3.1 Installing the 9 Port NWay Switching Hub
The SWH-2109F does not require software configuration. Users can immediately
use any of the features of this product simply by attaching the cables and turning the
power on.
3.1.1 Desktop Installation
To locate the switching hub on the desktop and place the hub on a clean, flat desk
or table closes to a power outlet. Plug in all network connections and the power cord, and
then the system is ready.
When deciding where to put the switching hub then you must ensure:
It is accessible and cables can be connected easily
Power cord holder was kept in package if consider to fix power cord. It could lock
aside from consol port.
Cabling is away from:
Sources of electrical noise such as radios, transmitters and broadband amplifiers
, Power lines and fluorescent lighting fixtures.
Water or moisture can not enter the unit
Air flow around the unit and through the vents in the side of the case is not
restricted (company recommend that you provide a minimum of 25mm inch
clearance)
To prolong the operational life of your units:


