DriveCore Install Network Series
Power Amplifiers
page 9
Operation Manual
Connect Loudspeakers and Configure for Loudspeaker Load
Determine load impedances and power requirements
Before making any connections, carefully check and review the total impedance for loudspeaker systems to be connected to each amplifier output. If multiple loudspeakers
are connected to one output (in series, parallel or series-parallel) for Low-Z operation, be certain the total system impedance is within allowed specification for the output.
When multiple loudspeakers are connected to one output for Hi-Z operation, be certain total tapped power is below the rated power output for the channel. For additional
information, please consult Crown’s Amplifier Application Guide (available online at www. crownaudio.com).
Note: Illustrations and some text references are for channel pair 1 - 2 only. Connections and settings are identical for channels 3 – 4 on
four-channel models and for channels 5 – 6 and 7 – 8 on eight-channel models. Each channel may be configured independently on multichannel
models.
Set-up and System Configuration
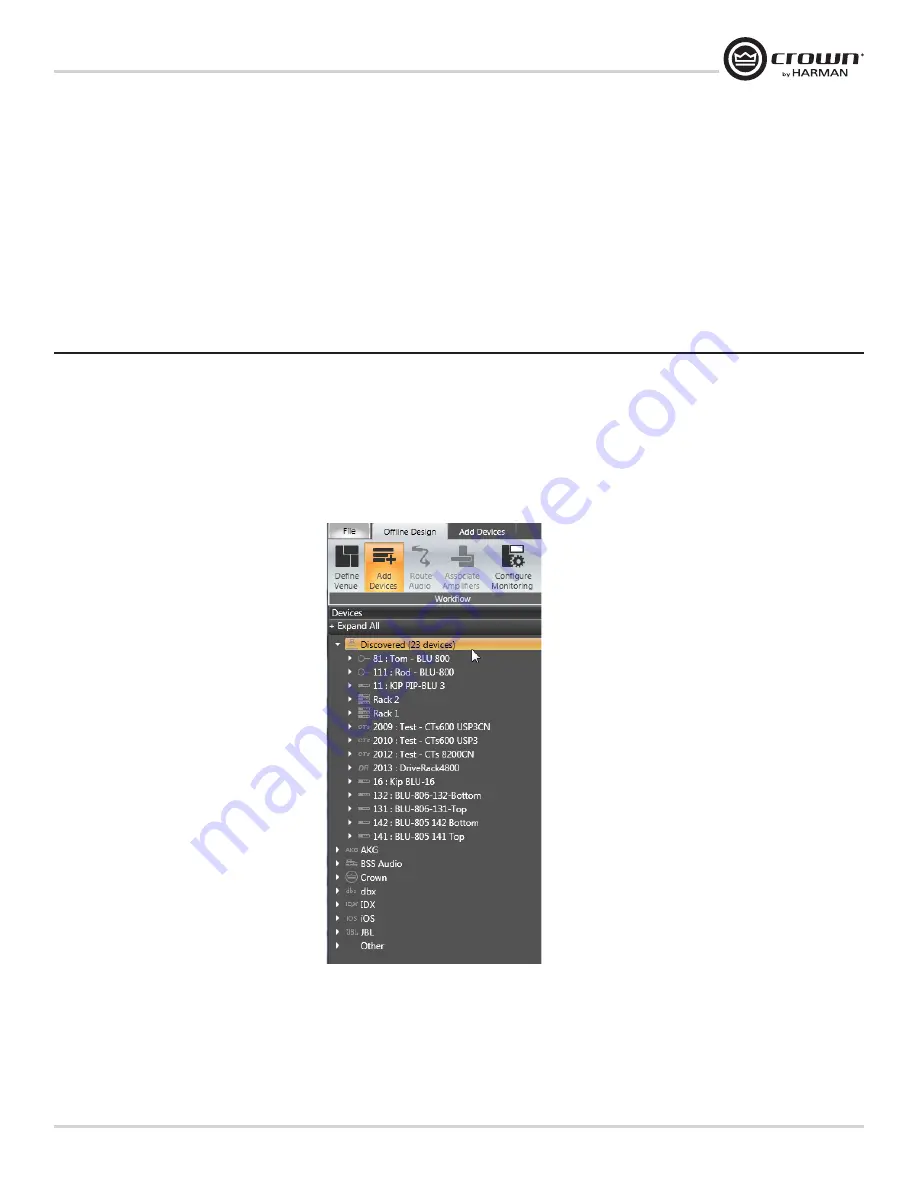
Figure 1
Set Up and Configuration of the DriveCore™ Install Network amplifiers can be completed through HiQnet Audio Architect
TM
. The amplifier should be connected to a TCP\
IP network via the Ethernet connection on the back of the amplifier. Note: the BLU Link digital audio transport connectors cannot be used for control and monitoring of the
amplifier.
To quickly configure your DriveCore™ Install Network amplifier, connect all of the amplifiers and configuration computer to the same network. For more information on
network configuration, please visit www.archimedia.harman.com. In the following example, we will only show amplifiers.
When Audio Architect™ is first loaded, the software will scan the network for HiQnet devices. All devices that are discovered on the network will be found under the ADD
DEVICE tab on the left hand tree menu. If the devices are not found, then the network may not be configured correctly. See Figure 1.
Summary of Contents for DCi 2 300N
Page 66: ......


