


Chapter 1
—
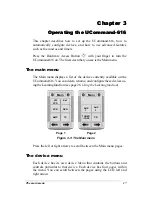
Introducing the UCommand-616
Quick Start 3
9.
As soon as the button has been learned, the screen will ad-
vance the to the next button to be learned. Again, press the
corresponding Device button.
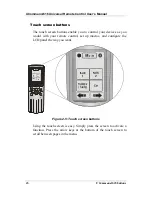
You can program any button in any order just be selecting it
with the tip of your finger.
10.
Once a full screen is programmed, the remote will automati-
cally display the next screen to be learned, until all four
screens have been programmed. You can use the Left/Right
arrows at the bottom of the display to advance to any screen
at any time.
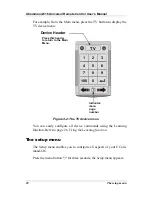
11.
You do not have to program all available buttons. To pro-
gram the next device in your system, press the
menu
button at
any time to back out until you can select another device.
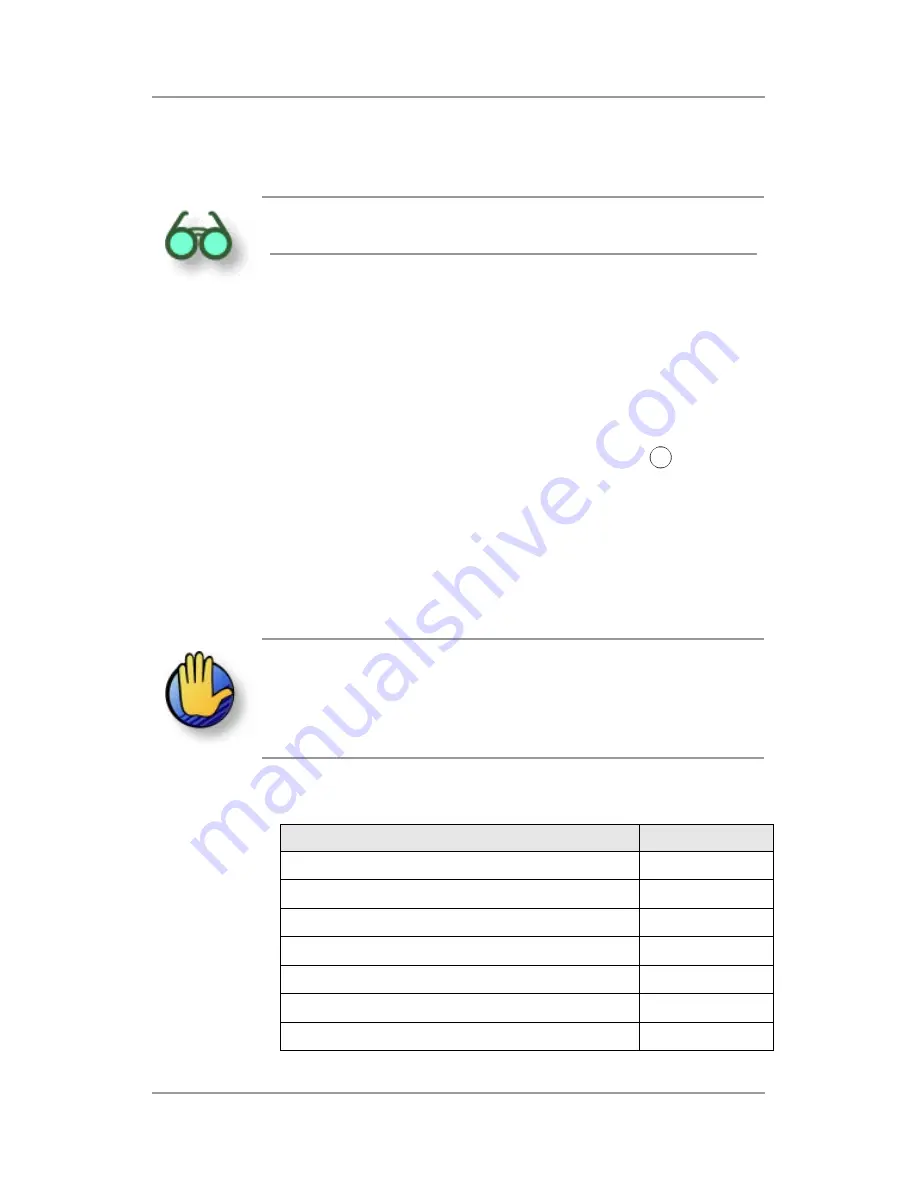
12.
To
Customize your UC-616
and change button sizes and
labels, get to the
Setup
menu and select
Adjust
. Select
De-
vice
, and turn to page 31 in this manual for further
instructions.
Do not attempt to create more than eight (8) buttons on
either one of the two Main menu pages.
Please read
carefully the chapters regarding customization in this man-
ual.
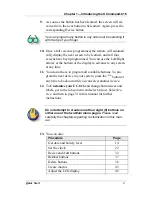
13.
You can also:
Procedure
Page
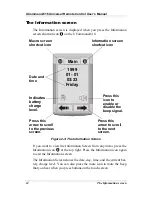
Get date and battery level
14
Set the clock
22
Resize and Add buttons
32
Relabel buttons
37
Delete buttons
38
Create macros
43
Adjust the LCD display
48
Summary of Contents for UCommand 616
Page 1: ...User s Manual For QUICK START see page 2 inside...
Page 2: ...UCommand 616 Universal Remote Control User s Manual...
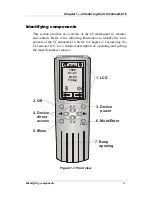
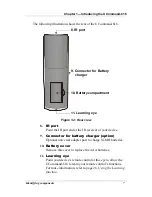
Page 16: ...Chapter 1 Introducing the UCommand 616 Identifying components 8...
Page 28: ...UCommand 616 Universal Remote Control User s Manual 20 The setup menu...
Page 60: ...UCommand 616 Universal Remote Control User s Manual 52 Making LCD adjustments...
Page 66: ...UCommand UC 616 Touch Screen Remote Control User s Manual 8 12 00 UG 616 Printed in Taiwan...


