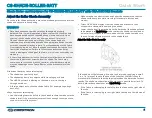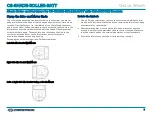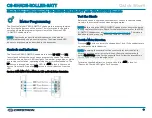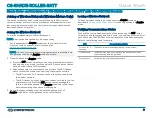
Swap the Roller Shade Idler and Motor
If the idler and motor brackets have been swapped, remove the motor
and idler from the tube and remount in the opposite ends, allowing the
fabric to roll off of the tube in its intended manner
Swap the idler and motor ends of the roller shade.
1. Remove the motor by pulling on the motor head.
2. Use the idler removal tool to loosen the idler by rotating the idler
counterclockwise. Pull the idler out of the tube.
3. Insert the motor into the tube end opposite from where it was
removed.
4. Insert the idler into the tube end opposite from where it was removed.
5. Use the idler removal tool to tighten the idler; rotate the idler clockwise
two turns, and then tighten until snug. Pull on the idler to confirm it is
properly secured.
Battery Pack
Insert Batteries
Use 8 D-cell batteries (1.5 V alkaline) to power the shade motor. The
batteries must be new.
To insert batteries, follow these steps:
1. Disconnect the battery pack cable from the motor.
2. Remove the positive end of the battery pack. To remove, twist the cap
counterclockwise.
3. Insert 8 D-cell batteries into the batter pack. Follow the markings on
the battery pack to ensure proper orientation.
4. Replace the positive end of the battery pack. To replace, twist the cap
clockwise.
5. Connect the battery-pack cable to the motor.
Mount the Battery Pack
Mount the battery pack to a flat surface. The battery pack should be
mounted on the same side of the shade as the motor and should be
hidden from view by the shade fabric.
NOTE:
The battery pack must be mounted horizontally.
To mount the battery pack, follow these steps:
7
CS-SHADE-ROLLER-BATT
Quick Start
Shade Motor and Hardware for CS-SHADE-ROLLER-BATT with CSA-DECOR3 Brackets


