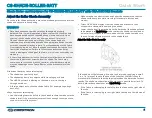
Swap the Idler and Motor Ends
The roller shade assembly can be mounted so that the idler and motor
ends are located in the ends of the tube opposite where they were when
received from the factory (i.e., the idler end is on the left and the motor
end is on the right). When the idler bracket is mounted, the keyhole in the
idler bracket must be parallel with the wall; the head of the adjustment
screw must face down. The keyhole can be rotated so that it is in the
correct orientation. Refer to the illustrations below for keyhole
orientation based on mounting location.
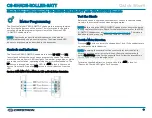
Swapping the hardware requires a Phillips screwdriver.
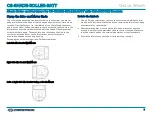
Left-Side Idler Bracket Wall Mount
Right-Side Idler Bracket Wall Mount
Left- or Right-Side Idler Bracket Ceiling or Header Mount
Rotate the keyhole
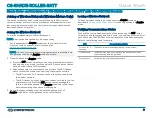
1. Using a Phillips screwdriver, remove the four screws holding the idler
mount in the left-hand bracket and then remove the idler mount. Keep
all hardware for reassembly.
2. Reassemble the idler mount and the left-hand bracket so that the
keyhole is parallel to the wall when the bracket is mounted. Make sure
that the screw head on the vertical adjustment screw faces down.
3. Secure the idler mount with the screws removed in step 1.
5
CS-SHADE-ROLLER-BATT
Quick Start
Shade Motor and Hardware for CS-SHADE-ROLLER-BATT with CSA-DECOR3 Brackets


