


Installing Creative WebCam NX Ultra 1-4
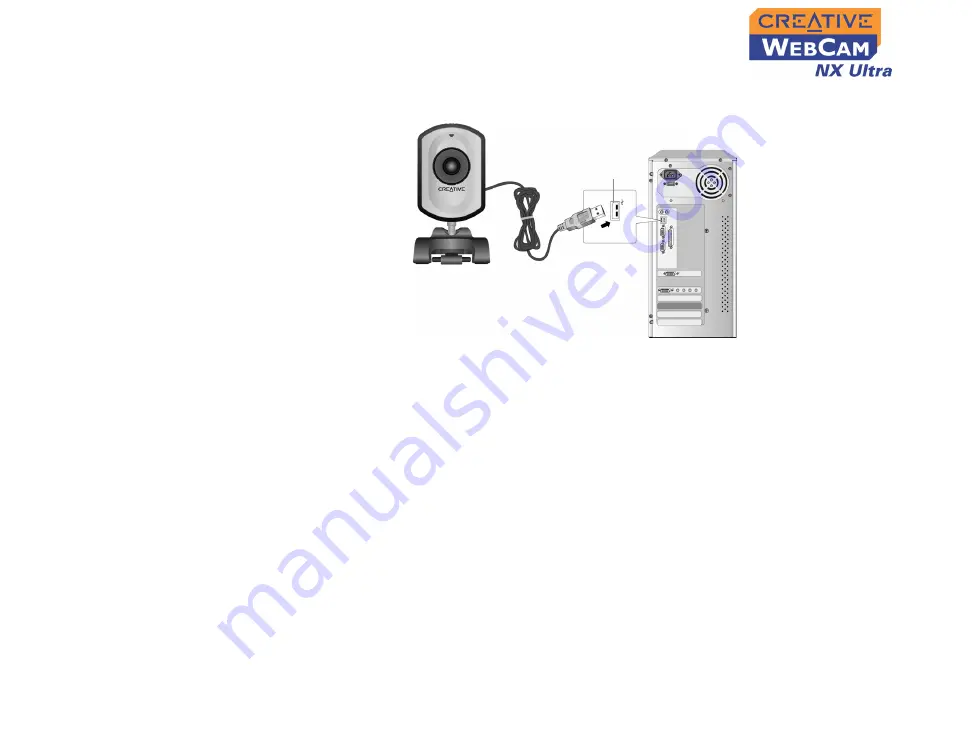
7. Connect your WebCam to your computer as shown in Figure 1-4.
For Windows XP only
After connecting your camera, Windows automatically detects the device.
8. When the
Found New Hardware Wizard
dialog box appears, click the
Install
the software automatically
(
Recommended
) option, and then click the
Next
button.
9. Check the image in the
Video preview
pane of the
Creative WebCam NX
Ultra Camera Configuration
dialog box. If it flickers or displays a series of
dark bands, click the
Cancel Flicker
button.
10. Click the
Finish
button, and then restart your computer if you are prompted to
do so.
Figure 1-4: Connecting Creative WebCam NX Ultra to your computer
USB port
Summary of Contents for WebCam NX Ultra
Page 1: ......
Page 3: ...Contents...
Page 6: ...Introduction...
Page 10: ...1 Installing Creative WebCam NX Ultra...
Page 17: ...2 Creative WebCam NX Ultra Applications...
Page 19: ...3 Using PC CAM Center...
Page 24: ...A Technical Specifications...
Page 27: ...B Troubleshooting...
Page 30: ...C Note on USB Compatibility...
Page 32: ......


