Installing Creative WebCam Notebook 1-3
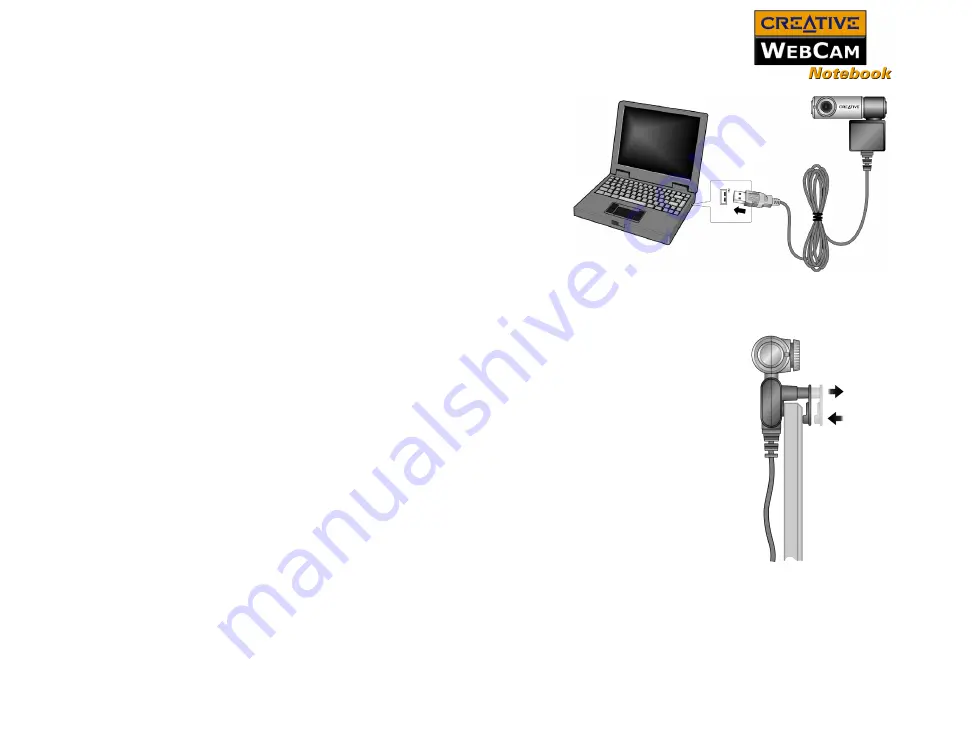
6. Connect the USB cable to an
available USB port on your
7. Clip
Creative WebCam Notebook
on top of your notebook screen (Figure 1-3).
Follow the steps below that are for your
operating system.
For Windows 98/98SE and Windows Me
only
After connecting your camera, Windows
automatically detects the device.
iv. If you are prompted to insert the
Windows 98 CD, replace the Creative
WebCam Notebook CD with the
appropriate CD.
Note:
Windows 98 is available in various
editions. Be sure to use the correct
edition for your system.
v.
In the
Insert Disk
dialog box, click the
OK
button.
Figure 1-2: Connecting Creative WebCam
Notebook to your notebook
USB port
Figure 1-3: Clipping Creative
WebCam Notebook to
your notebook screen
Summary of Contents for WebCam Notebook
Page 1: ......
Page 3: ...Contents...
Page 6: ...Introduction...
Page 9: ...Installing Creative WebCam Notebook...
Page 15: ...Creative WebCam Notebook Applications...
Page 22: ...Using Creative WebCam Center...
Page 26: ...Technical Specifications...
Page 29: ...Troubleshooting...
Page 32: ...Note on USB Compatibility...


