12
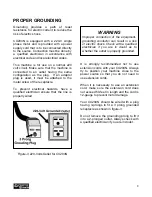
Remove the washer and the nut on the
arbor and install the scoring blade. Install
the washer and the nut and secure the
blade by tightening the nut. Make sure to
install the scoring blade with the teeth
facing opposite to the main blade’s teeth.
INSTALLING THE FENCE
SCALE
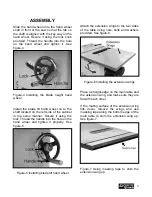
Install the fence on the rails, and slide it
against the saw blade and the push the
fence handle down to lock the fence in
place. Make sure the fence is slightly
touching the blade and it is not pushed
against the blade. See figure-16.
Figure-16 Fence locked on the rails against
the blade
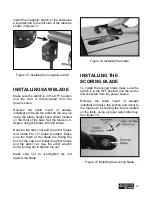
Mark on the fence rail tube where the red
line on the pointer is and remove the fence.
Peel off the tape and align the “0” on the
tape with the pencil mark on the rail tube
and attach the tape scale on the tube.
Adjust the pointer if required by loosening
the two screws holding the pointer to the
fence.
Figure-17 Red line on the pointer, aligned
with “0” on the tape scale
BLADE GUARD
SPREADER
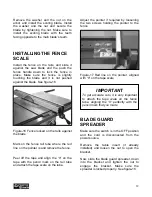
Make sure the switch is in the OFF position
and the cord is disconnected from the
power source.
Remove the table insert (if already
installed) and loosen the nut to open the
bracket.
Now, slide the blade guard spreader, down
into the bracket and tighten the nut to
engage the bracket. Make sure the
spreader is locked properly. See figure-18.
IMPORTANT
To get accurate cuts, it is very important
to attach the tape scale on the fence
tube, aligning the “0” perfectly with the
pencil mark that you made
Summary of Contents for CX204N
Page 1: ...MODEL CX204N 10 SCORING TABLE SAW WITH RIVING KNIFE 30 RIP FENCE User Manual VER 1 1 ...
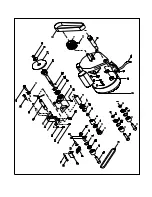
Page 24: ...24 CX204N PARTS BREAKDOWN ...
Page 25: ...25 ...
Page 26: ......
Page 27: ......
Page 28: ......


