INSTALLATION MANUAL
INSTALLATION
25
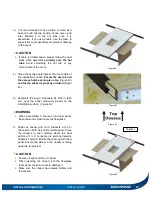
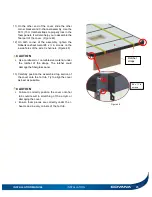
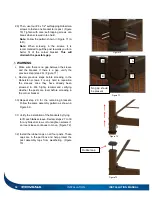
11) On the other end of the cover, slide the other
corner bracket and C-channel assembly. Use the
50 ft. (15 m) ratchet straps to properly lock in the
foam panels. It will also help you to assemble the
final part of the cover. (Figure 48)
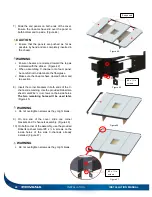
12) On both corner of the assembly, tighten the
Robertson sheet metal #8 x ½ in. screws on the
inside holes of the side C-channels. (Figure 48)
CAUTION
Use cardboard or non-abrasive material under
the ratchet of the straps. The ratchet could
damage the fiberglass panel.
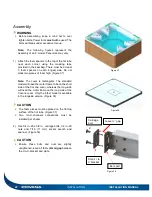
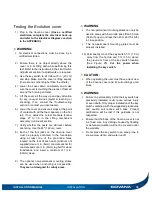
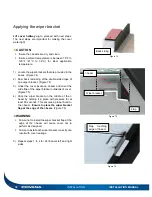
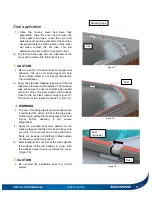
13) Carefully position the assembled top section of
the cover onto the hot tub. Try to align the cover
as best as possible.
CAUTION
Failure to correctly position the cover onto hot
tub could result in scratching of the acrylic or
damaging the cover.
Ensure foam pieces are correctly under the I-
beams and in every corners of the hot tub.
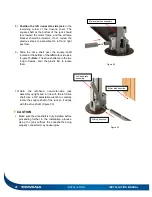
Figure 48
#8 x ½ in.
screws
Ratchet
straps
Summary of Contents for Evolution GHSC
Page 1: ...1 INSTALLATION MANUAL Revision 1 2017 05 29 Revision 2 2017 11 10...
Page 49: ...INSTALLATION MANUAL APPENDIX 49 APPENDIX...
Page 50: ...50 APPENDIX INSTALLATION MANUAL Wiring diagram North America 60 Hz 120 VAC Operator...
Page 51: ...INSTALLATION MANUAL APPENDIX 51 Wiring diagram Europe 50 Hz 220 VAC Operator...
Page 53: ...INSTALLATION MANUAL INSTALLATION CHECKLIST Customer copy 53...
Page 56: ...56 INSTALLATION MANUAL...

