2
Step 1 — Connect Power to the Côr panel
Connect power to the back of the panel using the transformer adapter
Tip: Order an extra transformer adapter (part number ZW
−
PS9V) that can be used for the setup and leave the one in the package intact.
Step 2 — Connect the TP
−
Link router to the Côr panel
Connect power to the TP
−
Link router that will be included with the Smart Starter Kit
Remove the sticker covering the four Yellow ports on the TP
−
Link router and connect an Ethernet cable to one of the ports
Connect the Ethernet cable from the TP
−
Link router to the Ethernet port on the back of the Côr panel
Step 3 — Establish a network connection to the panel for firmware update
Connect the Ethernet cable from your primary router to the main Blue port on the TP
−
Link router (the ’ring globe’ light on the front
right side of the TP
−
Link router should be illuminated)
Confirm the Côr panel is using Ethernet (and not Wi
−
Fi)
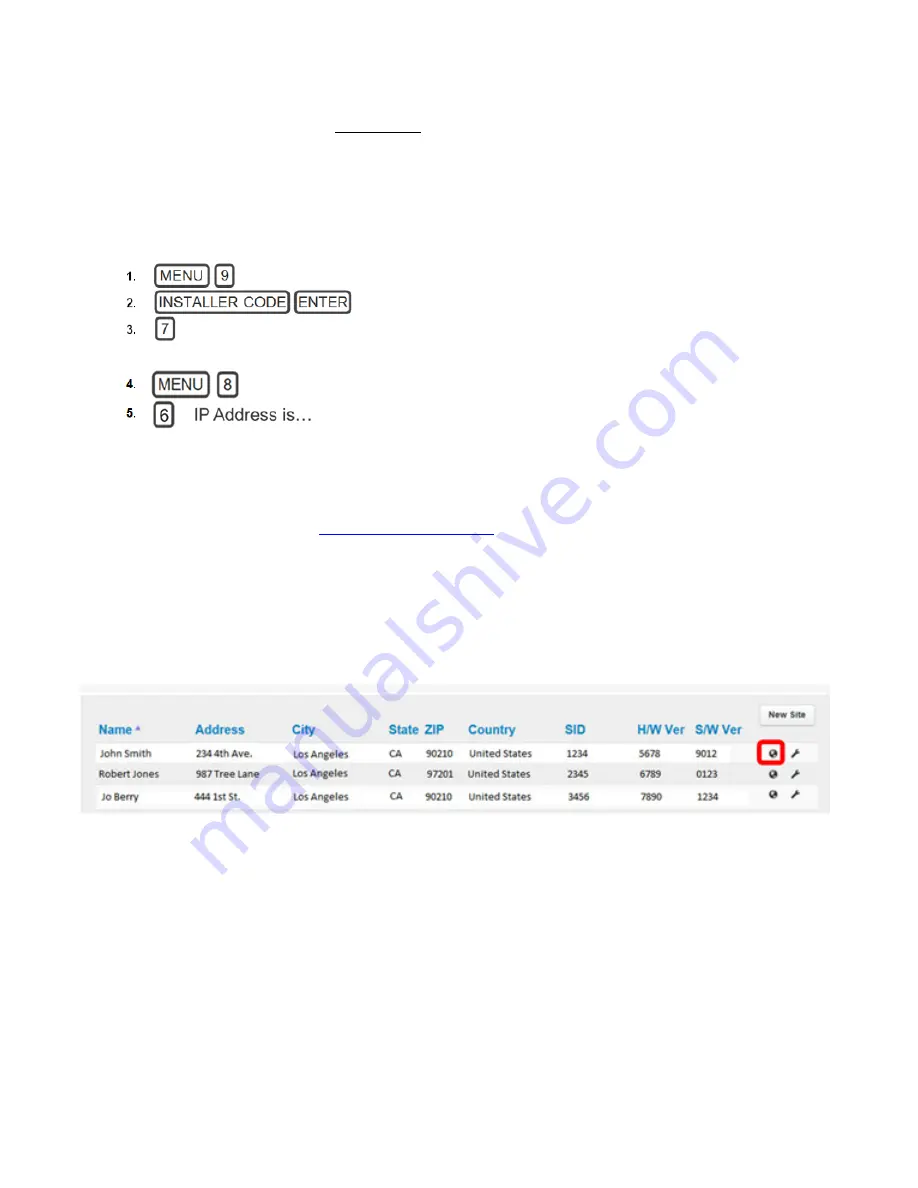
If panel says, “Press 7 to switch to Ethernet” then Press 7, otherwise proceed to verify the IP address
If the Côr panel announces “IP is not ready”, check your network connection.
NOTE
: If the “ring globe’ light on the front right side of the TP
−
Link router is not illuminated but an IP address is provided by the Côr
panel, confirm the primary router connection is not on a firewall network.
Step 4 — Provision the Côr panel on the UltraSync Dealer Portal
Launch your web browser and login to
Click on the + “plus” icon next to the Search field at the top to add a
New Site
and enter the requested information to provision the
panel to the customer
Account Number = Any 4 Digit number
SSID = Serial Number on the sticker back of the Côr Panel
Make sure to select “US IP” under the
Service Grade
drop down menu at the end
Click
Create
when finished
Step 5 — Update the Côr panel with the latest Firmware
On the UltraSync Dealer Portal, click on the 3 line “hamburger” icon for the Dashboard menu at the top left corner of the screen
When the menu expands on the left side of the screen, click on
Operational Status
to display all the panels on your portal
Locate the panel provisioned in Step 4 and click on the
Retrieve Live Status
“Globe” icon to the right


