


www.cool-icam.com
© 2001 TCG. EN FL Version
3
0
8
01
Page 19
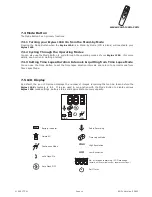
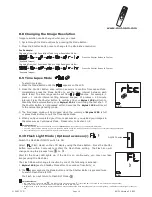
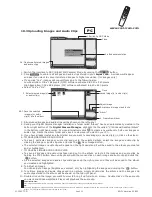
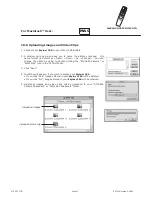
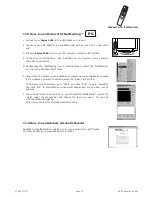
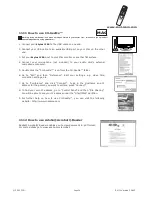
Image resolution can be changed whenever you need.
1. Cycle through the Mode options by pressing the Mode Button.
2. Press the Shutter Button once to change to the alternative resolution.
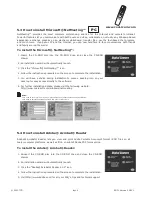
8.8 Changing the Image Resolution
Press the Shutter Button to Confirm
(Available Images)
(Available Images)
Press the Shutter Button to Confirm
Changing from High Resolution Mode to Low Resolution Mode:-
For Example:
Changing from Low Resolution Mode to High Resolution Mode:-
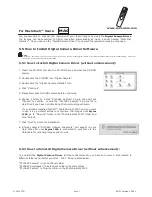
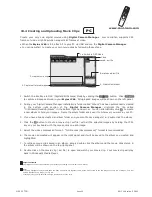
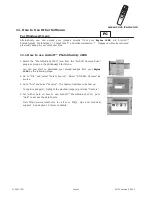
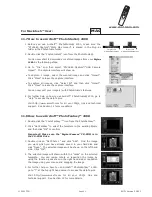
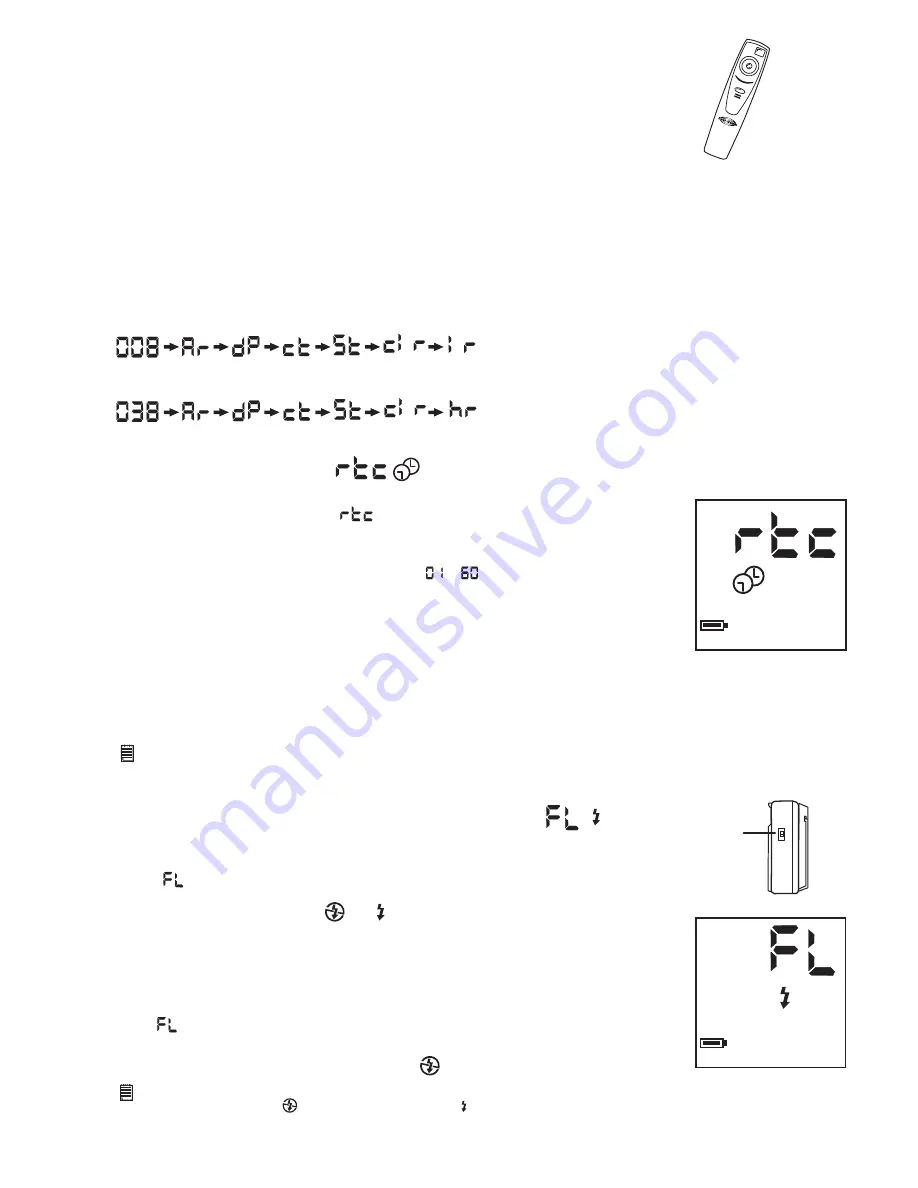
To start time lapse:
Press the Mode Button until the
appears on the LCD.
Press the Shutter Button once within 5 seconds to confirm Time Lapse Mode.
Immediately press the Mode Button to set the time interval between each
photo taken. The time range can be set from to minutes. For example, 1
press = 1 minute interval setting between images; 25 presses = 25 minute
interval. Press the Shutter Button to confirm and your
Stylus 1500
will turn to
Stand-by Mode automatically, your
Stylus 1500
is now timing the first shot. If
the Shutter Button is not pressed within 5 seconds the
Stylus 1500
will revert
to the normal image taking mode.
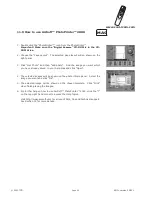
The time lapse mode will be stopped when the memory of
Stylus 1500
is full
or press Mode Button to quit the Time Lapse Mode.
When you have completed your Time Lapse session, you upload your images in
the same way as Continuous Mode. Please refer to Section 10.4.
Important Notes:
• Time Lapse Mode cannot be performed when your
Stylus 1500
is connected to your computer via USB cable.
• The Time Lapse function will stop if you press the Mode Button during the Time Lapse Mode or connect to your computer through USB cable.
• We recommend you to install new batteries before starting time lapse.
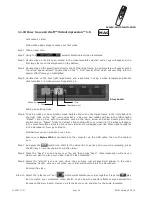
8.9 Time Lapse Mode
1.
2.
3.
4.
Stylus 1500
goes to Standby Mode after 30 seconds of inactivity; or
The is accessed via the Mode Button and the Shutter Button is pressed twice
to switch Flash Mode to OFF.
The Flash icon will return to Flash OFF Mode .
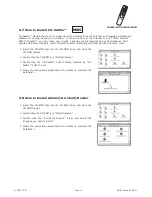
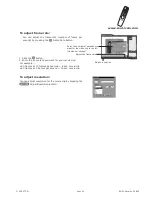
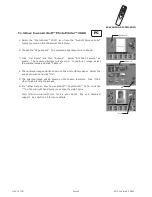
1.
2.
HIGH
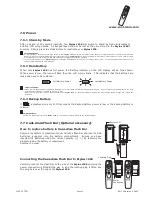
Switch the Flash Bar ON/OFF swtich to ON.
Select (Flash Mode) on the LCD display using the Mode Button. Press the Shutter
Button twice within 5 seconds to confirm the Flash Mode setting. The Flash icon will
change during this process from to .
Wait for the Power LED lights up, if the LED is on continuously, you may now take
images using the Flash Bar.
The Flash Mode will change to inactive by one of the following is actioned.
8.10 Flash Light Mode (Optional accessory)
Important Notes:
• The Flash Mode is preset to OFF . DO NOT set the Flash Mode to ON if the Flash Bar is not used as it will affect the image quality.
• Always remember to turn the Flash Bar Power ON/OFF switch to OFF after use.
• Images taken in quick succession whilst in Flash Mode may not activate the Flash Bar, always wait for the LED lights up, it indicates the Flash Light is ready for
use.
HIGH
ON/OFF Switch


