13
Adobe® Acrobat® Reader .
PDF File Reading Software
Adobe® Acrobat® Reader lets you view and print Adobe Portable Document format (PDF) file on all major
computer platforms, as well as fill in and submit Adobe PDF forms online.
Microsoft® Netmeeting™
Web Cam software
NetMeeting™ provides the most complete conferencing solution for the Internet and corporate intranet.
Powerful features let you communicate with both audio and video, collaborate on virtually any Windows-
based application, exchange graphics on an electronic whiteboard, transfer files, use the text-based chat
program, and much more. Using your PC and the Internet, you can now hold face to face conversations
with friends and family around the world.
CU-SeeMe™
Web Cam software
Cu-SeeMe™ started the craze for videochat on the Internet and it’s still the most popular, full-featured
software for seeing, hearing and sharing. It can be used over the Internet or any TCP/IP network. With
Cu-SeeMe™, you can make new friends, expand your professional and social networks, find people with
similar interests, watch informative and entertaining cybercast events, and much more.
• Computer system requirements
For acceptable picture transfer and editing performance, we recommend the following minimum
requirements;
For Windows® Users
PC
For Macintosh® Users
MAC
• Compatible with Microsoft® Windows®
• PowerPC® Processor
98SE, Me, 2000 or XP
• Mac® OS version 8.6 ~ 9.2
• Pentium® II 333MHz or Pentium® compatible processor • USB port
• USB Port
• 128MB RAM or higher
• 128MB RAM or higher
• 150MB Free disk space
• 200MB free disk space
• CD-ROM drive
• CD-ROM drive
• Colour monitor with high colour (16-bit)
• Colour monitor with high colour (16-bit) graphic
graphic capability or higher
capability or higher
• Standard mouse and keyboard
• Standard mouse and keyboard
9 Transferring Pictures, Audio & Video clips to Your Computer
• Before You Transfer Pictures, Audio & Video clips
IMPORTANT! - Before you transfer your Pictures, Audio & Video clips make sure you have installed the
software from the CD.
For Windows® and Macintosh® Users:
PC MAC
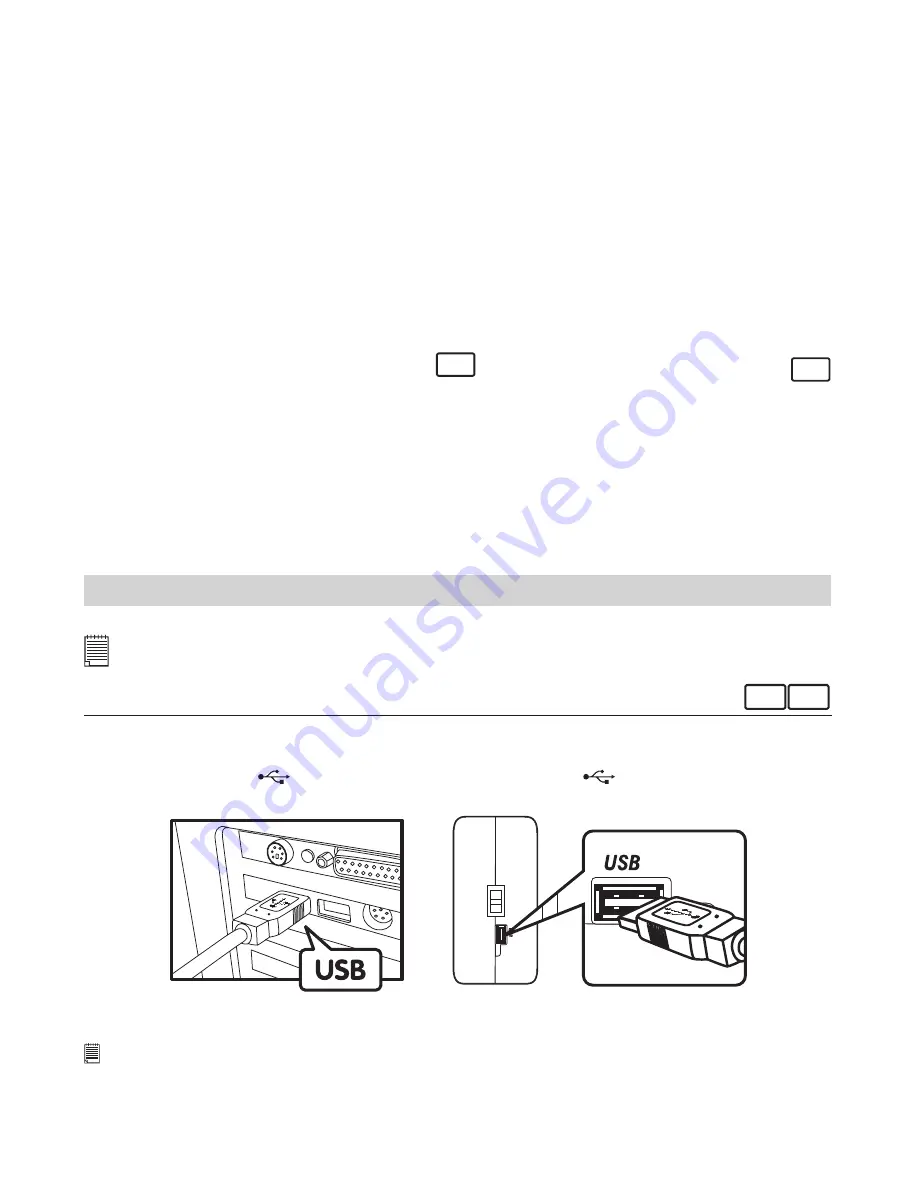
• Connecting to Your Computer
Connecting with the USB Cable.
1. Turn on the camera.
2. Plug the labelled end
of the USB cable into the socket marked
on your computer.
3. Plug the other end of the USB cable into the port on your camera.
USB Series “A” Plug Connects to
your PC
USB Series “A” Plug Connects to your
AQ 1300
IMPORTANT!
The first time the camera is connected to a computer via the USB cable, the computer will detect the new
hardware automatically.


