


6. Software RAID setup
88
EPC-2020 Series User’s manual
3. Move to a mirroring-configured (replaced) HDD by pressing the <
↑
> and <
↓
> keys and confirm
your choice by pressing the <Enter> key. In the Main window of the RAID utility, the
“
Status
”
item
under
“
RAID Volume
”
item changes to
“
Rebuild
”
and the
“
Type/Status(Vol ID)” item under
“Physical Disks” item changes to “Non-RAID Disk”.
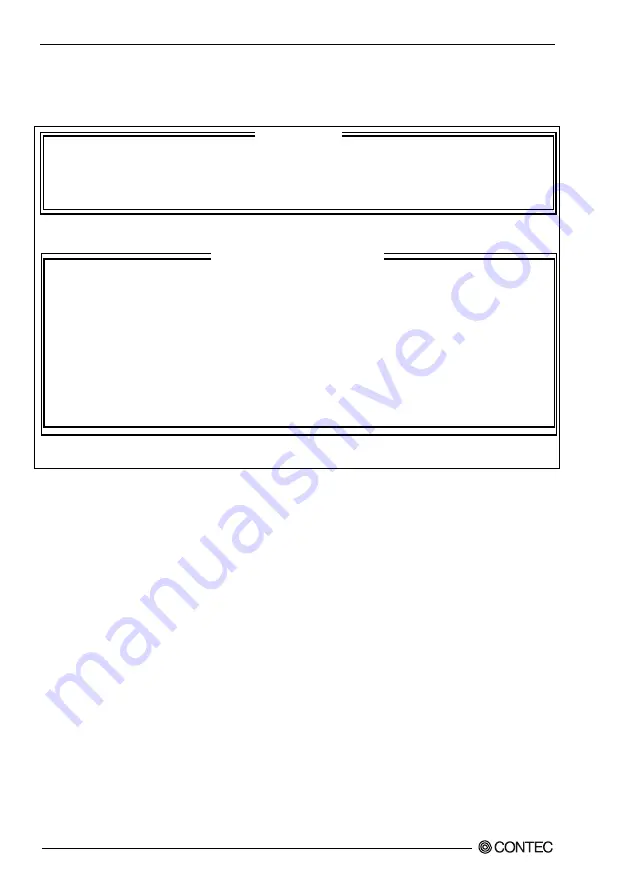
1. Create RAID Volume 4. Recovery Volume Options
2. Delete RAID Volume 5. Acceleration Options
3. Reset Disks to Non-RAID 6. Exit
RAID Volumes:
ID Name Level Strip Size Status Bootable
0 Volume0 RAID1(Mirror) N/A **GB Degraded Yes
Physical Disks:
Port Drive Model Serial # Size Type/Status(Vol ID)
1 *********** ************* ***GB Member Disk
5 *********** ************* ***GB Non-RAID Disk
[
↑↓
]-Select [ESC]-Exit [ENTER]-Select Menu
4. Press the <ESC> or <4> key and the <Y> key in turn to save settings and exit the RAID utility.
5. Boot the OS.
6. When the OS boots, the RAID drive will be automatically synchronized by Rapid storage technology.
7. When synchronization is finished, reconfiguration of mirroring is complete.
In addition to the above procedure, mirroring can be also reconfigured from Rapid storage technology,
but we recommend replacement through the above procedure.
For the recovery procedure using Rapid storage technology, refer to the help information for Rapid
storage technology.
[ MAIN MENU ]
[ DISK/VOLUME INFORMATION ]


