8
b. Check the cable route to the amplifier situated under the counter.
Ensure access through the counter top and suitable cable length. Drill
a cable hole through the rear of the counter if neccesary.
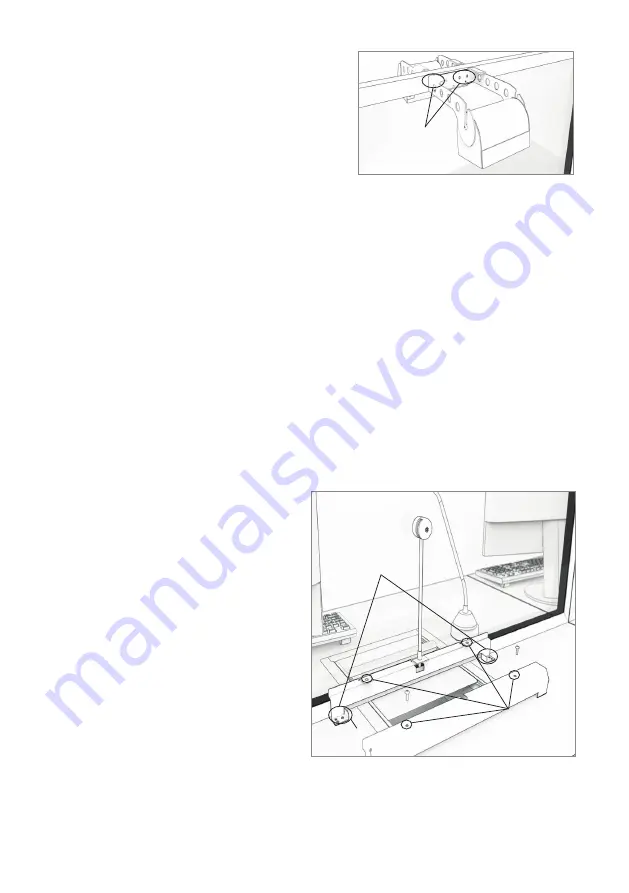
c. Mark 2x fixing points to attach the overhead speakers.
d. Drill pilot holes and attach the loudspeaker bracket assembly using
supplied screws.
e. Route the cable from the loudspeaker back to the amplifier in a neat
and tidy fashion, using cable containment where required.
f. Repeat the above steps on the customer side of the counter.
7. Install the power supply close to a power socket outlet using the supplied
mounting bracket and fixing screws.
Bridge Bar Unit and Surface Mic
1. Position the bridge bar unit on the
customer side of the counter top
in a central location or around the
pass-through tray if present.
2. Ensure the microphone and
bridge bar are flat against the
screen.
3. Mark the 2 fixing points and 1
cable route hole ready for drilling.
Fixing
points
6. Install the overhead loudspeakers:
a. Find a location on the staff side
directly above the pass-through
tray. Ensure there is sufficient
space and there is no glass behind
where you want to drill.
4. Drill pilot holes and a cable hole
and attach the assembly with the
supplied screws.
5. Feed wiring through the cable hole back to the amplifier. Using provided
fixing holes and screws, attach the bridge bar cover carefully to avoid
damage to wiring.
Fixing
points
Bridge Bar cover
fixing holes
Cable
hole


