CLEANING, STORING AND MAINTENANCE
1. Turn the product off by flicking the on/off ‘I/O’ switch to the ‘O’
off position. Unplug from the power outlet.
2. Wait for the steamer to cool completely for at least 30 minutes.
3. Coil power cord loosely around the appliance.
4. Remove the steamer hose as per instructions in ‘Step 2 – Attaching
the Steamer Hose’.
5. Remove the water container from the base of the steamer.
Unscrew valve and spring assembly and empty unused water.
Allow to air dry.
6. Remove excess water from the reservoir in the base
of the steamer by lifting the unit and pouring into
a sink.
7. Replace water container.
8. Store the unit in an upright position.
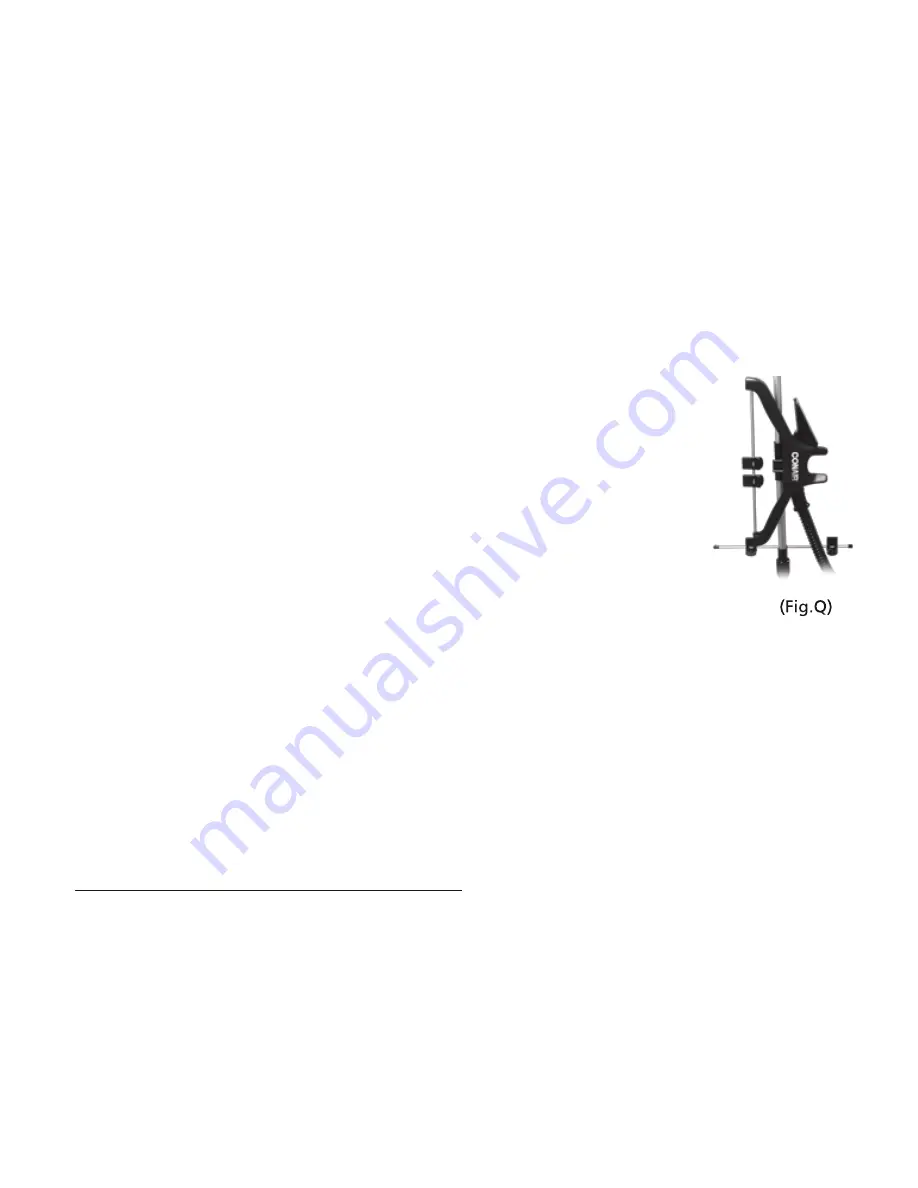
9. To compact the steamer for more convenient storage
(Fig.Q), simply:
a) remove the hanger
b) unclip the extendable telescopic pole and secure
to its’ shortest height by re-clipping the black plastic clip
c) rotate the bottom rod with pant clips so that it is vertical and
in-line with the pole
d) secure the hose in a circle and place the back of the nozzle
over the storage hook
e) place the middle round section of the hanger into the clip on
the front of the storage hook.
Decalcification of Your Steamer
If the appliance begins to produce steam more slowly than usual,
stops producing steam and then starts again, you may need to
decalcify your steamer.
Decalcification refers to removing the calcium deposits which can
form over time on the metal parts of the steamer.
For best performance, decalcify the unit from time to time such
as once a month, depending on how often you use the unit. The


