


Maintenance & Troubleshooting
Cleaning the Printer
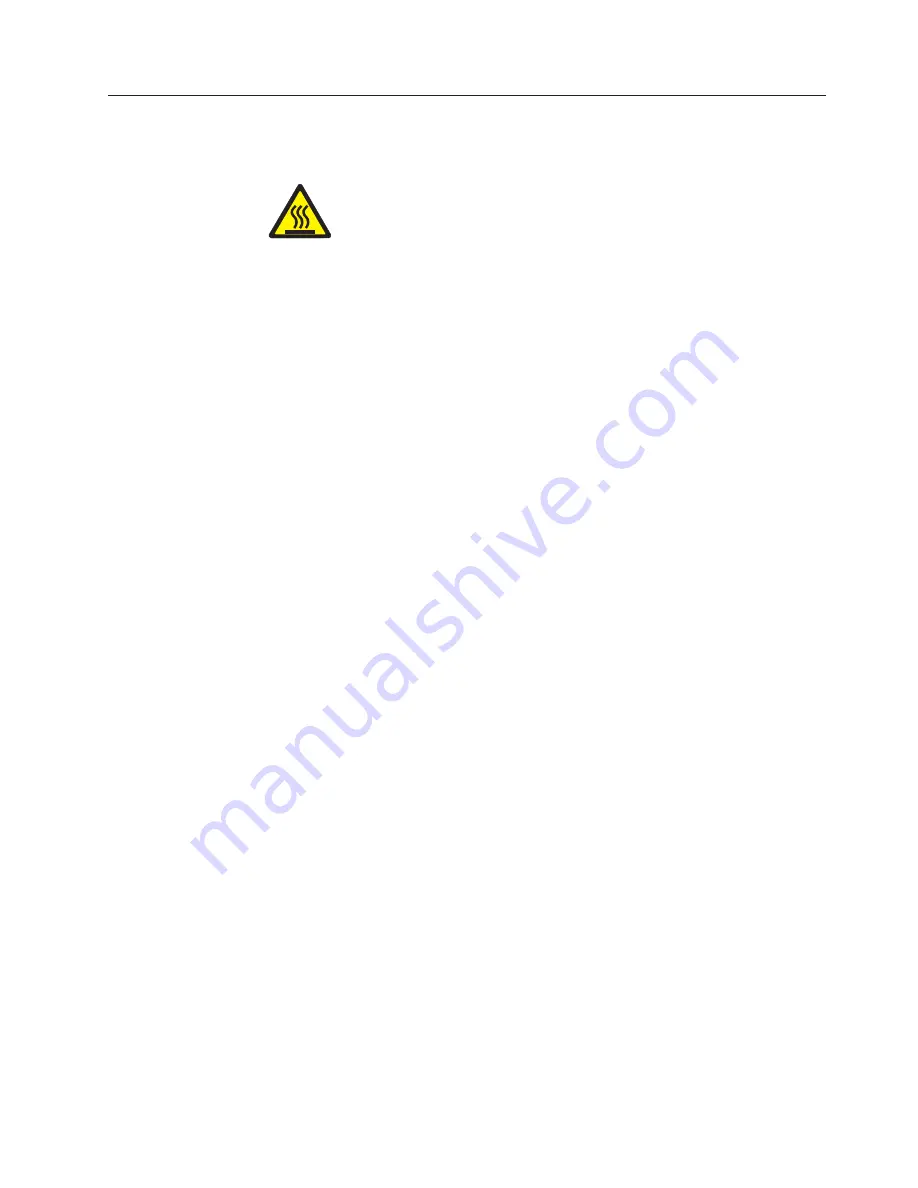
CAUTION:
<2-22> Carefully follow all cleaning instructions, using only the materials
and solutions recommended.
Periodic cleaning will help keep your printer in top condition so that it will always
provide optimal performance.
Before you clean the printer:
1.
Turn off the printer.
2.
Unplug the power cord.
3.
Wait at least 15 minutes for the printhead to cool before starting this procedure.
Cleaning inside the printer
Every few months, use a soft brush and a vacuum cleaner to remove dust, ribbon
lint, and pieces of paper. Remove the ribbon cartridge to prevent the ribbon from
going into the vacuum cleaner. Vacuum any dust from around the printhead and
in the printer cavity.
Attention:
Do not allow any staples, paper clips, or small metal pieces to fall
inside the printer.
Cleaning the outside covers
Clean the outside of the printer with a damp cloth and mild soap. Do not use any
spray-type or chemical cleaners anywhere on your printer. Do not put any liquids
or spray near the air vents. For stubborn ink stains on the cover, use a commercial
mechanic's hand cleaner.
Do not use an abrasive cloth, alcohol, paint thinner, or similar agents because they
may cause discoloration or scratching.
Printing the Self Test
Proceed as follows:
1.
Keep the ON LINE key pressed while powering on the printer until the display
shows RELEASE KEY.
2.
When you release the key, the printer starts the self-test printout.
3.
To stop the self-test printing, press the ON LINE key again. The printer is
offline.
Setting up your printer
21
Summary of Contents for 4247 L03
Page 4: ...iv Quick Setup Guide ...
Page 8: ...viii Quick Setup Guide ...
Page 10: ...Printer Parts Figure 2 Printer Parts Front and Rear View 2 Quick Setup Guide ...
Page 34: ...26 Quick Setup Guide ...
Page 37: ......
Page 38: ...MAN10292 00 00 Printed in Italy MAN10292 00 00 ...


