Compaq StorageWorks Storage Router N1200 Installation Manual Download Page 42

Regulatory Compliance Notices 

B-8


Network Storage Router N1200 Installation Guide 


COMPAQ CONFIDENTIAL


Writer: Mark Garza File Name: f-appb Regulatory Compliance Notices.doc 

Codename: Myst-Riven Part Number: 283394-002 Last Saved On: 4/26/02 3:03 PM 
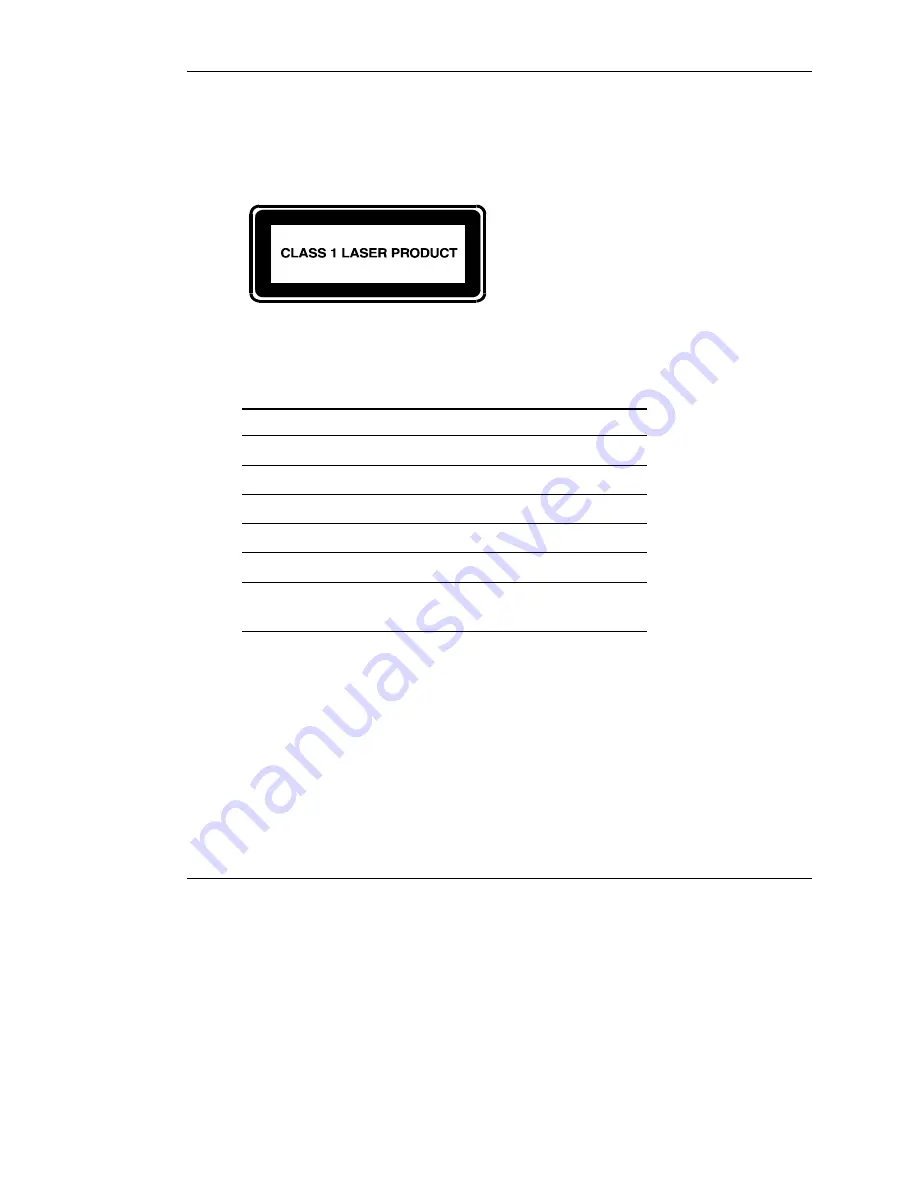
Laser Product Label 

The following label or equivalent is located on the surface of the Compaq supplied 
laser device. 


This label indicates that the product is classified as a 

CLASS 1 LASER PRODUCT. This label appears on 

a laser device installed in your product. 

Laser Information 


Table B-1:  Laser Information 

Feature Description 

Laser type 

Semiconductor GaAIAs 

Wave length 

780 nm +/- 35 nm 

Divergence angle 

53.5 d/- 0.5 degrees 

Output power 

Less than 0.2 mW or 10,869 W m-2 sr-1 

Polarization Circular 

0.25 

Numerical 

aperture 

0.45 /- 0.04 inches 


Summary of Contents for StorageWorks Storage Router N1200

Page 1: ...des bi directional connectivity for Narrow Wide Fast Ultra 2 SCSI buses in either a Fibre Channel Switched Fabric FC SW or a Fibre Channel Arbitrated Loop FC AL environment This installation guide pro...

Page 2: ...chnical or editorial errors or omissions contained herein The information in this document is provided as is without warranty of any kind and is subject to change without notice The warranties for Com...

Page 3: ...orized Reseller xii Chapter 1 Introduction External Features Overview 1 2 Power Indicator 1 3 Fibre Channel Port 1 3 SCSI Buses 1 3 Ethernet Port 1 4 Serial Port 1 4 Chapter 2 Installation Selecting a...

Page 4: ...1 Class A Equipment B 2 Class B Equipment B 2 Declaration of Conformity for Products Marked with the FCC Logo United States Only B 3 Modifications B 3 Cables B 3 Power Cords B 4 Canadian Notice Avis C...

Page 5: ...router 2 6 2 4 Installing the router into the rack 2 7 2 5 Attaching the bezel to the rack 2 8 3 1 Power connector 3 2 3 2 Back side port locations 3 3 3 3 WWN MAC ID label 3 4 3 4 Configuration with...

Page 6: ...formation document provided Symbols on Equipment The following symbols may be placed on equipment to indicate the presence of potentially hazardous conditions WARNING This symbol in conjunction with a...

Page 7: ...acle This symbol indicates the presence of a hot surface or hot component If this surface is contacted the potential for injury exists WARNING To reduce the risk of injury from a hot component allow t...

Page 8: ...d in the text of this guide They have the following meanings WARNING Text set off in this manner indicates that failure to follow directions in the warning could result in bodily harm or loss of life...

Page 9: ...guide refer to the following documentation Fibre Channel Physical and Signaling Interface FC PH ANSI X3T9 3 Project 755D Rev 4 3 Contact Global Engineering 1 800 854 7179 Fibre Channel Protocol for SC...

Page 10: ...nearest Compaq Technical Support Phone Center Telephone numbers for worldwide Technical Support Centers are listed on the Compaq website www compaq com Be sure to have the following information availa...

Page 11: ...horized Reseller For the name of your nearest Compaq authorized reseller In the United States call 1 800 345 1518 In Canada call 1 800 263 5868 Elsewhere see the Compaq website for locations and telep...

Page 12: ...bric FC SW or a Fibre Channel Arbitrated Loop FC AL environment This chapter introduces the following topics External features overview Fibre Channel port SCSI buses Ethernet port Serial port Network...

Page 13: ...ial Pwr Link Act 1 2 3 4 Figure 1 1 Router illustration Table 1 1 External Features Item I O Port 1 Serial 2 Ethernet 3 Fibre Channel 4 SCSI 1 2 Network Storage Router N1200 Installation Guide COMPAQ...

Page 14: ...1 for the location of the Fibre Channel port Fibre Channel LED definition Green ACT Fibre Channel port activity Green LINK Valid Fibre Channel link SCSI Buses Two SCSI buses with LED indicators are in...

Page 15: ...Ethernet port with an LED indicator is included in the router See Figure 1 1 for the location of the Ethernet port Ethernet port LED definition Activity Port activity Link Valid Ethernet link Serial P...

Page 16: ...ly and completely before configuring the router The following considerations and procedures are included in this chapter Selecting a location Unpacking the box Mounting the router on a desktop Install...

Page 17: ...eady to install 2 Refer to the packing slip or contents list to make sure all the equipment was received If an item is missing contact your sales representative immediately Mounting the Router on a De...

Page 18: ...ropping or other damage 2 Determine where the router will be mounted making sure that the airflow vents remain clear of obstructions 3 Separate the inner rail from the outer rail assemblies See Figure...

Page 19: ...of the router and its rail assembly is 1U b Align the three screw holes on the front end of the outer rail assembly with the equally spaced holes on the front of the rack All three holes must be align...

Page 20: ...tend the rear extension bracket to the inside rear of the rack WARNING To reduce injury or equipment damage the rails must be level If the rails are not level the router cannot be installed correctly...

Page 21: ...imately 8 inches b Secure the rail to the router using two 6 32x 312 Phillips screws Back End Spring Latch Front End Inner Rail Figure 2 3 Attaching inner rails to the router c Repeat Step 5 to attach...

Page 22: ...inner rails and push in the rest of the way Figure 2 4 Installing the router into the rack Network Storage Router N1200 Installation Guide 2 7 COMPAQ CONFIDENTIAL Writer Mark Garza File Name c ch2 Ins...

Page 23: ...yst Riven Part Number 283394 002 Last Saved On 4 26 02 2 59 PM 7 Attach the Compaq bezel blank to the front side of the rack See Figure 2 5 for an illustration a Align the bezel blank over the unused...

Page 24: ...following considerations and procedures are included in this chapter Connecting the power cord Connecting the interfaces Fibre Channel connections SCSI connections Ethernet connections Serial port co...

Page 25: ...a grounded voltage source Fibre Channel LVD SE SCSl 0 1 Ethernet Serial Pwr Link Act Figure 3 1 Power connector WARNING To reduce the risk of electric shock or damage to the equipment Do not disable t...

Page 26: ...on of the port locations on the router Fibre Channel LVD SE SCSl 0 1 Ethernet Serial Pwr Link Act 1 2 3 4 Figure 3 2 Back side port locations Table 3 1 Port Locations Item Port Type 1 Serial 2 Etherne...

Page 27: ...to point configuration Private loop hub Public loop hub that is also connected to a switch Fabric environment switch NOTE Before connecting the router to other Fibre Channel devices it is important to...

Page 28: ...different media types The router must be connected to the hub or switch port with the appropriate Fibre Channel cabling for the media type in use The router supports various Fibre Channel media types...

Page 29: ...r is factory configured to support LVD Single Ended SCSI buses Up to twelve SCSI buses can be attached using 3 SCSI modules NOTE The router must always be installed at the end of SCSI buses The router...

Page 30: ...e at the other end of bus must also be terminated 6 Power on all attached SCSI devices 7 After all the SCSI devices have completed their individual POST Power On Self Test processes power on the route...

Page 31: ...onfigure the unit monitor its diagnostic status or update the router firmware Refer to Figure 3 2 for an illustration of the serial port location on the back side of the router The serial port will ac...

Page 32: ...ost terminal or terminal interface program Windows 9x NT 4 0 or Windows 2000 HyperTerminal 5 Set the terminal or terminal interface program to use the appropriate COM port 6 Configure the selected COM...

Page 33: ...autions Avoid hand contact by transporting and storing products in static safe containers Keep electrostatic sensitive parts in their containers until they arrive at static free workstations Place par...

Page 34: ...rist straps are flexible straps with a minimum of 1 megohm 10 percent resistance in the ground cords To provide proper ground wear the strap snug against the skin Use heel straps toe straps or boot st...

Page 35: ...requency spectrum Many electronic devices including computers generate RF energy incidental to their intended function and are therefore covered by these rules These rules place computers and related...

Page 36: ...and found to comply with the limits for a Class B digital device pursuant to Part 15 of the FCC Rules These limits are designed to provide reasonable protection against harmful interference in a resi...

Page 37: ...ding this FCC declaration contact us by mail or telephone Compaq Computer Corporation P O Box 692000 Mail Stop 510101 Houston Texas 77269 2000 1 281 514 3333 To identify this product refer to the part...

Page 38: ...provider A power cord should be routed so that it is not likely to be walked on or pinched by items placed upon it or against it Particular attention should be paid to the plug electrical outlet and...

Page 39: ...tive 73 23 EEC issued by the Commission of the European Community Compliance with these directives implies conformity to the following European Norms the equivalent international standards are in pare...

Page 40: ...Notice Taiwanese Notice B 6 Network Storage Router N1200 Installation Guide COMPAQ CONFIDENTIAL Writer Mark Garza File Name f appb Regulatory Compliance Notices doc Codename Myst Riven Part Number 28...

Page 41: ...s make adjustments or perform procedures to the laser device other than those specified herein Allow only Compaq authorized service technicians to repair the laser device Compliance with CDRH Regulati...

Page 42: ...ent is located on the surface of the Compaq supplied laser device This label indicates that the product is classified as a CLASS 1 LASER PRODUCT This label appears on a laser device installed in your...

Page 43: ...e from A 1 Ethernet interfaces types of 3 8 C Ethernet port CDRH B 7 LED indicators 1 4 Center for Devices and Radiological Health See CDRH location of 1 4 external features overview 1 2 Compaq author...

Page 44: ...ted 2 7 rack installing the router 2 3 installing the router rack installing the router illustrated 2 7 desktop 2 2 rack front U spacing illustrated 2 5 rack 2 3 rails separating illustrated 2 4 inter...

Page 45: ...3 8 W location of 1 4 series number for regulatory compliance B 1 warnings grounding plug 3 2 Small Form Factor Pluggables SFP 3 5 rack stability 2 5 standby power button websites location of 1 4 Com...

Reviews: