Page 8
SET UP & USE
PROTECTION FROM HEAT AND MOISTURE
• Do not install your water dispenser in any location where heavy
moisture is present or if the location is not properly insulated. This water
dispenser is not designed to operate in temperature setting below 50˚
Fahrenheit or above 100˚ Fahrenheit.
• Location for the water dispenser should be on a hard surface and away
from direct sunlight and heat source, e.g., radiators, baseboard heaters,
cooking appliances, etc.
BEFORE USING YOUR WATER DISPENSER
• Do not connect the power cord or switch ON the unit before all
installation steps are completed.
• Make sure the unit has been in an upright position for at least 12 hours.
• Remove any packaging material, tape etc. including any thin plastic film
covering. The drip tray should be positioned properly in place.
• Clean the interior and exterior of the unit. (SEE CLEANING AND
MAINTENANCE)
• Connect the water dispenser to a cold water supply. (SEE
INSTALLATION)
• Connect the R.O. system to a drain (SEE INSTALLATION)
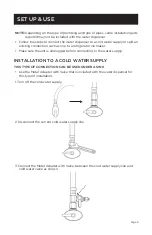
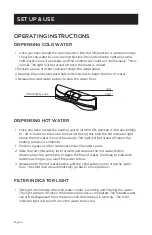
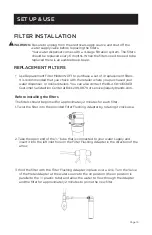
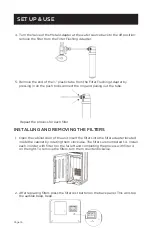
• Prime and install the filters. Press the Filter Reset Button. (SEE FILTER
INSTALLATION)
• After installation steps are complete, plug cord into a properly grounded
wall outlet. The power light will illuminate. At this time, the water will be
pumped into the hot and cold tanks. This may take a few minutes.
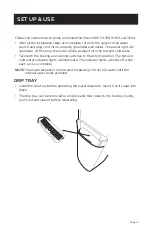
• Turn both the heating and cooling switches to the ON (I) position. The
hot and cold water indicator lights will illuminate. The indicator lights will
shut off when each cycle is complete.
NOTE:
The water dispenser will not start dispensing hot or cold water until
the internal water tanks are filled.
Cooling switch
Heating switch
Filter Reset button


