6
EN
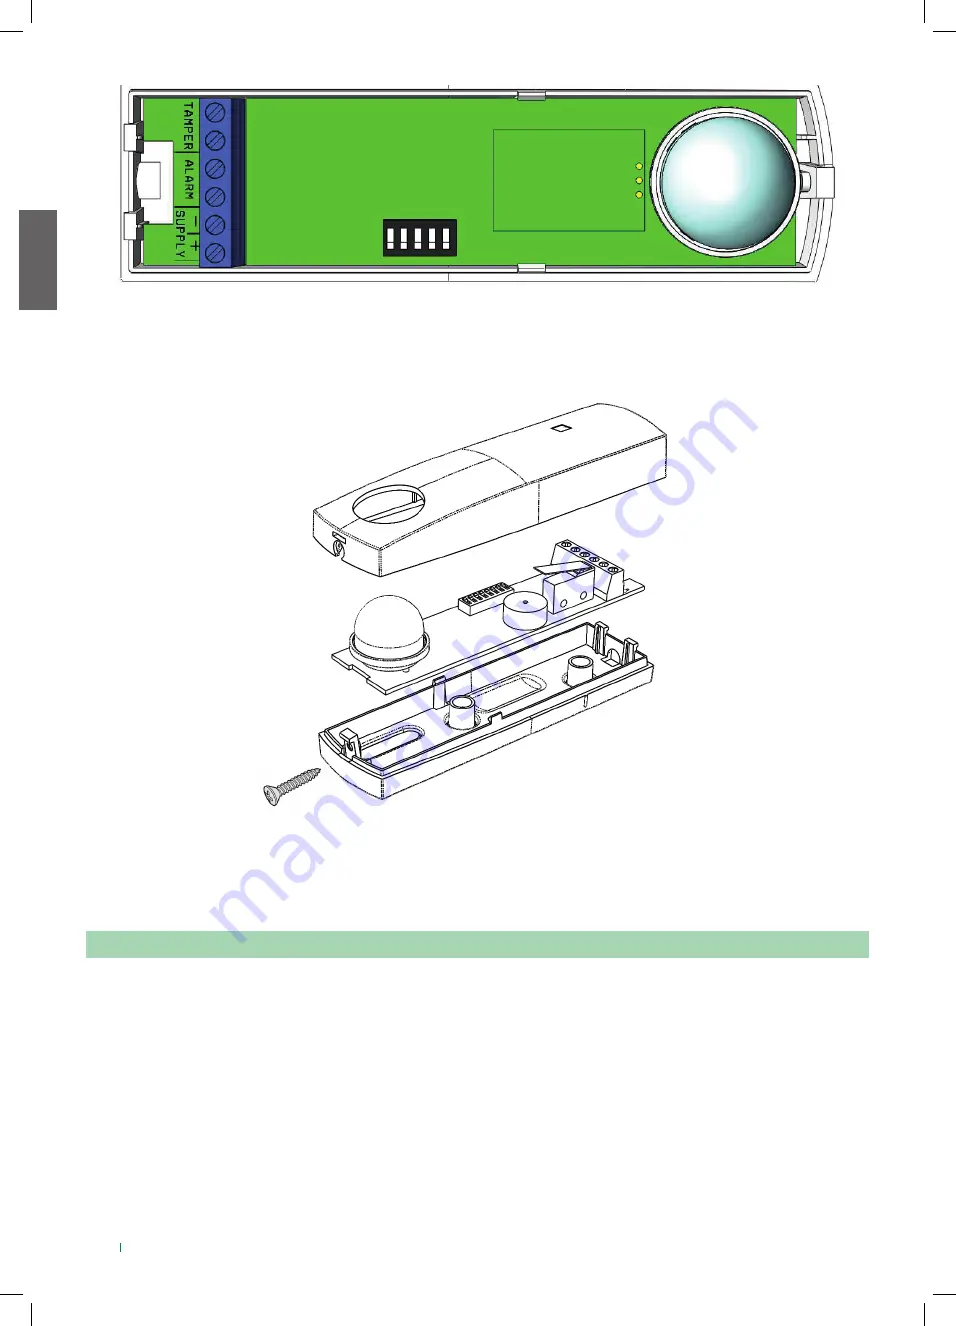
Fixed base rear slide the cable through the holes selected, secure the board in its housing interlocking and fix the cables into the
appropriate terminals. Use the scew to fix the top.
In the figure at the end of manual, you can see different types of installation, in the center of the window or on a side. The drawings
are for guidance only, so you should always test the sensor.
At start up the sensor needs a warm up time, this time is about 40’’. There will be fewer violations during this time is the faster entry
into operational mode.
The WARM UP is represented from internal and external blink LEDs
Once you have finished this, you may perform the tests necessary air flow.
5. WARM UP AND OPERATION
TAMPER:
TAMPER ANTIOPENING LINE - 400mA 40Vdc
ALARM
: ALARM CONTACT 100 mA - 40 V - 16 Ω
SUPPLY:
13.8Vcc 26mA Max
1 2 3 4 5


