background image


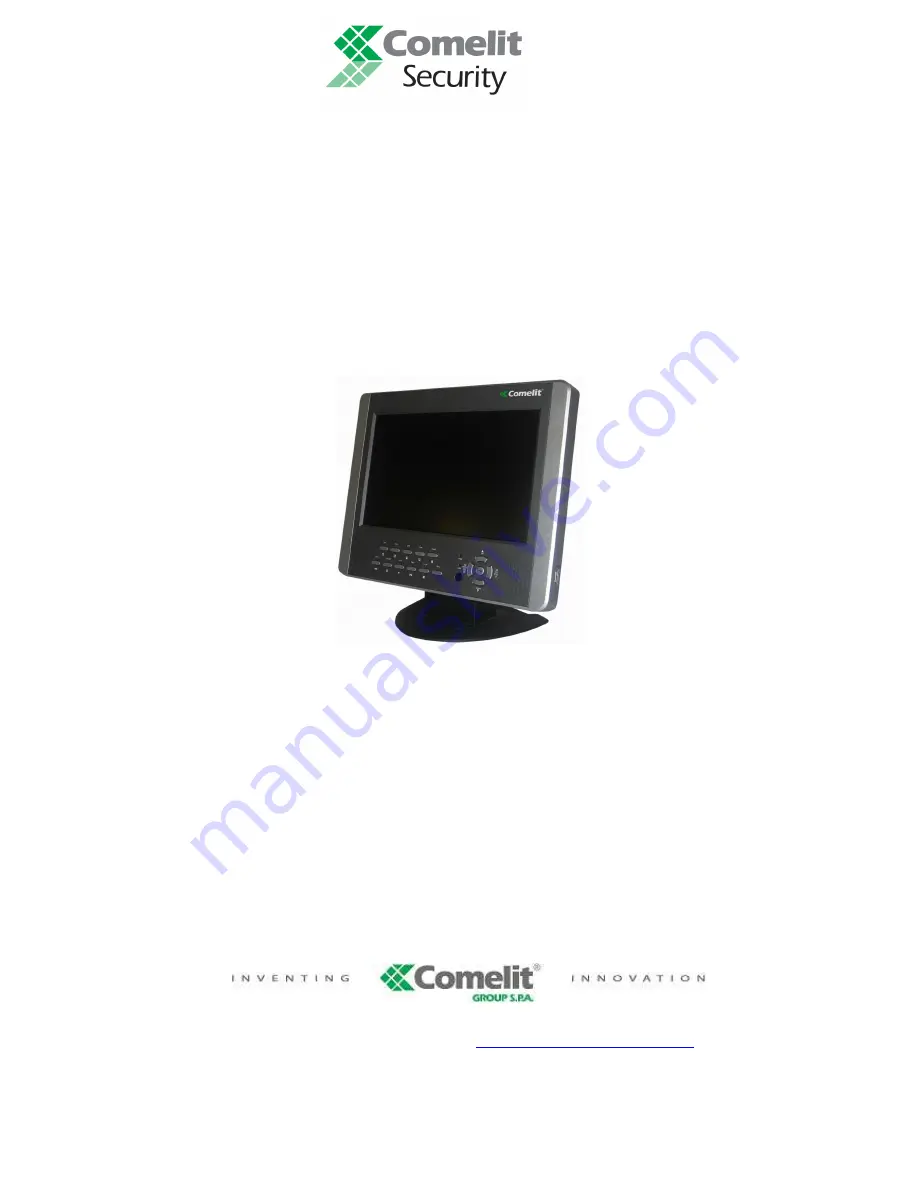
4 INPUTS STANDALONE DUPLEX DIGITAL VIDEO 

RECORDER WITH DISPLAY 

ART. 80153 


Please read this manual thoroughly before use 

and keep it for future reference. 


Via Don Arrigoni, 5 24020 Rovetta S. Lorenzo (Bergamo) 

http://www.comelit.it – E mail: 

[email protected]


Summary of Contents for 80153

Page 1: ...GITAL VIDEO RECORDER WITH DISPLAY ART 80153 Please read this manual thoroughly before use and keep it for future reference Via Don Arrigoni 5 24020 Rovetta S Lorenzo Bergamo http www comelit it E mail...

Page 2: ...ed dangerous voltage within the product s enclosure that may be of sufficient magnitude to constitute a risk of electric shock to person The exclamation point within an equilateral triangle is intende...

Page 3: ...NTERFERENCE TO RADIO COMMUNICATIONS HOWEVER THERE IS NO GUARANTEE THAT INTERFERENCE WILL NOT OCCUR IN A PARTICULAR INSTALLATION IF THIS EQUIPMENT DOES CAUSE HARMFUL INTERFERENCE TO RADIO OR TELEVISION...

Page 4: ...your safety If the provided plug does not fit into your outlet consult an electrician for replacement of the obsolete outlet 9 POWER AND CONNECTION CABLES PROTECTION Protect the cables from being wal...

Page 5: ...3 GETTING STARTED 11 4 HARDWARE SETUP 12 4 1 IDE HARD DISK DRIVE INSTALLATION 12 4 2 SATA HARD DRIVE INSTALLATION 12 4 3 MONITOR CONNECTION 13 4 4 CAMERA CONNECTION 13 4 5 SENSOR CONNECTION 13 4 6 AL...

Page 6: ...PGRADE 26 5 6 9 USB TEST 27 5 7 LANGUAGE 27 5 8 EXIT 27 6 PLAYBACK WITH TIME SEARCH FUNCTION 27 7 BACKUP VIA USB MEMORY STICK 28 8 RECORDING LENGTH 29 9 SPECIFICATIONS 30 10 APPENDIX 31 10 1 SYSTEM CO...

Page 7: ...menu move the cursor left or right 2 DOWN move the cursor of the parameters on the screen sub menu downwards 3 UP move the cursor of the parameters on the screen sub menu upwards 4 make the volume or...

Page 8: ...n will be closed automatically in stipulated time SLEEP 0 240 minutes The value is increased or decreased by ten The value of sleep indicates how long the LCD monitor will be turned off automatically...

Page 9: ...nnel is now recording To stop manual recording press REC again during recording mode STOP To stop playback press the STOP button PLAY After recording press PLAY button to start video playback Playback...

Page 10: ...ar Panel AUDIO OUT Use AUDIO OUT port for speaker mono connecting this port is audio output for playback too AUDIO IN Use AUDIO IN port for microphone connection If signal audio input is from channel...

Page 11: ...o recording can be triggered by motion detection Alarm input This is an alarm input terminal in case you need to attach an alarm device on the system RS485 The two ports are RS485 power line ports To...

Page 12: ...ile recording i e a power failure the DVR will enter Power Recovery mode at start up detect that it has been shut down and then reinitiate the recording process 1 CH1 Select or enlarge CH1 or Move dom...

Page 13: ...ore installing hard drive set jumper as MASTER The master jumper setting varies depending on the hard drive manufactures Refer to manufacture s manual for master jumper setting For example this model...

Page 14: ...n a Connect the sensor signal lines to the signal input terminal b Connect the sensor power lines to the appropriate power source In general there are three different types of sensors available in the...

Page 15: ...e circuitry is as follows First connect the alarm power lines to the alarm switch terminal Second connect the alarm power lines to the appropriate power source 4 7 Mouse Connection Connect PS 2 mouse...

Page 16: ...ard drive first There are three password levels in the system that including Admin highest Operator and Guest lowest If the user does not login the system he can only view live video display and when...

Page 17: ...system There is one factory preset login account password Admin 111111 at Admin level The user can use it to login the system for the first time After system boot up hold a right mouse click button a...

Page 18: ...d a left mouse click button to change the settings Click a right mouse to go back to the previous 5 1 CAMERA Use this option for video color adjustment for each channel 1 2 3 4 Go to DISPLAY option to...

Page 19: ...you intend to record is half green and half yellow in the record schedule menu Press Up or Down or move the mouse to move the cursor and press SEL or hold a left mouse button to adjust video record m...

Page 20: ...he buzzer will work continuously EVENT REC DURATION It sets the record time of duration in seconds after sensor recording or motion recording or MD sensor recording is activated Value at 05 10 15 20 2...

Page 21: ...ock is covered by blue shadow it s active to record When the block is transparent it can t be recorded After completed the motion area setting press MENU button or hold a right mouse click button to e...

Page 22: ...f the hard disk drive installed on the system change the system password adjust keypad tone browser event list or adjust current time on the system If user login the system at Admin level the menu bar...

Page 23: ...e hard disk drive all the video data stored on the hard disk drive will be deleted Remind that the system has no restore option once the hard drive is formatted When you choose this option it will ask...

Page 24: ...can be used as user account or password Press SEL to input value and move the cursor to the option of ENTER press SEL to confirm CH1 for up CH2 for down CH3 for left CH4 for right Press Shift for chan...

Page 25: ...anel or remote control and then press SELECT button to change the numeric value Once you finish time setting press MENU button Then press DOWN key and SELECT button to apply the new time set or move t...

Page 26: ...lect the channel 1 to set up Dome s address is 1 Protocol makes use of PELCO D Baud rate is 4800 and Dome s speed is 7 CHANNEL Select a camera channel where PTZ camera is connected ADDRESS Dome s addr...

Page 27: ...reen right figure Icon function Move the dome upwards downwards leftwards and rightwards Stop the dome running Focus Zoom Auto scan Previous Attention User can start up automatic scout in PTZ SETUP me...

Page 28: ...VR menu you need to confirm the changes under EXIT menu EXIT SAVE CHANGE Save change and go back to main screen EXIT DISCARD CHANGES No change and go back to main screen LOAD SETUP DEFAULT Load defaul...

Page 29: ...ready and attach them into DVR system In order to save the video data with these back up devices you should first start with playback and then press MENU button Use UP key or DOWN key move the cursor...

Page 30: ...ber is going up until it s done with the message below WRITING Then it will show the following message on the screen FIXATING Take out the USB memory stick and attach it into your PC when it s done Pr...

Page 31: ...ording NTSC 320 x 112 640 x 224 PAL 320 x 136 640 x 272 Compression Method Enhanced MJPEG 12 20K Bytes frame Video Quality Low 12K Bytes Normal 15K Bytes High 20K Bytes HDD Support Over 500G Byte SATA...

Page 32: ...Compatible USB stick for art 80153 tested Via Don Arrigoni 5 24020 Rovetta S Lorenzo Bergamo http www comelit it E mail export department comelit it COMPANY MODEL SIZE SONY MICROVAULT SOK USM1GJ 1GB...

Reviews: