background image

Starting Your Digital Camera 

 
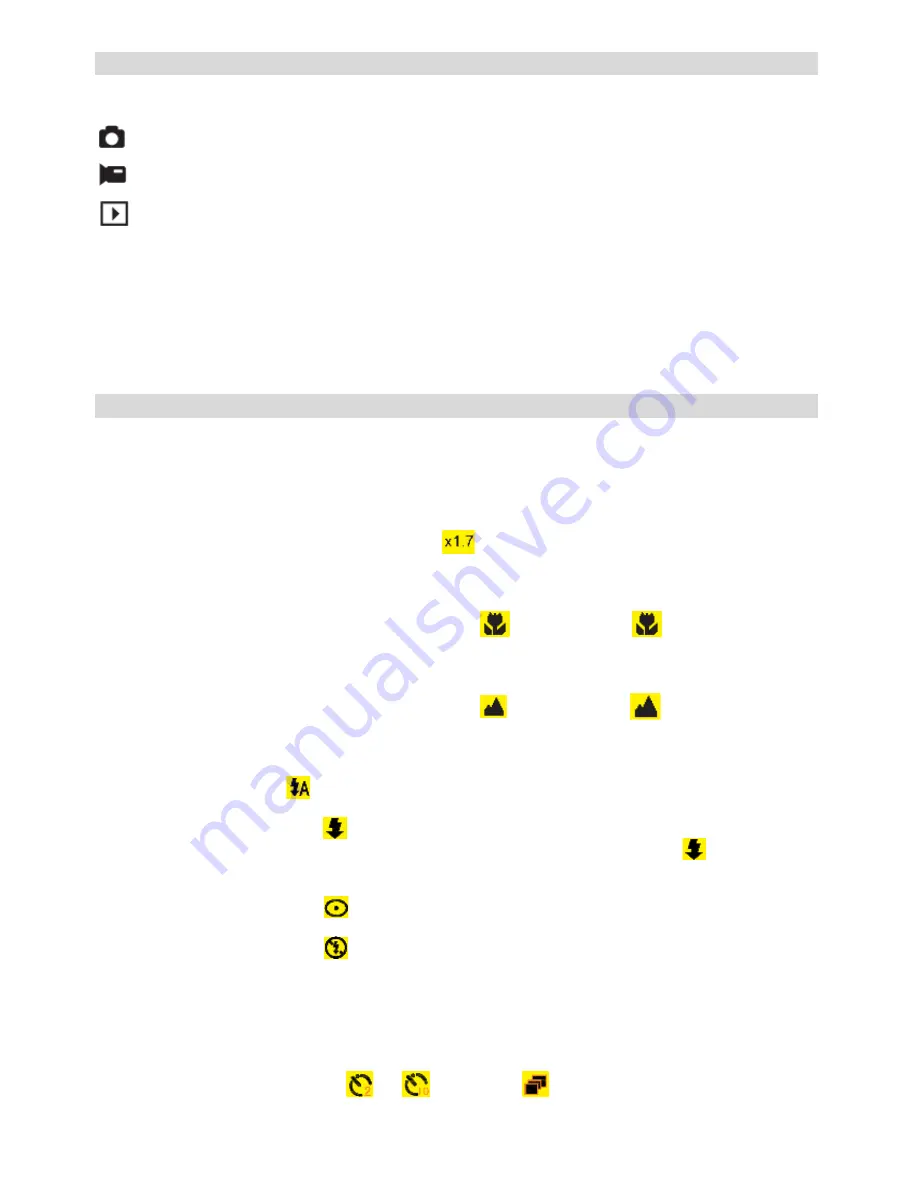
There are 3 modes on your camera. 


Camera Mode: Take still photos. 


  Video Mode: Capture video. 


Playback Mode: View, print, and edit photos and view videos. 

 
Power on   

Press the Power button once to turn your camera on. The LCD will light up and it will sound a “beep”. This audible 
alert indicates that your camera is turned on and ready for use.   
 

Power off 

Press the Power button once to turn your camera off. When there is insufficient battery power, your camera will 
automatically power off. 
 

Camera Mode 

 
Taking Photos 

In the top right corner of the LCD, a counter will display the amount of pictures remaining on the memory card. 
When the memory (photo capacity) is full, the LCD screen will display “

Memory Full

”. 


Digital Zoom 

Use the 

and 

buttons to adjust the zoom. The icon 

  will show on your LCD screen. Press the 

button to 

zoom in on your subject. Push the 

W

 button to zoom back out. 


Macro Shooting 

On the left side of the camera, slide the macro switch to the 

  position until the 

  icon appears on the 

LCD screen.    This indicates that macro shooting is active. 
   

Lanscape Shooting 

On the left side of the camera, slide the macro switch to the 

  position until the 

  icon appears on the 

LCD screen.    This indicates that landscape shooting is active. 

 
Flash 

Press the Up button until the 

  icon is displayed on the LCD screen.    This will activate the automatic flash.   

 
Press the Up button again until the 

  icon is diplayed on the LCD screen.    This denotes that the flash function 

has been "forced on" (manual flash).    If the flash is not ready, an LED will illuminate and the 

  icon will flash 

repeatedly .    Wait until the flash is ready before taking a photo. 
   
Press the Up button again until the 

  icon is diplayed on the LCD screen. The red eye reduction is active.   

 
Press the Up button again until the 

  icon appears. This will turn off the flash function. 


Self-Timer : 

You can include yourself in a photo by using this feature to delay the time between pressing the shutter button and 
when the photo is actually taken.    It is recommended that you use a tripod when using the self-timer. 
 
1.


Press the Down button to select 

  or 

  self timer or 

  3 pictures continuous shooting. 

Summary of Contents for C5WP Xtreme

Page 1: ...ncluded 1 Computer System Requirements 1 Use Notice 1 Quick Look at Your Camera 2 Main Icons on the LCD 2 Prepare Your Camera for Use 3 Charging the Battery 4 Starting Your Digital Camera 5 Camera Mod...

Page 2: ...XP Operating System Windows 7 Vista XP Mac 10 4 9 or above CPU Pentium III 1GHz minimum Pentium 4 3 0GHz or above processor recommended RAM At least 256MB minimum 1GB recommended Interface USB availab...

Page 3: ...2 Quick Look at Your Camera Main Icons on the LCD...

Page 4: ...the rechargeable lithium ion battery and micro SD memory card into the appropriate slots Your camera supportes a micro SD memory card up to 8GB Please refer to the diagram for correct installation Mic...

Page 5: ...is installed correctly 1 Formatting will delete all the data on the SD memory card including protected data 2 Do not remove the memory card during formatting as this may permanently damage the card an...

Page 6: ...o the position until the icon appears on the LCD screen This indicates that macro shooting is active Lanscape Shooting On the left side of the camera slide the macro switch to the position until the i...

Page 7: ...setting You can chose from Resolution Scene Image Stabilization Quality Sharpness Exposure White Balance ISO and Face Detection Resolution 1 Enter into the MENU and press the Up Down buttons to select...

Page 8: ...ss 2 Press the OK button and then press the Up Down buttons to select sharpness Strong Normal Soft 3 After selection press the OK button to confirm and press the Left button to exit Or press the MENU...

Page 9: ...Video Mode Under Video mode press the Menu button once to enter into the menu and press Up Down buttons to select a setting Resolution White Balance and Exposure Resolution 1 Enter into Video Mode and...

Page 10: ...and press the Up Down Left Right buttons to select the photo you would like to view After selection press the OK button to view the photo When viewing the photo you can press T Button to zoom in to th...

Page 11: ...Or press the MENU button to return without any selection Crop 1 Enter into Playback mode and press the MENU button to select Crop 2 Press the OK button and then press the Up Down buttons to select Cr...

Page 12: ...mat and Default Setting Date Time Select Date Time and press the OK button to set the date and time After selection press the OK button to confirm and press the Left button to exit Or press the MENU b...

Page 13: ...ss the MENU and Right buttons to select Frequency 2 Press the OK button and then press the Up Down buttons to select 50 Hz or 60 Hz 3 After selection press the OK button to confirm and press the Left...

Page 14: ...2 7 Inch TFT LCD Lens f 8 15mm F3 0 Zoom 8X digital zoom Exposure 2 0 5 3 4 3 1 0 2 3 1 3 0 0 1 3 2 3 1 0 4 3 5 3 2 0 Scene Auto Scenery Night Scene Portrait Night Portrait Sports Party Beach High Sen...

Reviews: