6
EN
GL
IS
H
3
4
2
Wall mounted use
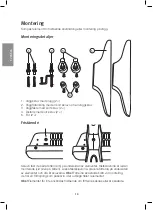
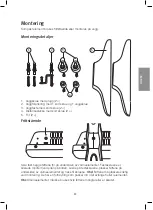
1. Screw the wall brackets (3) on either side
of the handle on the back of the heater
using the short screws. The screws
must be in the lower holes in order for
the heater to hang on the keyhole slots.
2. Screw the spacers (4) onto the lower
edge of the back of the heater using
short screws.
3. Screw the wall anchor (2) to the lower
back of the heater using a short screw.
4. Measure the distance between the centres of the keyhole slots and mark out
the position of the mounting screws on the wall. Screw in the two long screws, but
not completely, leave them protruding about 5 mm. Use a masonry drill and wall
plugs if necessary.
5. Hang the heater onto the screws.
6. Screw the wall anchors (2) onto the wall using the long screw.
Operating instructions
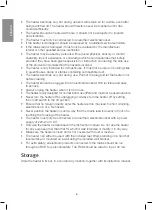
1. Stand the heater on a firm, flat level
surface or mount it on a wall using
the included bracket and in accordance
with the pictured minimum clearance
requirements (in millimetres).
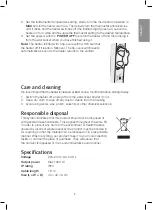
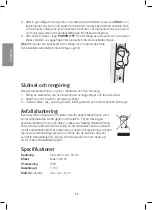
2. Make sure that the power switch is set to
POWER OFF
before plugging the heater
into a wall socket.
3. Plug the mains lead into a wall socket.
4. Set the power switch knob to either
EXPRESS
(1000 W) or
ECONOMY
(500 W).
The power indicator lamp lights up when the heater is heating, i.e., when
the heater is plugged in, switched on and the thermostat is operating.
Summary of Contents for TBK050-M10X
Page 2: ...2 ...


