


- 27 -
4.5 Assigning the Static IP Address
Important: In order to make changes in network settings in the local machine the user must be logged in as
Administrator. Please contact your local IT department if you do not have Admin privileges.
Set your computer IP address to the same subnet as the camera system IP address:
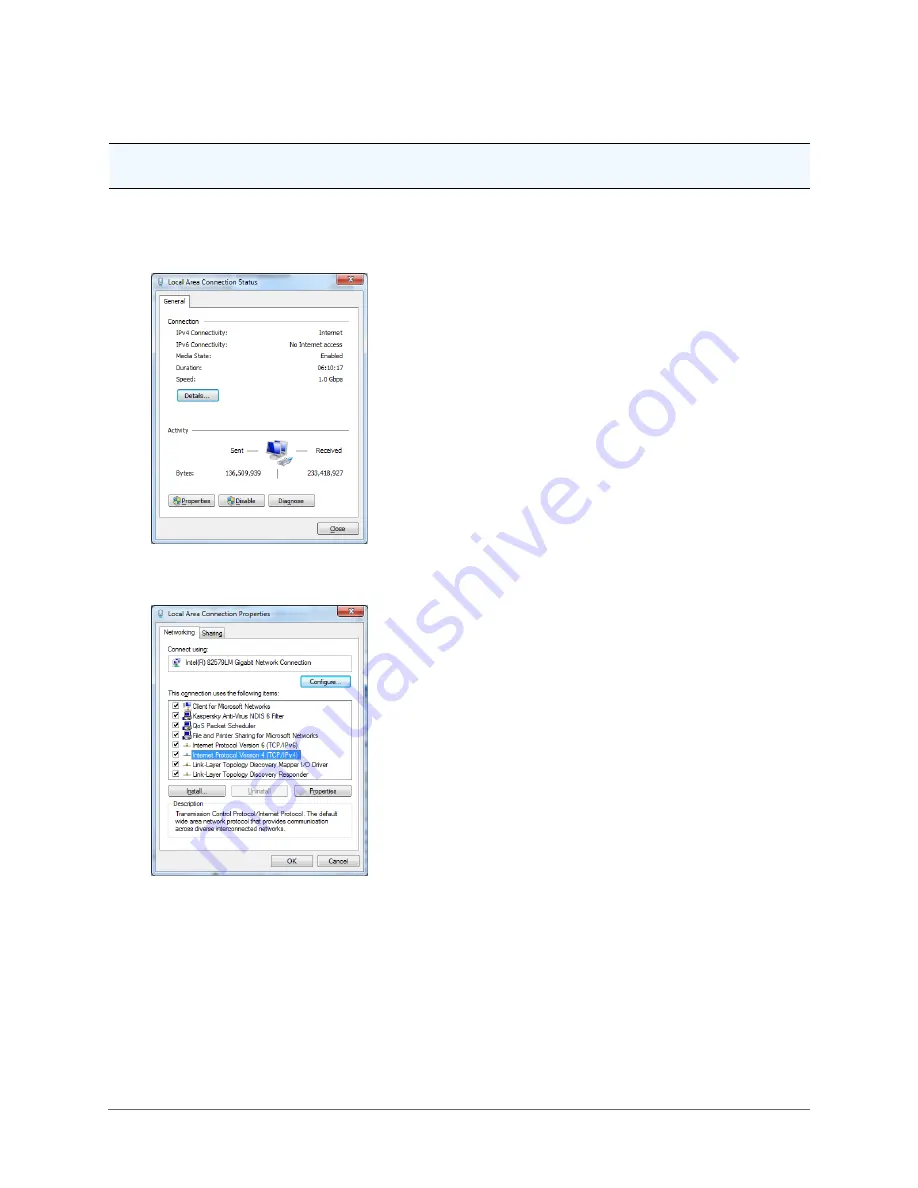
1. Go to Start > Control Panel > Network and Sharing Centers > Local Area Connection.
2. The Local Area Connection Status dialog box opens. Click the Properties button.
3. The Local Area Connection Properties dialog box opens. In the Networking tab, highlight the Internet
Protocol Version 4 (TCP/IPv4) line. Click the Properties button.
4. The Internet Protocol Version 4 (TCP/IPv4) dialog box opens:
a. Select the Use the following IP Address button in the General tab.
b. Enter IP address: the IP address range is 192.168.2.1 through 192.168.2.254 except
192.168.2.150 (the default address that has been assigned to the camera).
c. Enter the subnet mask: 255.255.255.0.
d. Click the OK button to close the Internet Protocol Version 4 (TCP/IPv4) dialog box.


