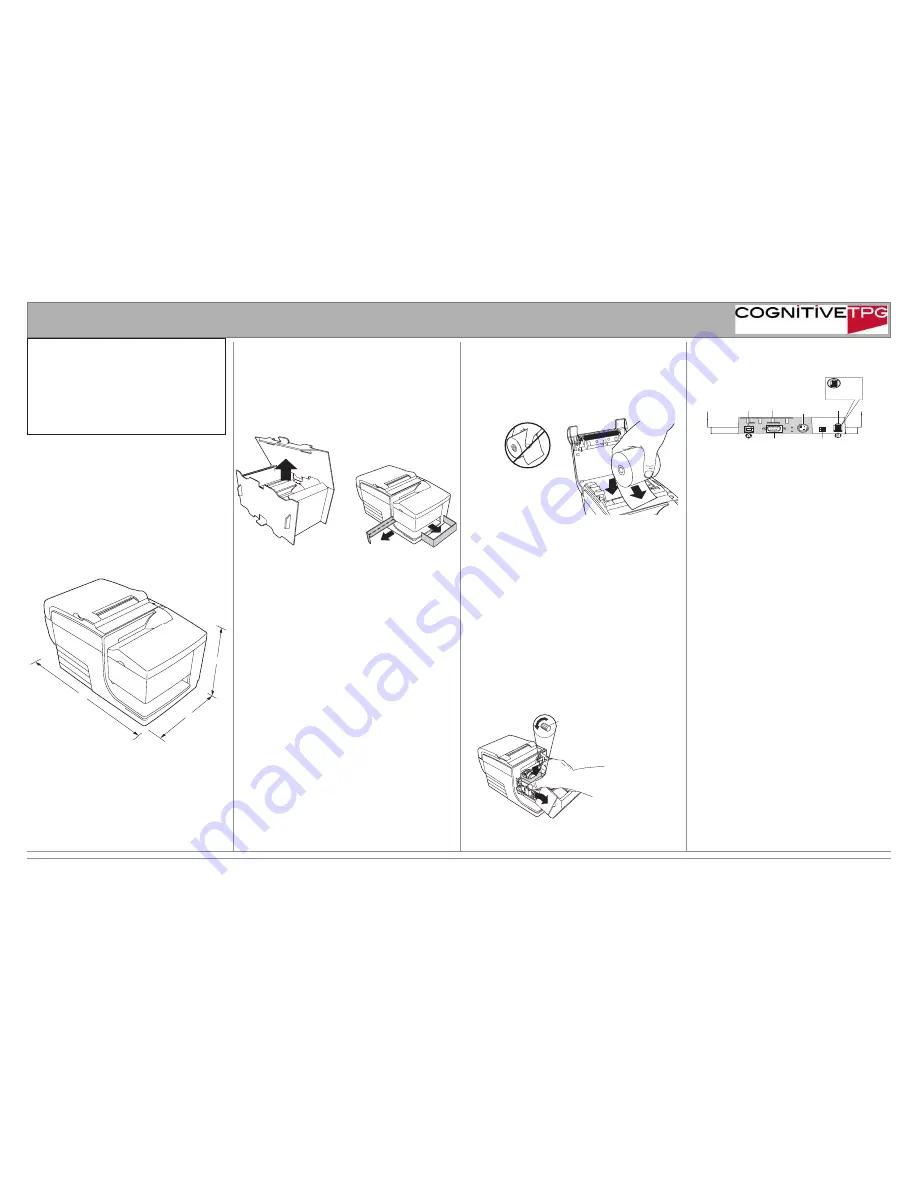
The B780 printer requires minimal counter space and may be set
near the host computer. With the RS-232C interface, you can place
the printer up to 50 feet (for USB interface up to 15 feet) from the
host computer and power supply.
Do not place the printer in a dusty environment or anywhere that
spillage of drinks or other liquids can occur.
Be sure the printer is on a level surface and that there is enough room
to open the receipt cover to change the paper and to open the front
cover to change the impact printer’s ribbon cassette.
Be sure to leave adequate space at the rear the printer for connecting
and accessing the cables.
Be sure to locate the printer away from sources of magnetic
interference. Because the printer may have the optional built-in
Magnetic Ink Character Recognition (MICR) check reader, you may
need to make additional adjustments to the printer’s location. Devices
such as CRT monitors or large metal surfaces can affect the printer’s
magnetic field and cause intermittent check reading errors.
Keep all packaging materials
The packing materials protect the printer and help prevent damage.
Be sure to save all the packaging materials - including the plastic bag
and the cardboard supports found in the slip path.
Report Any Missing or Damaged Items
To report any missing materials, or to report a printer that was
damaged during shipping, call your supplier or contact CognitiveTPG
using any of the methods shown below.
Unpack the printer
Check the packing list
Before installation, check that all the items on this list are included
(printers shipped in bulk may not include all these items):
• Printer (enclosed in a plastic bag with corrugated pack)
• Test printout protecting the print head (inside receipt
bucket)
• Power supply (if ordered), with cable to printer and AC
power cord
• Ribbon cassette
•
Setup Guide
4
Close the receipt cover while holding the paper over the
front of the cabinet.
5
Remove the excess paper by tearing it against the tear-off
blade.
6
Press the paper feed button to advance the paper if
necessary.
x
Install new receipt paper
A776 Install Paper 1.eps
Install paper NO.eps
1
Open the receipt cover and remove the used roll (if present).
2
Tear off the end of the new roll so that the edge is loose.
3
Place the roll into the paper bucket with the paper unrolling
from the bottom of the roll, and with a few inches of paper
extending over the cabinet front.
A776 Replace Ribbon.eps
Knob
2
1
y
Install the ribbon cassette
1
Open the front cover (1) by grasping the cover on each side
at the bottom and swing up.
2
Unwrap the new ribbon cassette and tighten the ribbon
by turning the knob on the cassette in the direction of the
arrow.
3
Position the ribbon cassette onto the carriage (2), as shown,
making sure the ribbon is not caught on the print head.
4
Snap the cassette into place and snap the front cover closed.
.
Note:
The rear connector panel varies with different interfaces
Cash drawer cables
1
Plug the cable into the cash drawer connector (standard phone
jack) next to the pair of dip switches on the rear of the printer.
Note: Use
a Y-cable to serve two cash drawers with one printer.
z
Connect the cables
All cable connections are made at the rear of the printer.
Strain
Relief
DIP
switches
9-pin RS-232C
communication
connector
CAUTION:
DO NOT plug the
USB cable here
Cash drawer
connector
USB
connector
Power
supply
connector
Communication cables
The communication cable connects the printer to the host computer.
Route all cables as shown in Cable Routing to provide strain relief.
If installing the RS-232C communication cable:
If installing the USB communication cable:
1
Host computer can remain on.
2
Plug the printer end of the USB cable into the USB connector
port on the printer (A).
3
Plug the computer end of the USB cable into the computer.
Make sure the USB symbol on the connector is facing up.
4 Download the USB driver to the host computer from the
CognitiveTPG Web site
1
Turn off the host computer.
2
Plug the communication cable into the connector.
3
Secure the connector by tightening the screws.
4
Connect the cable to the host computer.
5
Turn host computer on.
If installing the Powered USB cable:
3
Plug the computer end of the USB cable into the computer.
4
Download the USB driver to the host computer
from the CognitiveTPG Web site
1
Be sure the host computer is powered off.
2
Plug the printer end of the USB cable into the USB connector
port on the printer.
Paper must unroll
from the bottom of the
roll to insure that the
image prints correctly.
Caution:
DO NOT remove the
transparent mylar shield that
protects the exposed ribbon.
Start Here
Be sure to read and understand each section of the
setup sequence before proceeding.
If you have any questions, please call us at 800-732-
8950 or 607-274-2500 or visit www.CognitiveTPG.com.
Please visit the website’s Warranty Registration section
to register your printer and provide feedback on its
quality.
A776 Unpack left side.eps
6.5"
11.4"
6.6"
A776 Dim left side.eps
CognitiveTPG, 950 Danby Road, Ithaca, NY 14850 -- http://www.CognitiveTPG.com
Customer Support: 1-800-732-8950, ext 4 - Sales Order Desk: 1-800-732-8950, ext 1
B780 - S U G 0 0 0 1 R e v C 11/12
Setup Guide
B780
Two-Color
Hybrid Thermal/Impact Printer
Choose a location
Caution:
Be careful to connect the USB cable only to point A
(above). Attempts to connect the USB cable at point B can cause
permanent damage to the communications circuitry.


