15
After Sales Support
1300 663 907
Model Number
HE150242
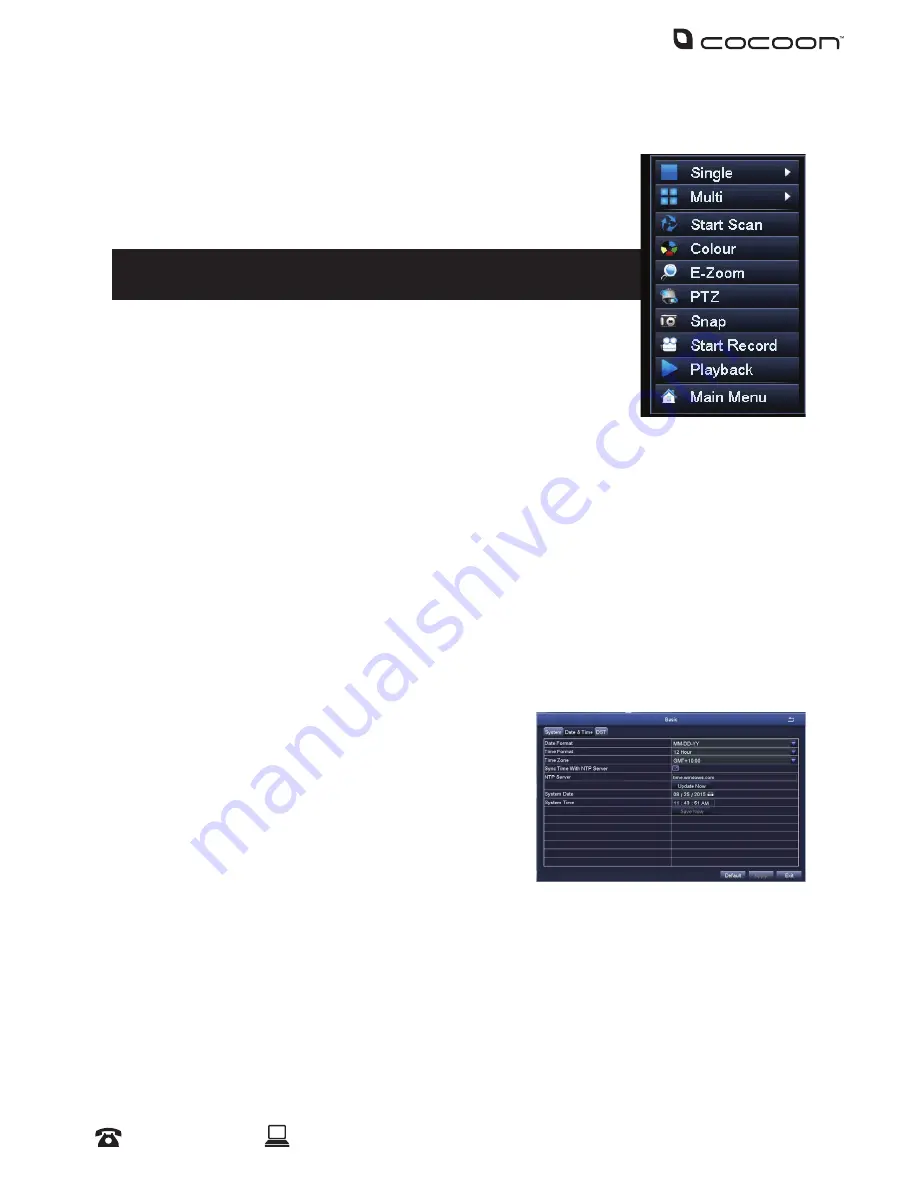
3.7 Quick Popup Menu
Right-clicking the mouse whilst on the viewing screen will show the pop-
up menu for quick access to basic functions.
1. Single – Switch to single view mode. Select the camera to view
2. Multi – Switch to split screen mode
Tip: Alternatively, use the mouse and double click with LMB on the
image to switch between the two modes
3. Stop/Start Scan – Automatically changes the single camera view at a
selected interval. See 4.4.2 Live for more details
4. Colour – Adjust the colour settings of the selected camera
5. E-Zoom - Click and drag to draw a box in the bottom left window to
zoom-in on the selection, right-click to return to full screen mode
6. PTZ - access PTZ (Pan Tilt Zoom) controls via shortcut. Must have PTZ camera (not included)
installed and connected
7. Snap – Take a photo of the selected camera (A camera icon will show up indicating a photo
has been taken)
8. Start/Stop Record – Start and Stop recording all channels (default settings) (A green square
will show up indicating the camera is recording)
9. Playback – Enter playback mode to view recently recorded footage
10. Main Menu – Access the main menu to configure DVR settings
3.8 Setting the Date and Time
Ensure your recordings are capturing the correct date and
time. Access the menu and make changes as necessary.
1. Right Click - Main Menu > Enter Username and
Password > Setup > Basic > Date & Time
2. Change the current date and time by clicking on the
date and time boxes and following the on screen
prompts
IMPORTANT NOTE:
Always click ‘Apply’ after making any changes in the menu. If you do not click
‘Apply’, your changes will not be saved. Changing some settings will also require a system reboot.
Operation
.
Summary of Contents for HE150242
Page 1: ... INSTRUCTION MANUAL Model Number HE150242 4 CAMERA HOME SECURITY SYSTEM WITH DVR ...
Page 2: ... ...
Page 40: ... ...


