


Press
.
Wait u ntil yo u hear a dial tone, and th en pre ss
to re dial th e num ber la st dial ed
(up to 32 dig its).
13
14
Ba sic Op eratio n
Setting
Additi onal Opt io ns
Adjust the volume in the earpiece
Switch to temporary to ne dialing
Receive a c all waiting c all
Mute a c all
Do This:
To:
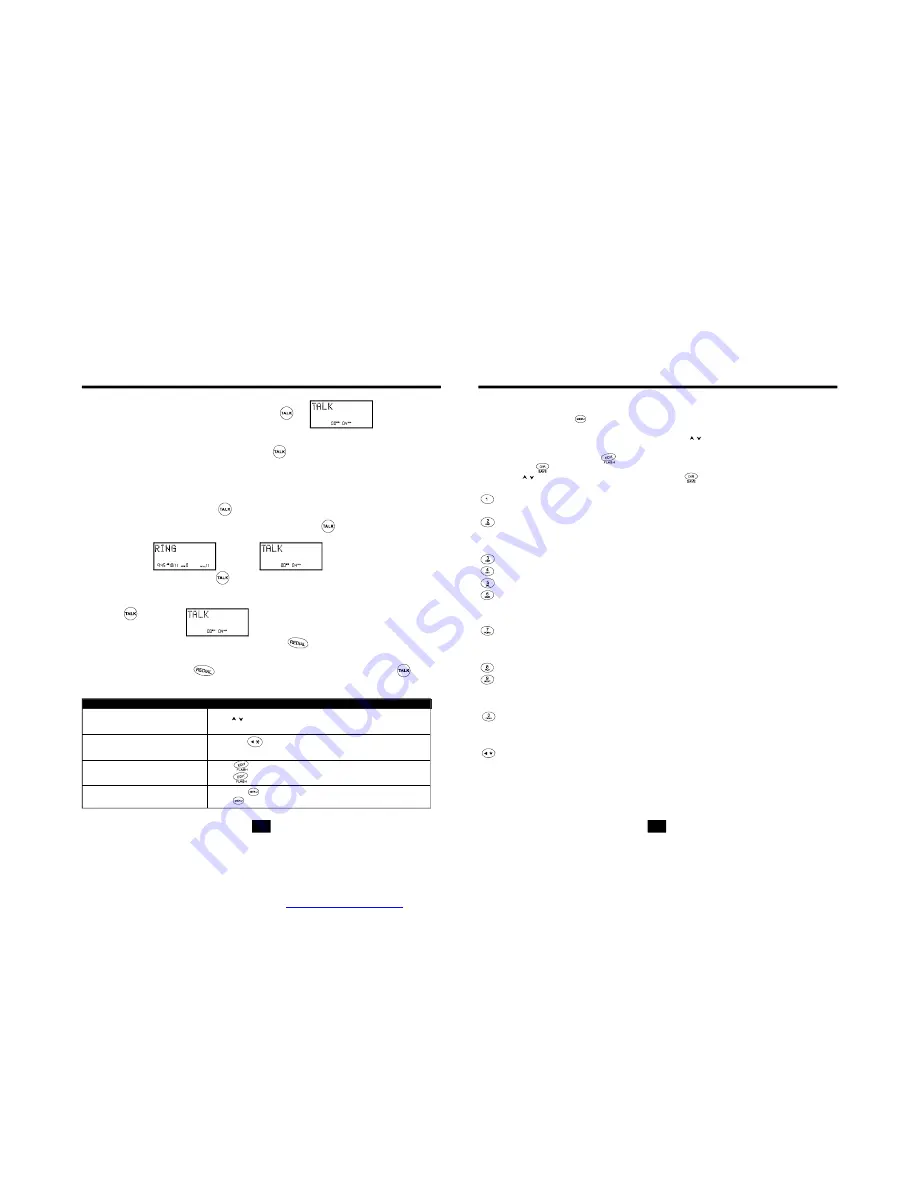
Pick u p the h andse t from the ba se and pres s
.
Wait u ntil yo u hear a dial tone, and then dial the nu mber you wi sh to d ial.
When you a re fini shed t alking , press the
ke y or p lace t he uni t back into t he
base t o end the call.
Ma king C alls
1.
2.
3.
Re ceivin g Cal ls
Wh en yo u hea r the p hone ring:
If the h andse t is in the ba se, lift the ha ndset from t he bas e. The hand set wil l turn o n.
There is no n eed to push the
key if the unit is on the base when the ca ll comes
in. Thi s auto -answ er feat ure ca n be p rogram med o ff.
If the hands et is off the b ase, y ou wi ll need to pre ss
to answe r the call. The
displa y will s how th e call er ID in forma tion after the first ring.
When you ar e finis hed, p ush
or p lace th e han dset b ack on the ba se.
1.
2.
3.
Press the
key after the phone is in use .The phone will
remain in tone dial ing mode for the duration of the call.
Press
to go to the new caller.
Press
again t o go back to the original caller.
Press the
key.
Press
to contin ue speaking to the caller.
Press
during a call until the desired volume level is reached.
Re dialin g
1.
2.
N ote:
You ca n also press
first to display the numb er and then press
to dial
t he number d isplaye d.
Handset Settings
"ENGLISH"
You can change the setting on the handset in the options menu. Access the options menu by
pressing and holding the
key until
is displayed.
There are 11 settings in the options menu which can be changed. You can scroll through the
option menu in the listed order by pressing the
key. Settings which have a listed
number can be reached directly by pressing that number on the keypad.
To edit most settings, press the
key, use the keys to toggle between the setting options,
and then press
to save changes. You can continue programming options by using the dial
pad keys or
the keys to go to a new setting. Press
to exit the options menu.
Key Function
Language:
First Ring On/Off:
Time Set:
Contrast:
PBX Number:
PBX Mode On/Off:
Pause Time:
MSG Waiting Delete:
Unavailable Ring On/Off:
Private Ring On/Off:
Auto Answer On/Off:
Note:
Change the language that appears on the display. Choose between English,
French, and Spanish.
Turn the first ring of the phone off so that it does not Ring until caller
ID information has been displayed. Particularly useful when using the priority and
blocked call features or the private and unavailable ring settings.
Change the time and date.
Provided to adjust the display background lighter or darker.
Number used to access PBX dialing options. The default setting is "9".
Determines if the " PBX Number" is used before an out-going
number is dialed. When "On",
automatically dials the PBX number
and a pause,
before any speed dial or caller ID callback number. Default setting is "Off".
Allows you to adjust the number of seconds that a pause lasts such as
during programmed pauses in your speed dial numbers or after your PBX number is
dialed.
Clears any current message waiting indication.
Turns on and off the ring for all calls where caller ID
information is unavailable. Please note that the phone will ring once even when set to
"Off" unless First Ring is programmed "Off" as well.
Turns on and off the ring for all calls where the caller has blocked
their caller ID. Please note that the phone will ring once even when set to "Off" unless
first Ring is programmed "Off" as well.
Turns on and off the feature which makes the
phone
automatically go off-hook when the handset is picked up from the base while the phone
is ringing.
At any time during options programming you can quit and the settings that you have
changed will be saved. Press
to quit or let the options programming time out by not
pressing any keys for 20 seconds.
PDF created with pdfFactory Pro trial version
www.pdffactory.com


