


16 |
Nord Wave User Manual v1.1
6
Nord Wave reference
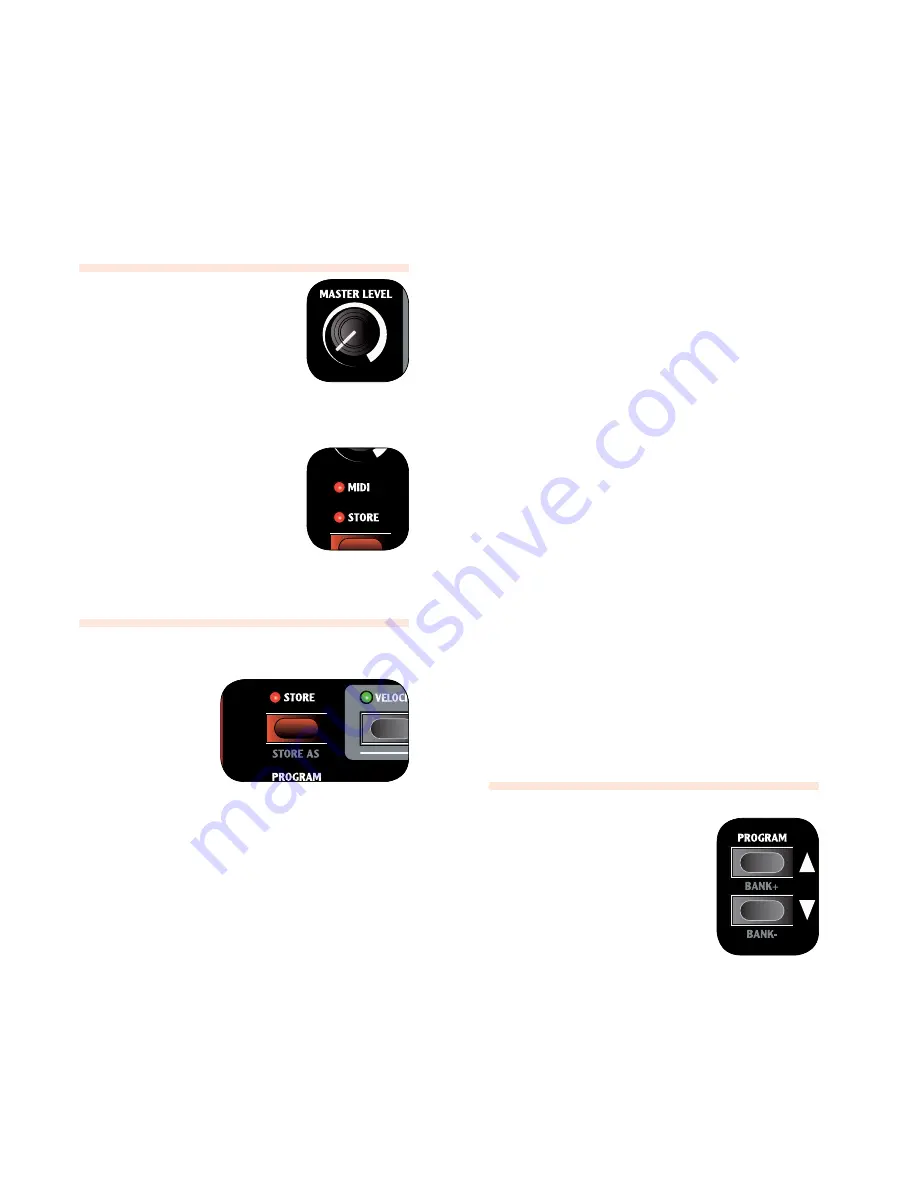
mASter level
knob
the
mASter level
knob controls
the overall amplitude for the audio
outputs - the line level outputs and the
headphone output. the
mASter level
knob’s actual position indicates the
output level. this is one of the very few
functions in the Nord Wave that is not
stored in a Program.
MIDI LED indicator
the
midi led
will indicate incoming
MIdI note messages by briefly lighting
up.
If the incoming messages are on a
•
MIdI channel that the Nord Wave is
not responding to, these indications
will be short. If the incoming MIdI
channels matches the channel(s)
you select in the System menu, the indications will be
longer.
Store
Button
the
Store
button is
used when you wish
to store a Program in
the Program memory
on the Nord Wave.
during the process,
you will get the op-
portunity to select a
location where you
want to store the
Program.
this button’s secondary function Store as can be used if
you wish to change the name of a Program or the category.
Press the
1
Store
button.
the Store button LEd starts flashing and the original
Program location is shown in the LCd.
there is a Memory Protect function that may need to
•
be turned off in the System Menu before you can save
a Program. Press
Shift + SyStem
and scroll to the
Memory Protect setting with the
uP/doWN NAvigA-
tor
buttons and set this to off using the
rotAry diAl
.
Select a new location.
2
Use the Program buttons and/or the
rotAry diAl
to choose a new Program location if you do not want
to overwrite the original Program. to select another
bank, press
Shift
and the
uP/doWN NAvigAtor
buttons.
Press the
3
Store
button a second time to confirm your choice.
the Store LEd stops flashing and your Program has
now replaced the previous one in the location you
selected.
to cancel the procedure, press any button on the panel
•
before you press
Store
the second time.
Saving a Program with a new name and/or
category
Press the
1
Store
AS
button (
Shift + Store
)
the Store button LEd starts flashing and the Program
name and category is shown in the LCd.
Use the
2
rotAry diAl
to select a category.
there are 17 categories to chose from. Look at page
19 for a complete list.
Give your program a name using the
3
uP/doWN
buttons
to change position, and the
rotAry
to scroll between the
available characters.
Press the
4
Store
button a second time to confirm the new
name and category selection.
Use the
5
ProgrAm
buttons or the
rotAry
dial to choose
the location where you want to store the Program.
Press the
6
Store
button a third time to confirm your choice.
the Store LEd stops flashing and your edited Program
has now replaced the previous one in the location you
chose.
to cancel the procedure, press any button on the panel
•
before you press
Store
the third time.
Program
uP/doWN
buttons
the
uP/doWN
buttons allows you to
select Programs. depending on the
selected Sort Mode, you may step
through consecutive numbers in the
Banks, step through the Programs in a
selected category or step through the
Programs in an alphabetical order.
If you press and hold any of these
•
buttons, Programs will be selected in
a rapid and consecutive order.
If you press and hold Shift, these buttons allows you
to change Banks, change Category or initial character,
depending on the Sort Mode. read more about the Sort
Mode on page 19.
When you have reached the last Program in a Bank,
•
Category or alphabetical list, pressing Up will select the
next available Program in the next Bank, Category or
alphabetical list.
If a Bank contains empty memory locations, these will
•
not be displayed when you scroll through the Banks.
They will however be displayed when you browse for
a location to save a Program.


