


12 |
Nord Wave User Manual v1.1
Focus
to be able to fully take advantage of the flexibility of the
two slots and the knobs and buttons on the panel, the
Nord Wave uses a concept that we call Focus which means
“active for”.
When you select a Program in the Wave and play on the
keyboard with e.g. Slot a active (its LEd being lit), that Slot
has the keyboard focus. this means that you use the key-
board, pitch stick, morph functions and other performance
controls on the Wave to control it.
this slot also has the panel focus; a solitary slot always has
both panel and keyboard focus. If you grab a knob on the
panel and turn it, the sound will change.
If you select both slots to create a layer as described earlier,
the slot with the flashing LEd will be the one with panel
focus. Both slots will have keyboard focus.
To switch the panel focus from one slot to the other in a layer,
1
just press the
Slot
button of the slot you wish to put in
panel focus.
this makes it possible to play two sounds with the
keyboard, and edit one of them at a time with the
panel controls.
the configuration of the two slots in a Program will be
•
kept when a Program is saved. this includes the selec-
tion of the Panel Focus.
Adding an effect
the Nord Wave has two different sets of effects. the two
band EQ and the chorus are Slot effects which mean they
can be used with individual settings for each one of the
two slots in a Program.
the delay, the tube amp simulator and the reverb are the
Program effects, and they will process both the slots at the
same time, if both slots are active.
Dial up the Wurlitzer program, bank 1, number 30.
1
Play a few notes and notice the subtle reverb and the
panning. the panning effect is actually made with the
LFo; turn down the LFo1 aMoUNt knob if you want
to turn this off.
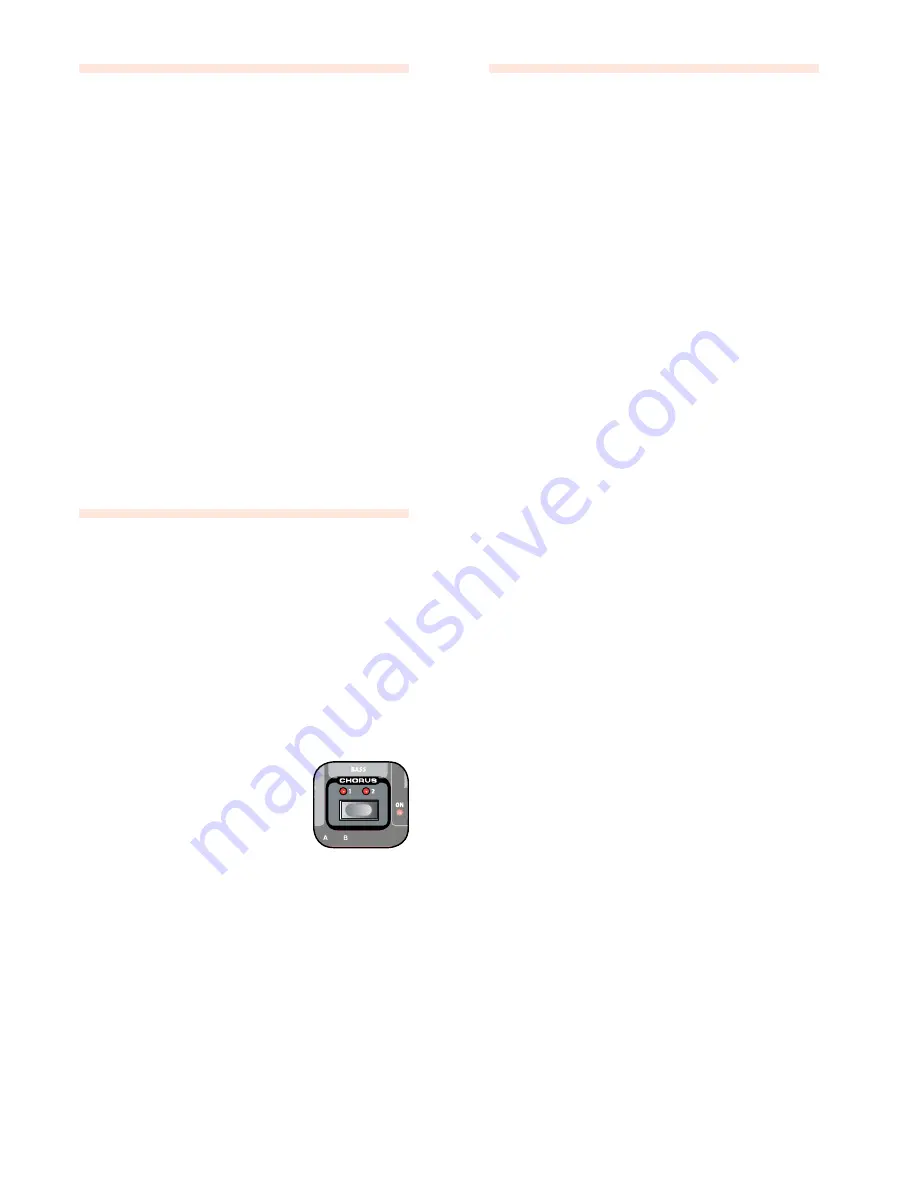
Press the
2
choruS
button once.
this adds a subtle chorus effect.
Press the
3
choruS
button again to
select the second chorus mode, and
a third time to select the third chorus
depth.
If you find a sound to be to offensive in the overall mix, try
turning down the Bass EQ control a bit. the EQ is activated
as soon as you turn an EQ knob from its 12 o’clock position.
Press the
4
delAy oN
button to add a delay to the Wurly.
You set the level of the delay signal with the
AmouNt
knob and the feedback by pressing repeatedly on the
feedBAck
button.
Press
5
Shift
+
Stereo
in the delay section to get a stereo
delay with a panning effect.
A quick MIDI Setup
the default MIdI Channel on the Wave is channel 1 for the
transmission of the keyboard and performance functions,
and also for the reception of note on message for both the
two slots.
Every knob and button on the panel can send MIdI Control
Change messages. this makes it possible to record e.g. a
filter sweep to a sequencer.
Since the two slots combined have more knobs and but-
tons than the MIdI specification has available CC addresses,
the two slots can be set to two separate MIdI transmission
channels.
Press
1
Shift
+
midi
to enter the MIDI Menu.
Use the
uP/doWN
buttons to select the MIdI Chan-
nel function.
this sets the MIdI Channel that is being transmitted from
the keyboard and also being used as the receiving channel
for both slots simultaneously.
Exit the MIDI Menu by pressing any button except the
2
uP/
doWN
buttons.
Controlling Slot A and B via MIDI on separate
MIDI Channels
the two slots may receive MIdI note messages on individu-
al MIdI channels, in the bi-timbral mode.
Press
1
Shift
and
midi
to enter the MIDI Menu.
Use the
2
uP/doWN
buttons to navigate to the MIDI param-
eter.
Set this function to Bi-timb.
this will not disconnect the Wave keyboard and perfor-
•
mance controls from the Slots. If you want that kind of
functionality, you also have to set the Local function to
off.
Use the
3
uP/doWN
buttons to select the MIDI Ctrl A param-
eter and set this to the MIDI channel that you want Slot A to
respond to.
Use the
4
uP/doWN
buttons to select the MIDI Ctrl B param-
eter and set this to the MIDI channel that you want Slot B to
respond to.
Exit the MIDI Menu by pressing any button except the
5
uP/
doWN
buttons.
In the following sections you will find a chapter about the
powerful Morph function, a function reference, a chapter
that is totally devoted to the Nord Wave Manager ap-
plication and also a chapter that describes a bit what this
synthesis thing is all about.


