7
E
n
g
li
s
h
4.2 Connecting a camera to the DVR
1. Connect the extension leads between the camera and DVR. The yellow connectors are for video and the
red connectors are for the power supply to the camera.
N.B.
The BNC connectors on both ends of the extension leads are marked. The side marked “To camera
side only” should be connected to the camera and the “To DVR side only” should be connected to [CH1] –
[CH4] on the back panel of the DVR.
2. Connect the splitter cable to the power adaptor.
3. Connect the cable marked “DVR POWER” to “DC 12 V” on the back panel of the DVR. Connect the rest of
the splitter connections to the red connectors on the extension leads.
4.3 Connecting the DVR to a TV
Connect the included composite video cable to the “Video Output” connection on the back panel of the DVR
and to the “Video In” connection on your TV.
5. Starting the DVR
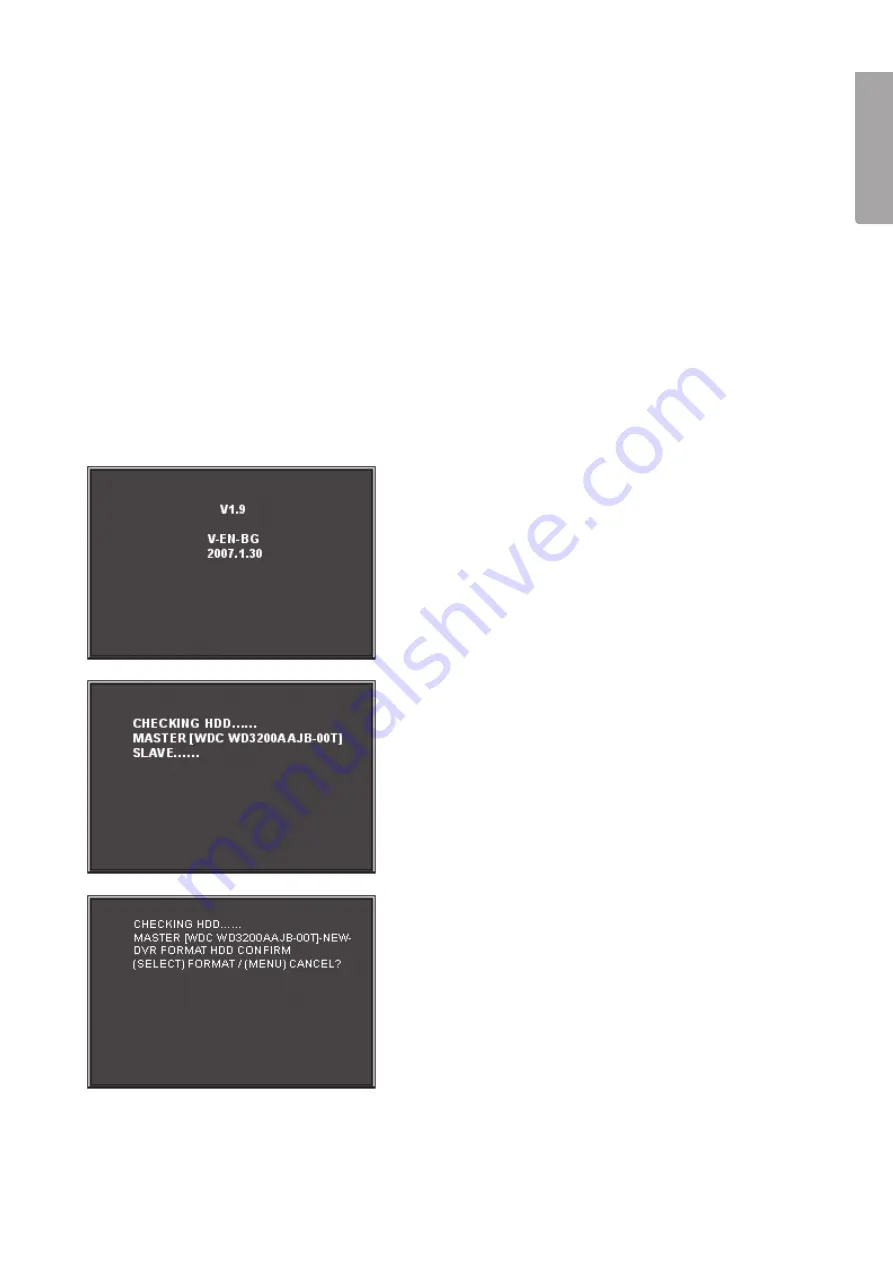
1. The startup screen shows the date and firmware
version used.
2. The system will attempt to detect the hard drive. Once
detected the hard disk information will be shown.
3. Once the hard disk is detected you will be asked if you wish
to format it.
•
Press [SEL] to format or [MENU] to cancel.
Summary of Contents for D6004CK
Page 2: ...2...
Page 22: ...22 E n g l i s h 14 Connections...
Page 42: ...42 SVENSKA Sv e n s ka 14 Inkoppling...
Page 62: ...62 N o r s k 14 Innkobling...
Page 82: ...82 Suomi 14 Kytkent...
Page 83: ...83...


