16
E
n
g
li
s
h
7. Record
7.1 Start recording
Press [
] to start recording according to the settings set in “Record Schedule”. Recording information will be
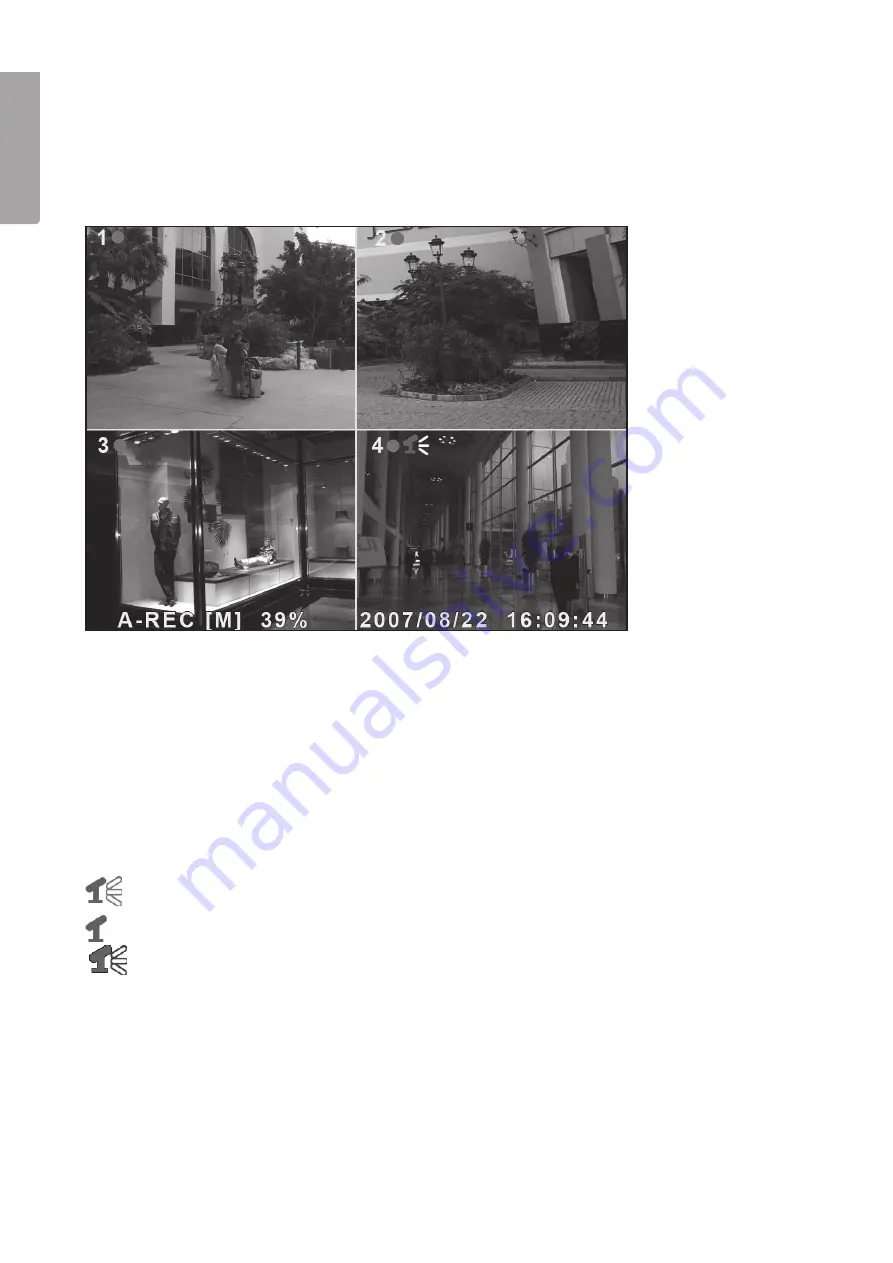
shown on the screen. In the upper left hand corner of the monitored camera a red dot will be seen signalling
that the camera is recording.
Recording information:
• [A-REC] : Indicates that the scheduled recording is set to
Normal-Record
(continuous recording).
• [S-REC] : Indicates that the scheduled recording is set to
Sensor-Record
(motion sensor activated recording).
• [N-REC] : Indicates that the scheduled recording is set to
No-Record
(no recording).
• 39.% : Displays the percentage of used hard disk space.
• [M]: HDD info ([M] Master hard disk)
7.2 Audio recording settings
Indicates that audio on this video channel (camera) is connected to an audio port and that the audio
output is activated (ready for recording).
Indicates that the audio on this video channel (camera) is deactivated.
Indicates that the audio on this video channel (camera) is recording.
Turning off audio monitoring: Pressing [0] on the DVR turns off the audio during monitoring (audio is recorded
and is only heard during playback).
7.3 Stop recording
Pressing [
] stops recording. If password access is activated you must provide the password login information
before you are able to stop the recording.
Summary of Contents for D6004CK
Page 2: ...2...
Page 22: ...22 E n g l i s h 14 Connections...
Page 42: ...42 SVENSKA Sv e n s ka 14 Inkoppling...
Page 62: ...62 N o r s k 14 Innkobling...
Page 82: ...82 Suomi 14 Kytkent...
Page 83: ...83...


