OPERATING & MAINTENANCE
INSTRUCTIONS
GC10/16
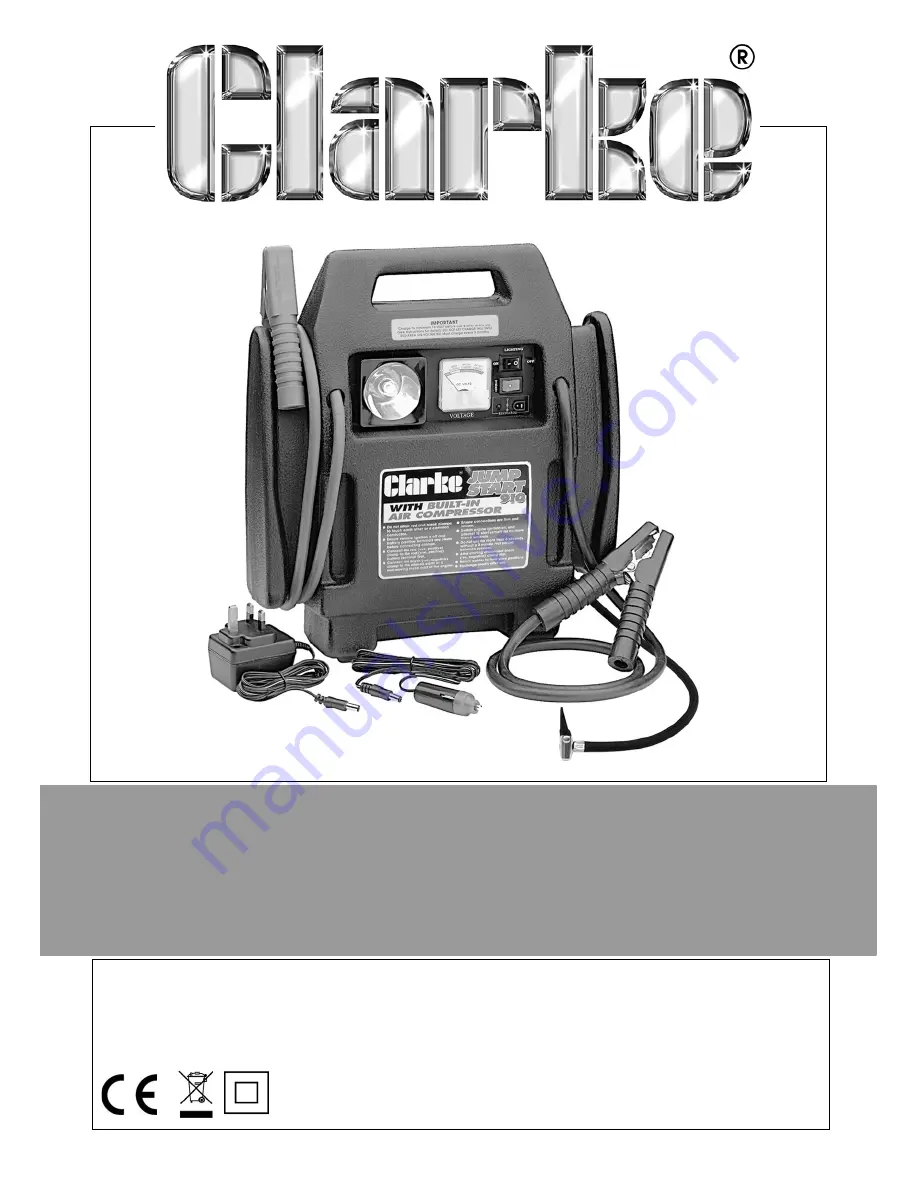
JUMPSTART
MODEL NO: JS900/JS910
PART NO: 6240010 & 6240020
Page 1: ...OPERATING MAINTENANCE INSTRUCTIONS GC10 16 JUMPSTART MODEL NO JS900 JS910 PART NO 6240010 6240020...
Page 2: ...cations at any time without prior notice GUARANTEE This product is guaranteed against faulty manufacture for a period of 12 months from the date of purchase Please keep your receipt which will be requ...
Page 3: ...leads to a battery ensure the ON OFF switch is OFF and ALWAYS connect the RED positive output conductor to the UNEARTHED battery terminal FIRST then connect the BLACK negative conductor to a suitable...
Page 4: ...E in accordance with the WEEE regulations in relation to the treatment recycling recovery and environmentally sound disposal of the WEEE In effect this means that this product must not be disposed of...
Page 5: ...BLUE coloured cable to the plug terminal marked a letter N If the battery charger for this appliance is fitted with a plug which is moulded on to the electric cable i e non rewireable please note 1 Th...
Page 6: ...ideal for pumping up tyres on the vehicle 1 Positive Battery Connecting Lead to connect to positive battery terminal 8 Voltage Test Switch Press to indi cate internal battery power level 2 Lamp to pro...
Page 7: ...hter adapter with cable and plug provided NOTE Using a 12V vehicle supply the battery will not charge to maximum but only to approx 50 of its capacity NOTE A 5 amp fuse is fitted into the cigarette li...
Page 8: ...essed WITH THE CHARGING CURRENT DISCONNECTED i e disconnect the cigar lighter adapter from the socket on the vehicle before pressing the TEST switch NOTE We recommend that you use this system only whe...
Page 9: ...oost charge to allow for easier starting 5 Switch the ignition to start for NO MORE than 6 seconds If the engine does not start within this time SWITCH OFF the ignition and wait for at least 3 minutes...
Page 10: ...g the connector down firmly on the tyre adapter and locking in place by turning the connector locking lever through 90 degrees Switch ON the compressor The gauge will indicate the air pressure Three a...
Page 11: ...off the cover to expose the battery and other components 2 Lift out the battery from the battery compartment and detach the heavy duty and other cables from the battery terminals 3 Taking great care...
Page 12: ......